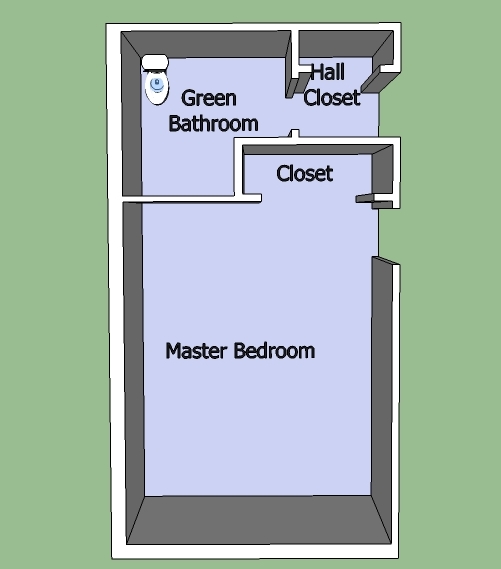
You know, I would be really excited about all of the storage we now have in the bathroom, if only I could ACTUALLY USE the bathroom. But alas, the shower is not done (who am I kidding – it isn’t started), the plumbing for the sinks isn’t done (it is, at least, barely started), and the walk-in closet was going so great, until I could actually hang enough clothes in there to get dressed in the morning, and then that stalled too. I would employ my top-secret and extremely effective trick of closing the door, but we haven’t finished putting those back up, either.
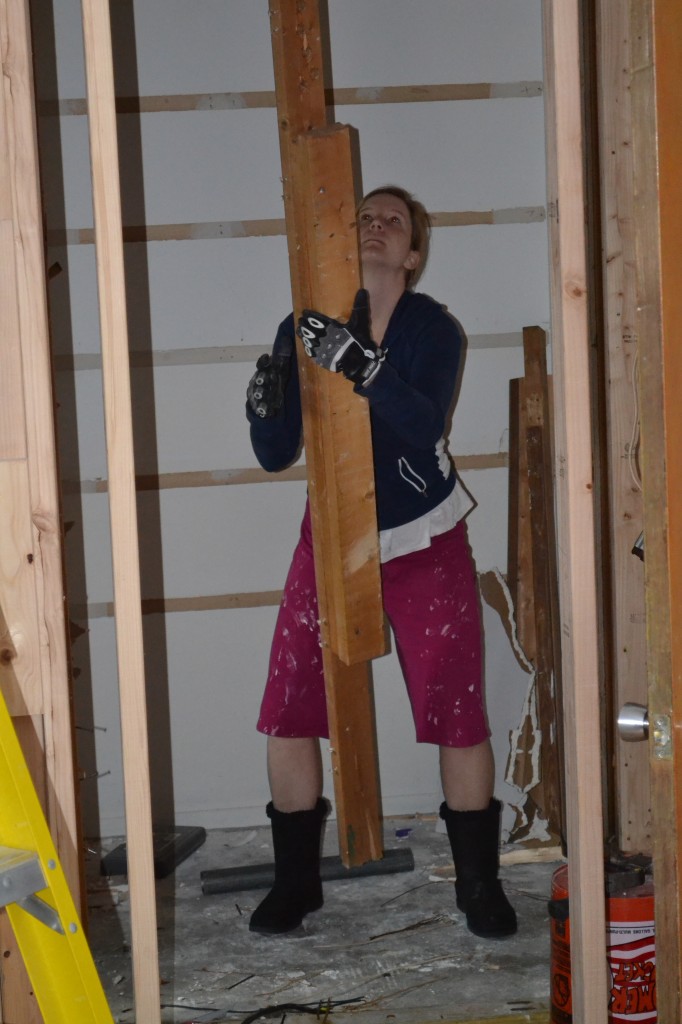
What’s a girl to do, except ignore it by not turning on the light in the closet (oh yes, at least we have lights) and getting dressed in the dark, since the only side effect of that is really crazy outfits. And lets face it, I am not a girl who is afraid of really crazy outfits:
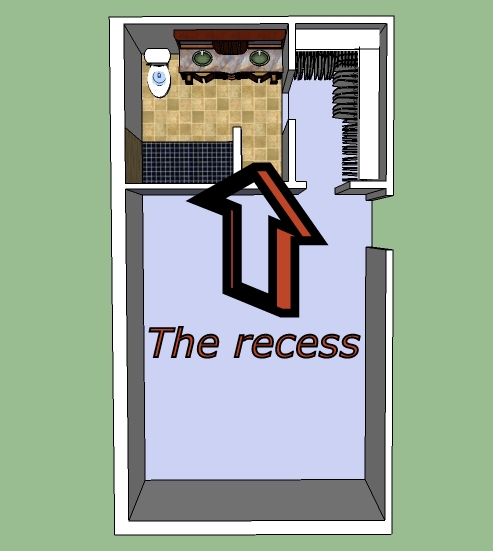
In the meantime, though, I did finally manage to finish up the cabinet I bought to slide into the recess left in the bathroom when we reconfigured everything.
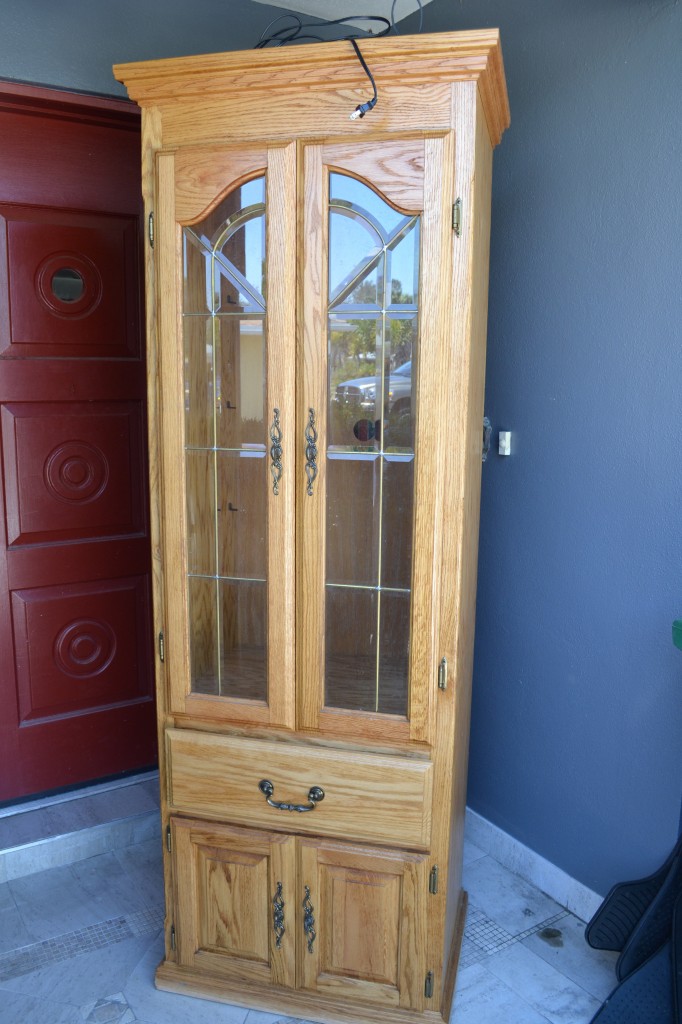
Here is the cabinet we found on Craigslist for fifty bucks:
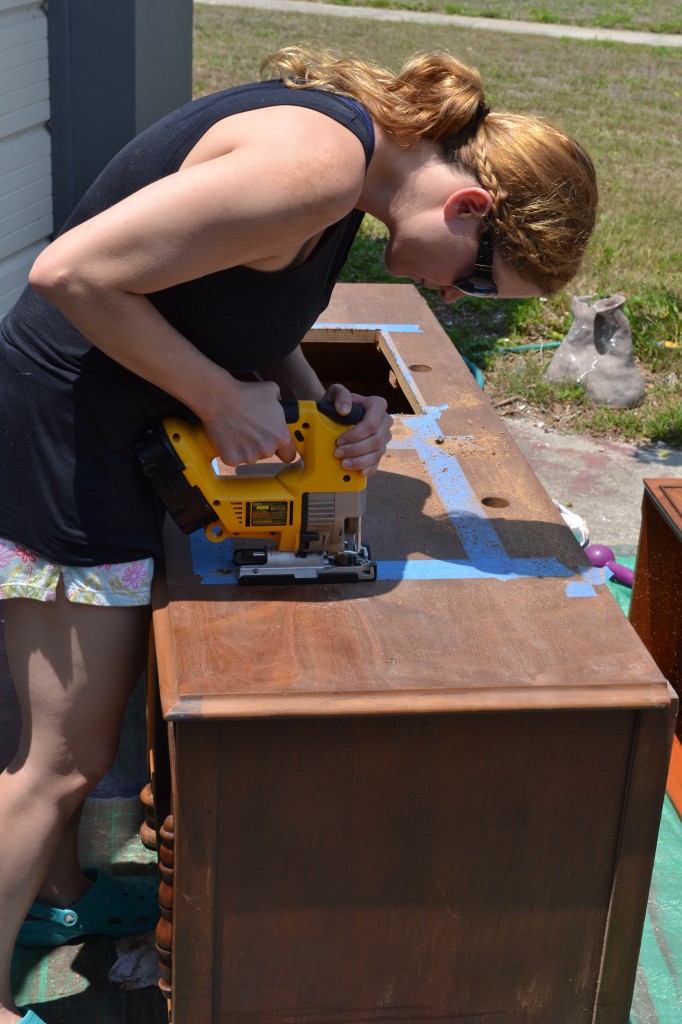
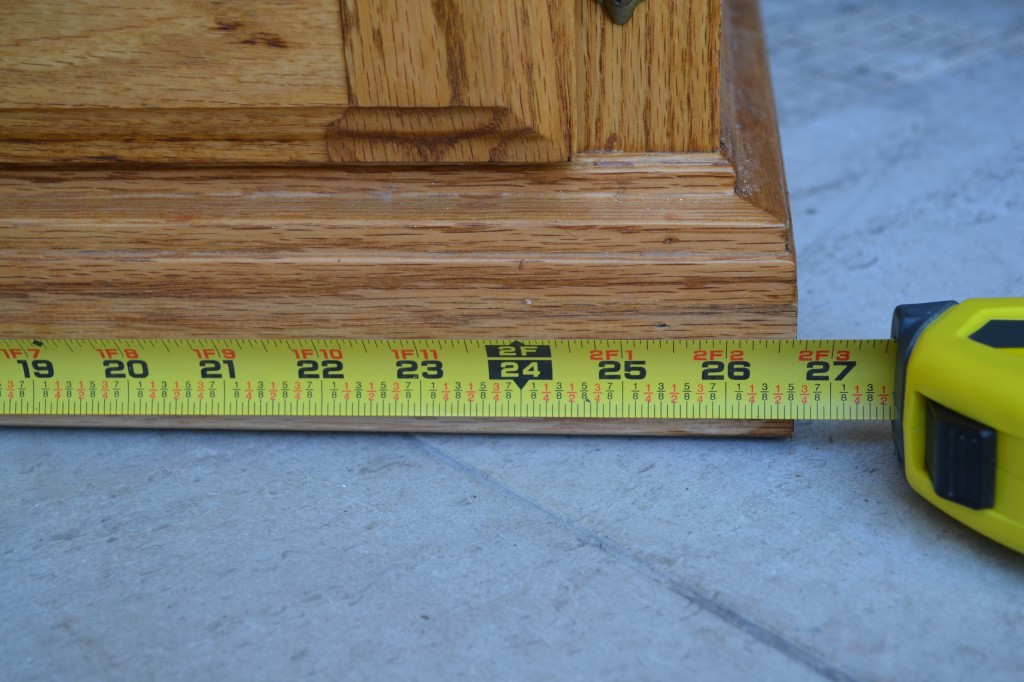
but homegirl needed an extreme makeover. It was also just a tiny bit too wide, so the first step was to remove all of the trim on the cabinet, which would make it just the right size to clear the door frame and slide in.
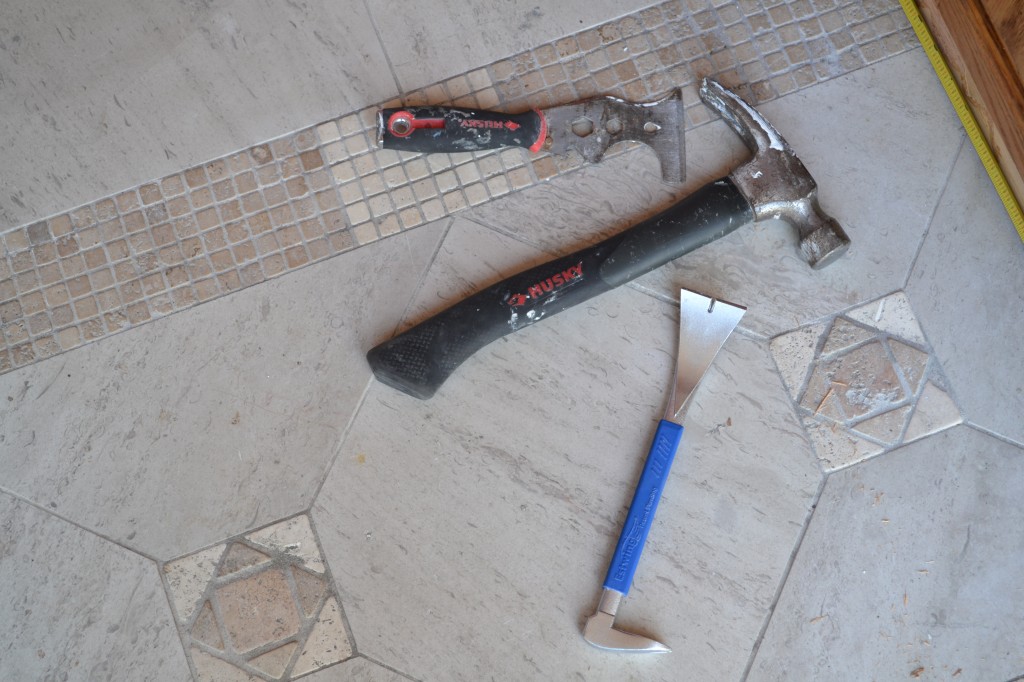
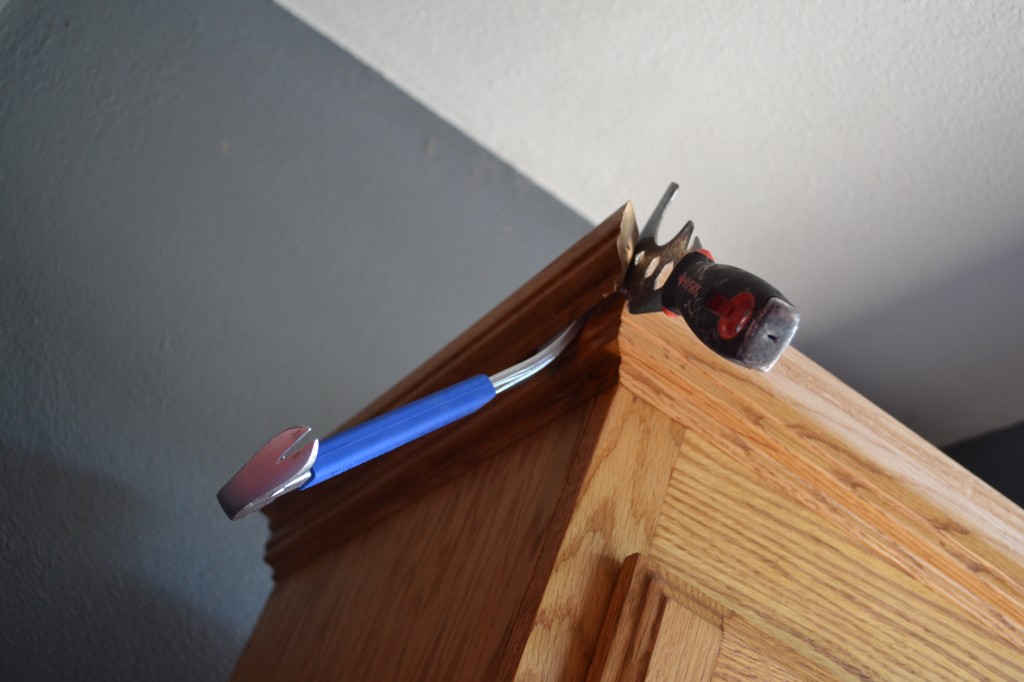
This was accomplished using my arsenal of tools:
and all of my big muscles. Seriously, the trim was stubborn.
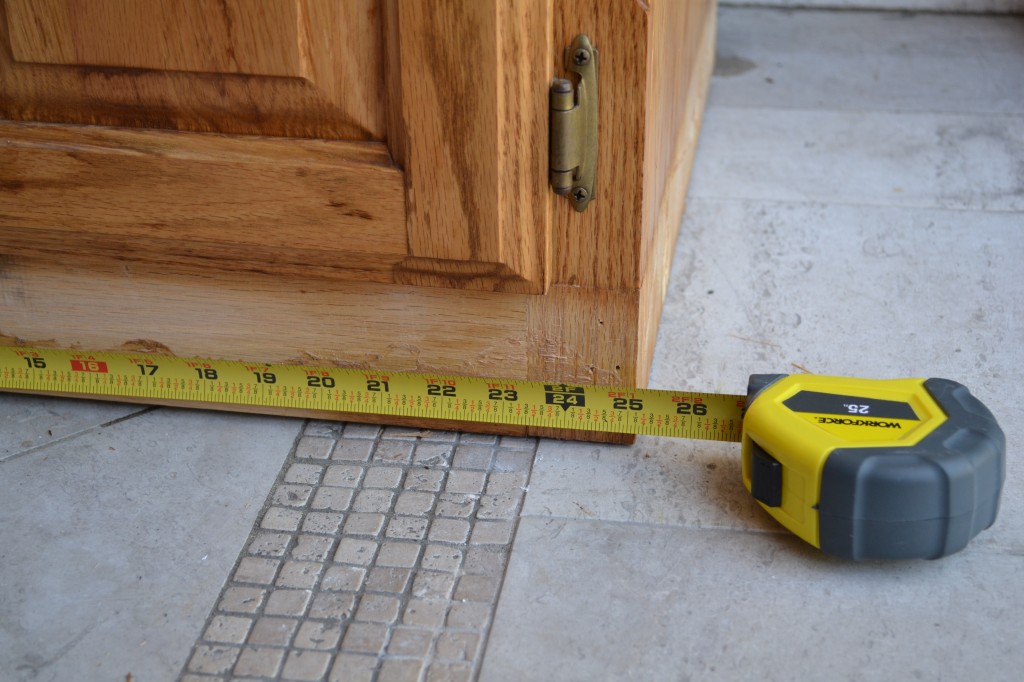
but eventually relented to my poking, pulling, prodding, and prying. Minus the trim, the cabinet is the perfect size!
Oh yeah, there is the 3/4 inch I needed! (Said no woman … ever.)
From there, I removed the doors and drawer, and got to sanding … and sanding … and sanding. I had inspiration from a few cabinet makeovers I had seen with bright white interiors, so I also primed and painted the inside of both the top and bottom. Between all of the sanding, two coats of primer, and three coats of paint, plus staining and reassembling, this project took 4 months. I wish I was kidding. It sat on the back porch and I worked on it whenever I had a few moments. It was hard to relax in the pool with this sucker staring at me, so I would often go out to get my tan on and end up working on this instead.
I mixed up stains to try and match the vanity, spray painted the drawer handle, hinges, and screws, but got new pulls for the bottom doors. I contemplated not putting any doors back on, but ultimately decided to leave the tops ones off, but put the bottom ones back, to hide my toilet paper and other unattractive bathroom necessities.
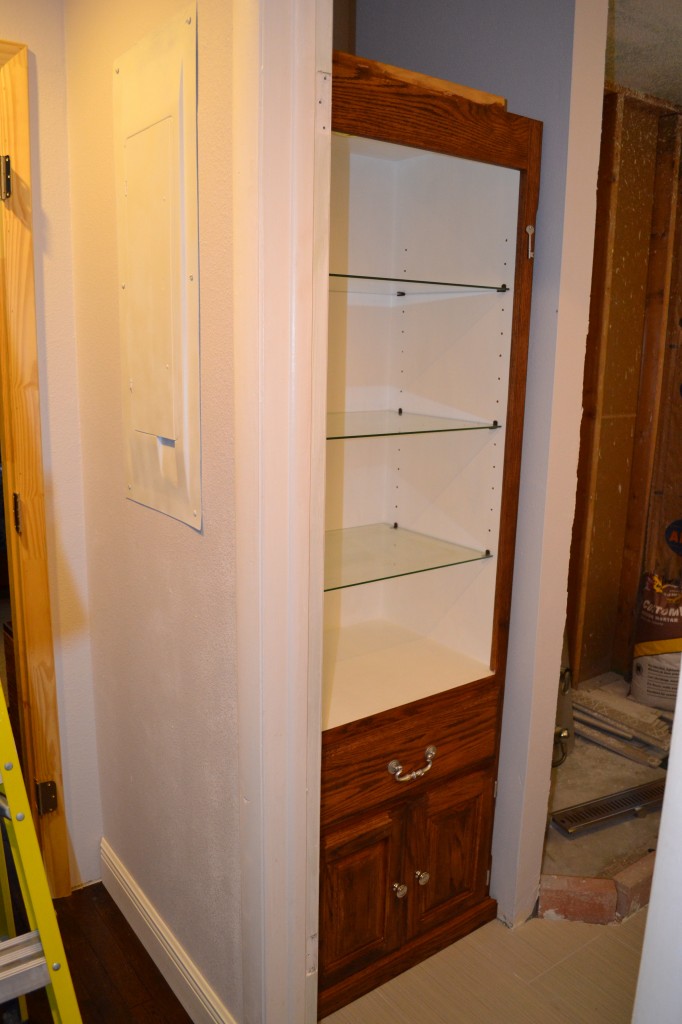
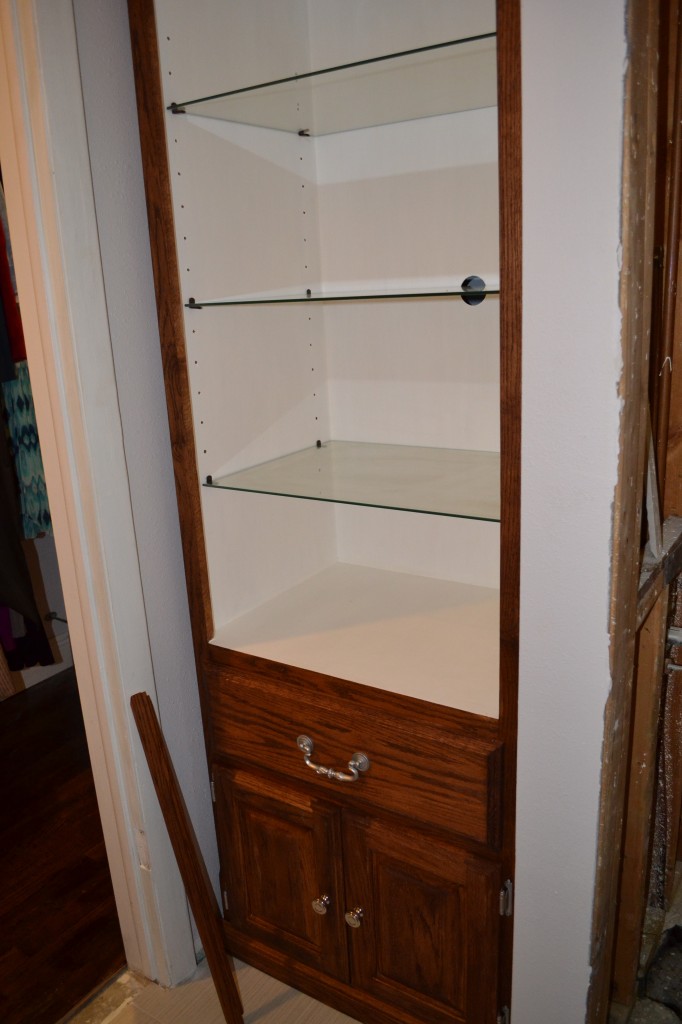
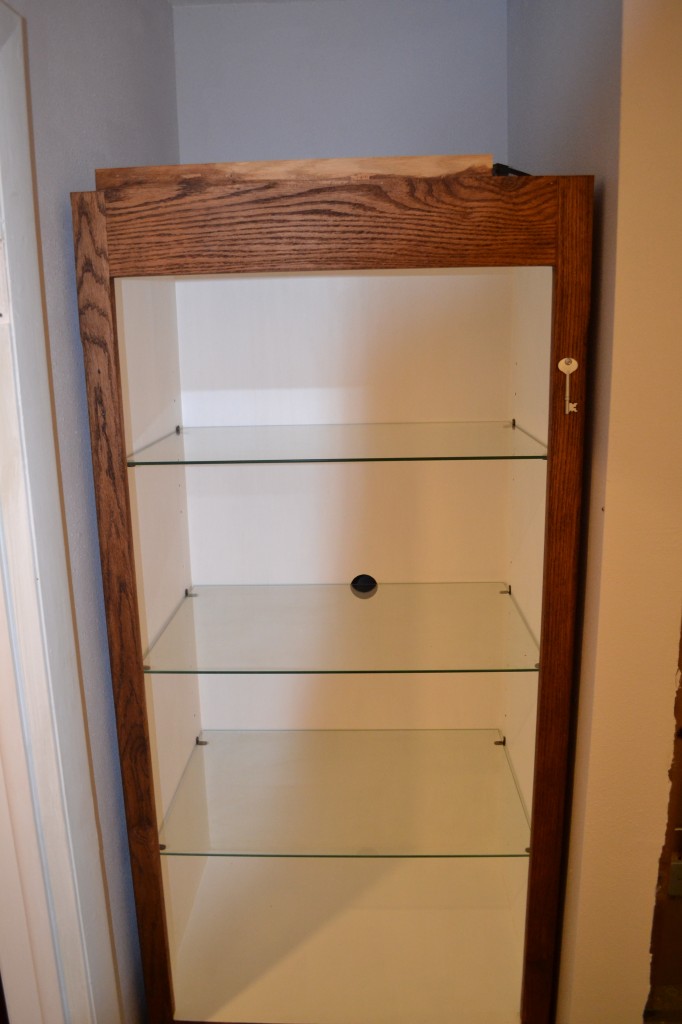
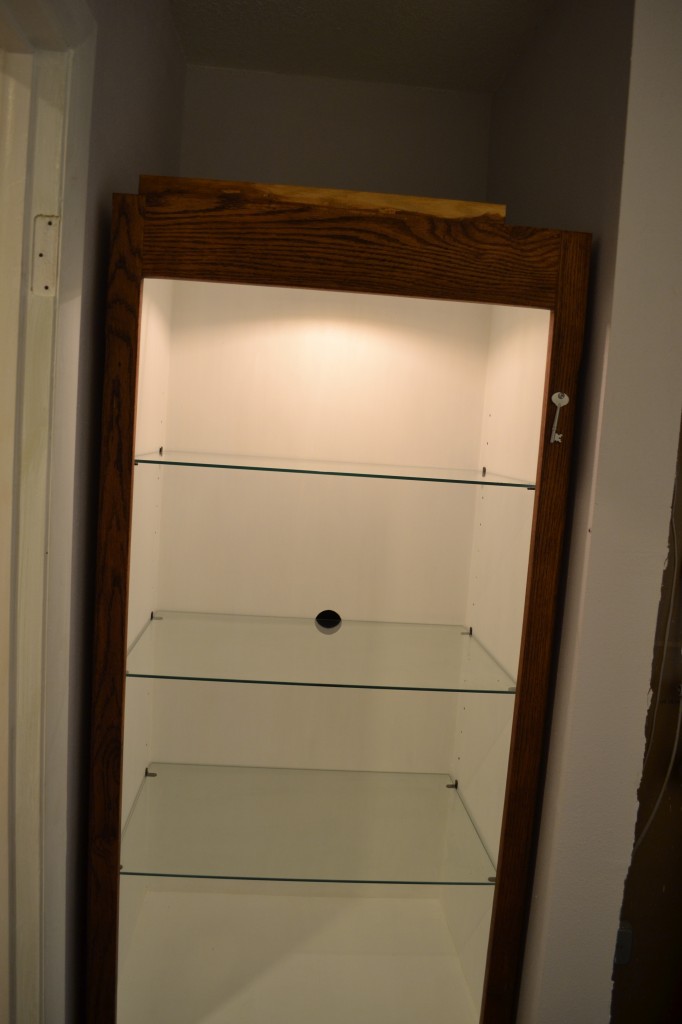
Here is how she is looking today (it was difficult to get good full-length pictures!):
You may be wondering what the heck that key is doing there on the right side. The cabinet actually has a light in it, which was connected to the screw on the door, so when you grabbed it to open it, the light came on. Pretty awesome, huh? I wanted to find a way to use this even though I didn’t put the doors back on, so I drilled a hole, put a screw through, and attach the metal doohickey to it. Now, when you touch the key (that I also spray painted), the cabinet light comes on. We may need to leave a note explaining this if we ever finish this house and get it sold!
I need to put the trim back on the top and bottom, so it will look like a built-in cabinet (a little?), but I want to make sure it won’t need to come out to access the plumbing behind it for the shower first.
So there she is, sittin’ pretty. It may have taken a very long time, but I am very happy with the end result. We have a few major updates to share, but this house is starting to … dare I say it … come together? Function like a real home? Become pleasing to live in?
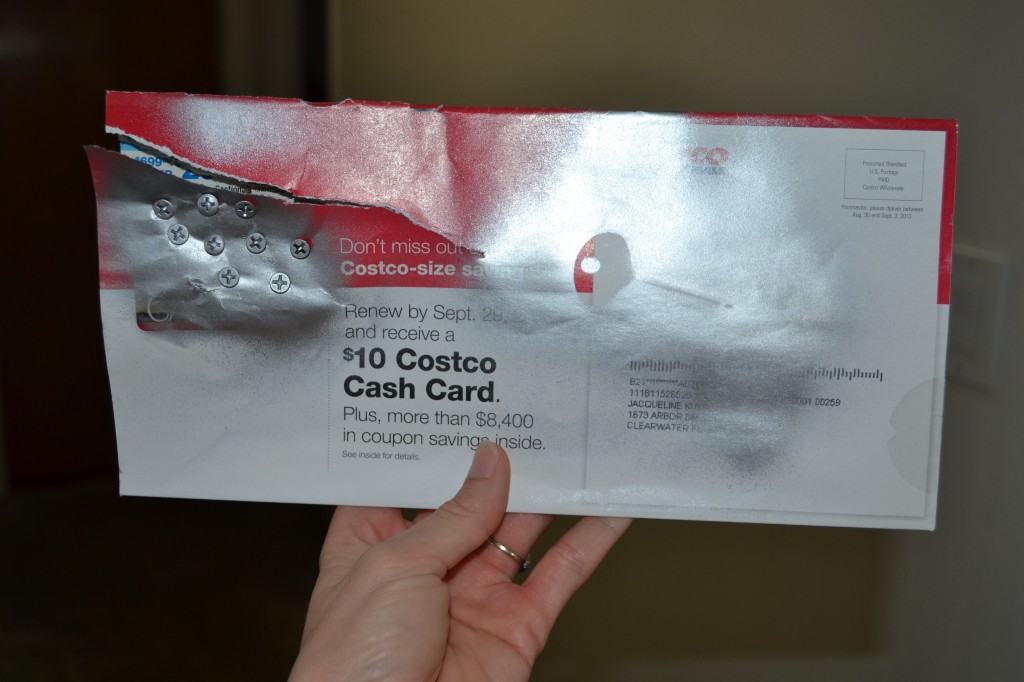
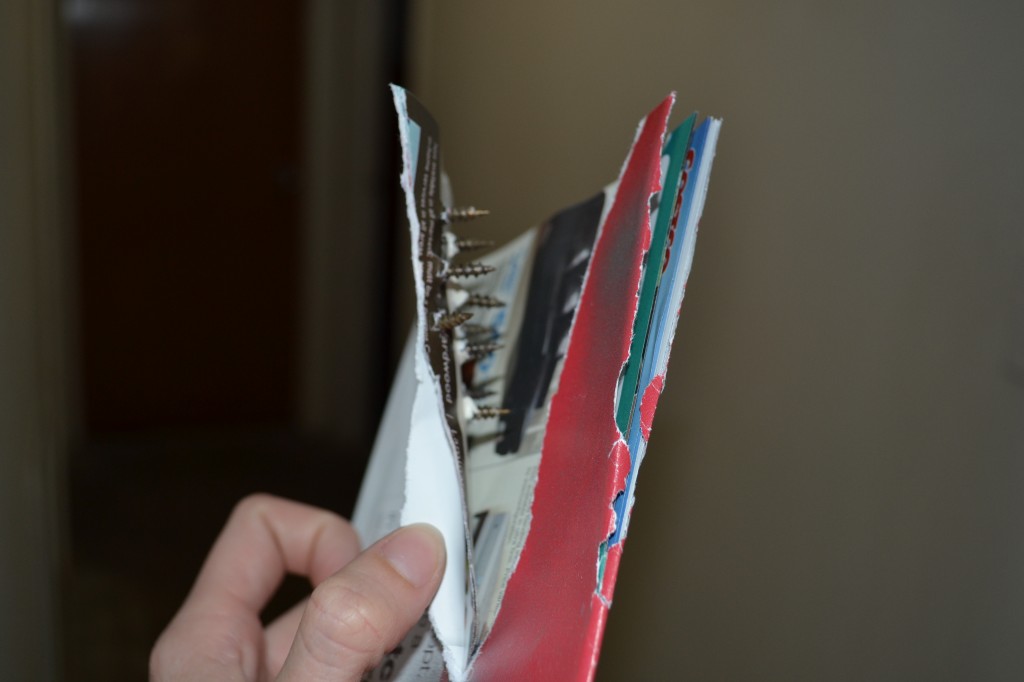
P.S. I have a nifty trick for spray painting all of the screws too – stab them into an old magazine or newspaper like this:


You are so amazing!! I love taking this journey with you…. <3 Awesome job girl! There is nothing you can't do!