Return of the iKlutz. (OK, OK, iPromise no more of the “i” jokes!)
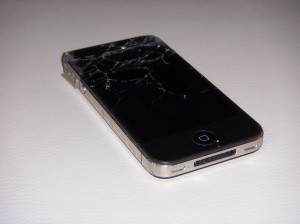
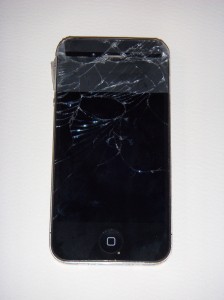
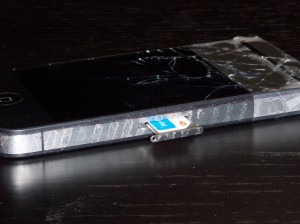
My poor little iPhizzle leapt from my loose sweater pocket and hit the tile floor of the bathroom. iPhizzle: 0; Tile Floor: 1.
Yes, that is good old scotch tape holding the tiny shards in place. She still works, but is very pathetic looking. Related story: A year or so ago some criminals tried to use my credit card at a WalMart in Alabama (although the actual card was sitting in my wallet – they somehow got the number and made a dummy card). Needless to say, they got caught, but my credit card was cancelled due to the fraudulent activity. I had to get a new card, etc., which was only minorly a pain in the butt. However, I had set up my phone insurance to charge this credit card monthly, and forgot to call to give them the new credit card information when it changed. Long story short, I had no phone insurance.
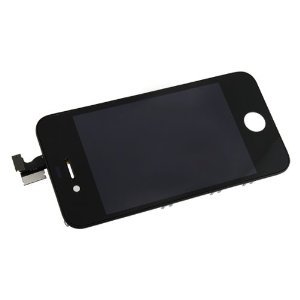
I think the breaking of my iPhone 4 mere days before the release of the iPhone 5 was the universe screaming “You deserve the iPhone 5!” However, since the universe’s check obviously got lost in the mail, I sought out cheaper alternatives. This was the best option I could find (click picture for link):
The reviews range everywhere from “These are easily the worst screens I’ve seen” and “Worst investment” to “Worked great! Saved $70 doing it myself” and “Take your time and this product will work beautifully.” So I assembled my tools, found the You Tube tutorial, and hunkered down.
I started working at 6:00 p.m. First step was removal of the SIM card, which was pretty easy.
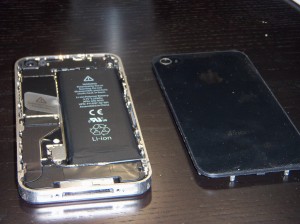
Then remove the two tiny screws at the bottom of the phone, and remove the back cover (which is also made of glass and miraculously did not shatter).
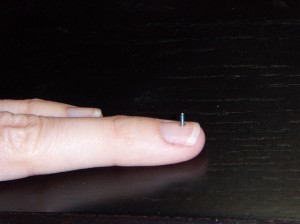
I am still amazed by how tiny these screws are. Here is the one taken out of the bottom of the iPhone:
The video tutorial I used is here:
The process involved a LOT of pausing and rewinding. TONS of it. That is really the key: listen and watch, then attempt. I tried just listening while doing, but since I can’t tell the motherboard from the shield from the cover plate, I needed the visual assistance. Also, the video will tell you to remove certain screws, and then just blow through it. The video is only 6:43 long, and it took me 5 times that long to actually complete the tasks it covers.
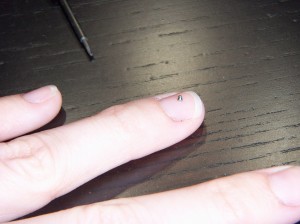
That screw shown above turned out to be one of the largest of all the grains of sand screws I encountered.
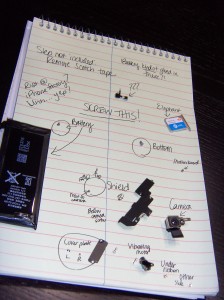
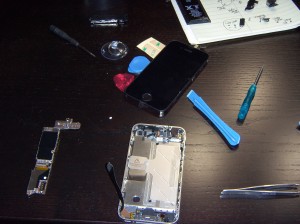
They are infuriatingly small. INFURIATING. The one criticism I read in the comments, and 100% agree with, is that the tiny plastic screwdriver isn’t doing you any favors. You will see in the video that the instructor has a magnetic tiny screwdriver. That guy really has it all. Must be nice. I finally got a pair of tweezers to handle the screws. Also, I realized pretty early on that dumping all of the screws into one container was a terrible idea. They are all different sizes and lengths, and I need to keep them organized. Therefore, I started the following organizational chart:
And then it was burrito-thirty:
After a ten minute face-stuffing break, I got back to work. I successfully disassembled my iPhone, and at this point in the game, I started getting nervous:
The instructional video ended abruptly, and I had a mini panic attack, thinking I would have to figure out re-assembly on my own! AHH!! However, there is a second video in the series about putting it all back together. And, per usual, this portion was the hardest part.
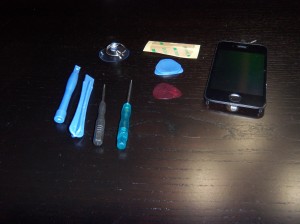
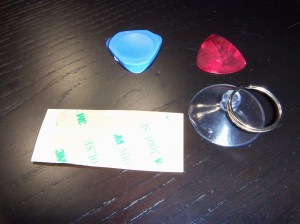
After much frustration, and redoing several portions of the “build,” I finally had a finished product. And get this – IT WORKED. My iPhone works. That’s right, baby. My iPhizzle put the FUN back in functional. Number of screws lost? Only one. Not bad, right? I would not recommend doing this task over carpet. No way, Jose (Chan?). If there was a competition for catching tiny screws with your thighs, I would at least be competing at the regional semi-finals. Here are the tools I did NOT use, and still do not know what they are for:
I finished at 8:45. That is 2 hours and 35 minutes, omitting the burrito-fest. Not too bad, but a terrible way to end a Monday. If I had to deal with these miniscule screws all day, I would absolutely lose it. This article now makes so much sense.
I feel like I was in the trenches with these workers, and fought along side them. “SCREW THESE TINY SCREWS!!” they must’ve chanted in unison. How do you say that in Chinese?




You are hilarious! Great post and I think it’s amazing that you repaired that yourself.
Thanks, Caroline! I was pretty amazed, too, but I never want to do it again! SO frustrating …