The Master Suite Might Actually Happen!

Whew, The Boy and I are so relieved to have the breaker box moved out of the way. Now we can move on to really fun things, like drywall and lighting. After doing the entire guest bathroom renovation, we vowed to never do drywall by ourselves again. I guess my memory for how horrific tasks are is very short, because I’ve decided to do the drywall. Again. What is that saying about insanity? Oh well, I’m sure it isn’t applicable.

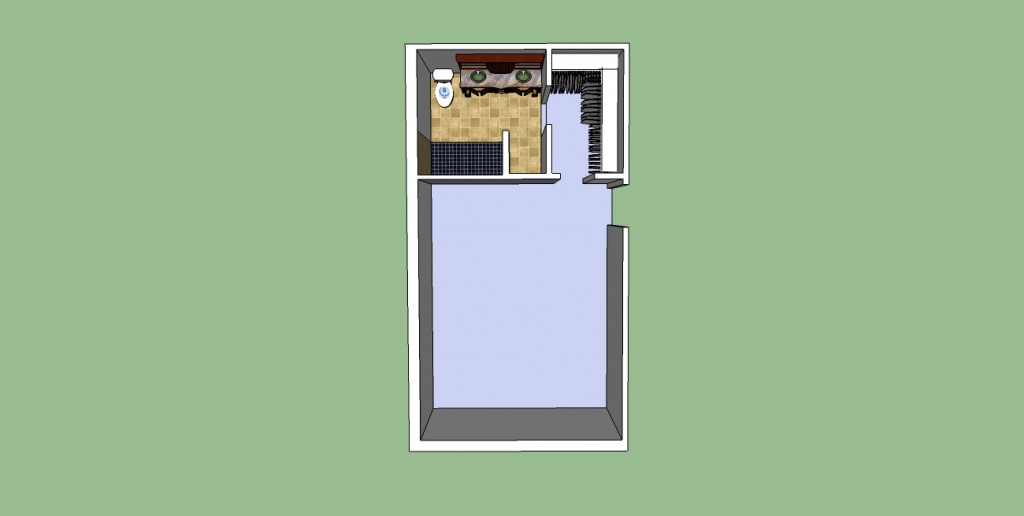
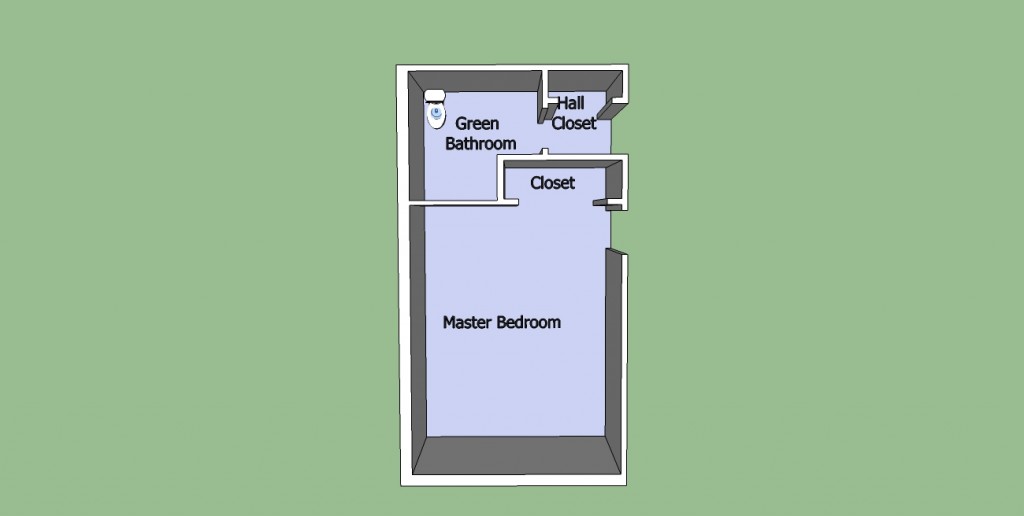
I’d like to refresh your recollection (how’d that lawyerly term sneak in there?!) about the layout and why the breaker box move was needed. This was our old layout, with a closet and bathroom off the hallway (you can click on the pictures to enlarge):

Old master

The breaker box was formerly located in the bedroom closet shown above, exactly where we need to break on through to the other side. Here is the new layout, and the breaker box is now immediately on your left when you walk in the master closet (did I say “WALK IN”? Why yes I did!):

New Master

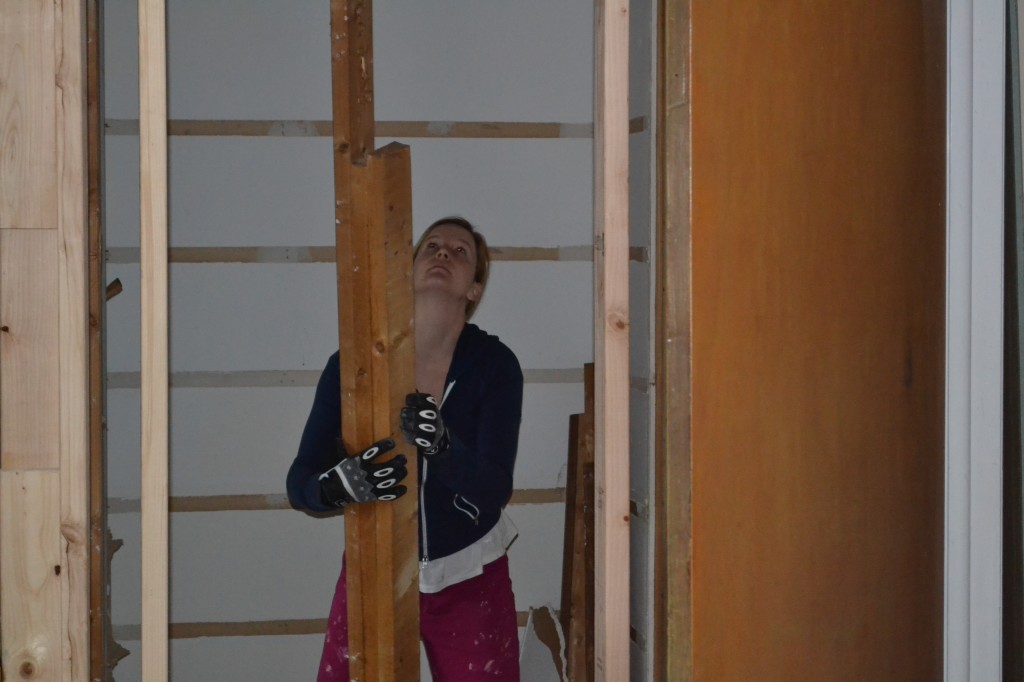
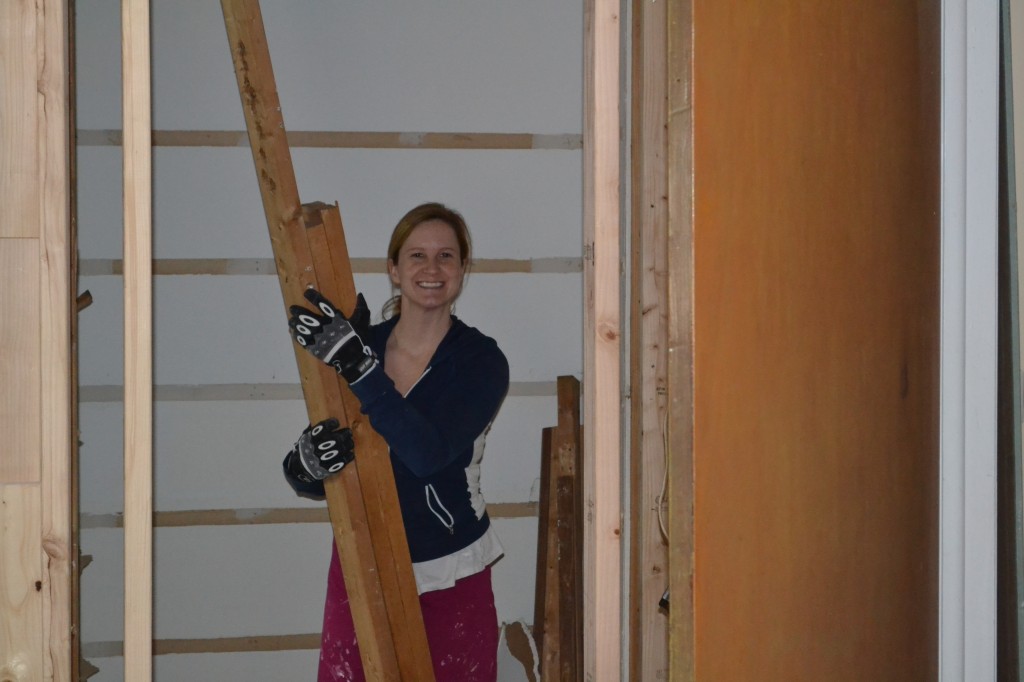
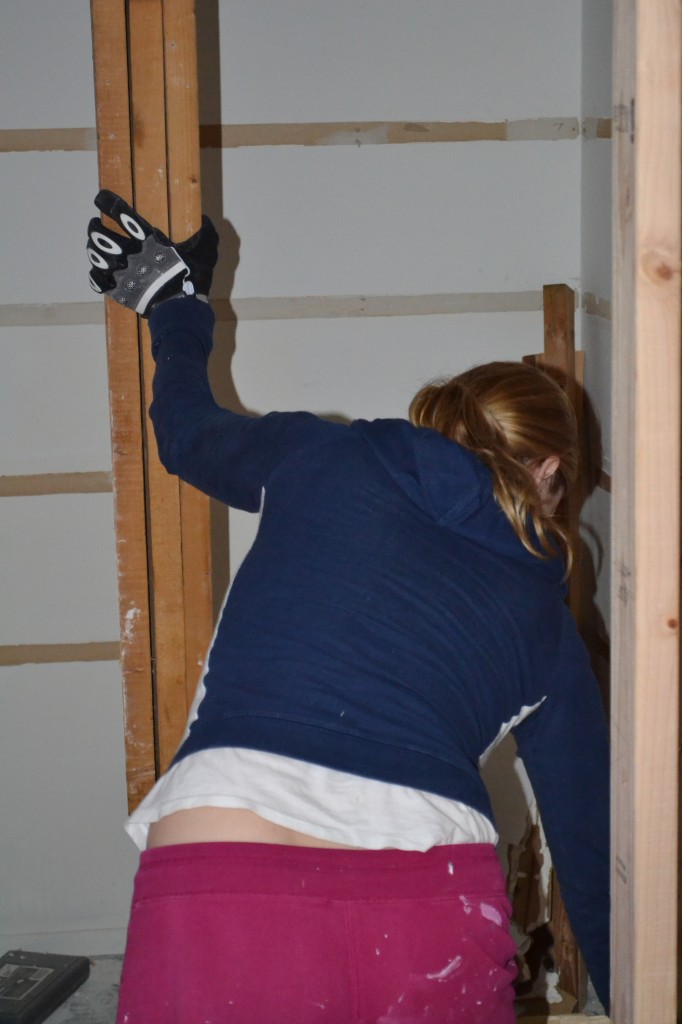
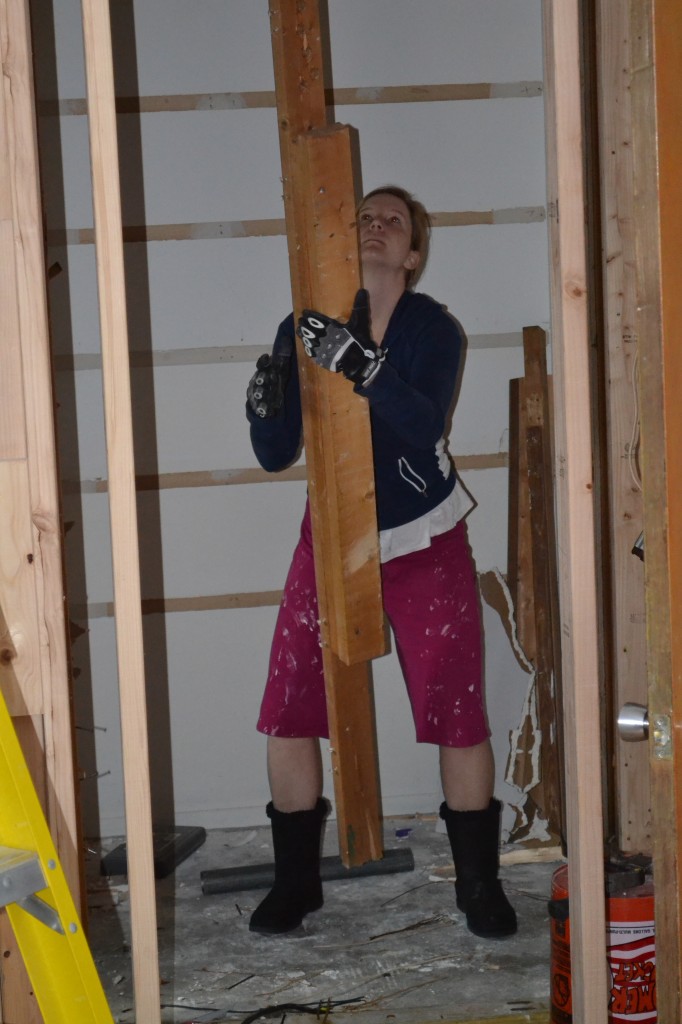
As soon as the breaker box was gone, I got to work tearing out the rest of the framing that had to go.

DSC_0018 DSC_0020 DSC_0017

He just had to zoom out and show my crazy outfit, didn't he?

He just had to zoom out and show my crazy outfit, didn’t he?

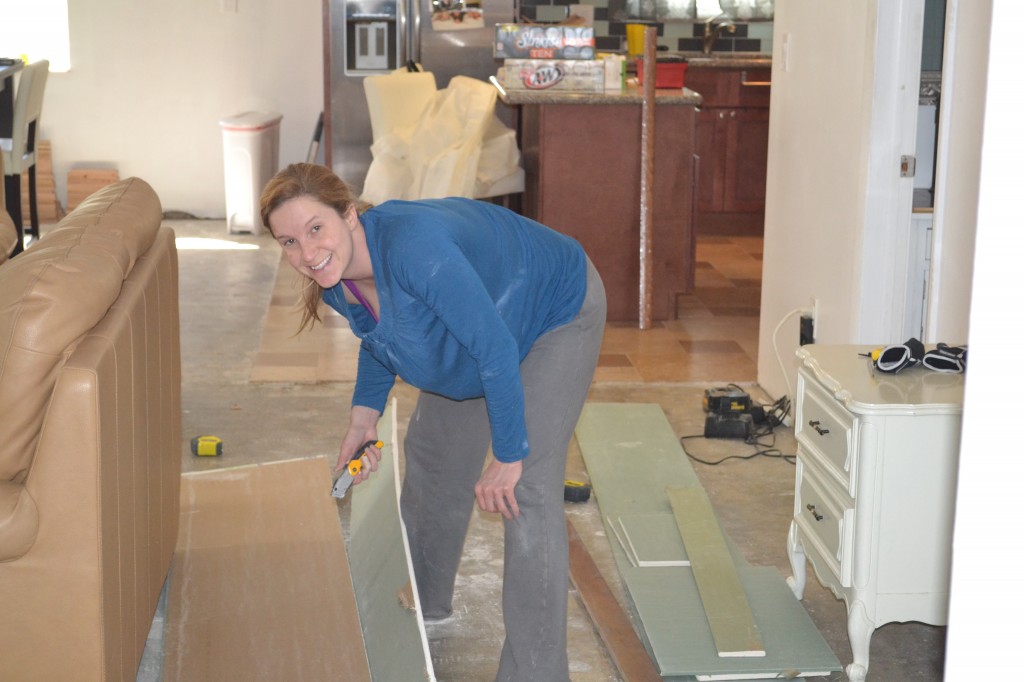
After the framing was down, I got to work measuring, cutting, and hanging drywall.

DSC_0026

Behind the love seat is the official drywall cutting area, apparently. Oh, and don’t mind that side table – that is a project for a friend.

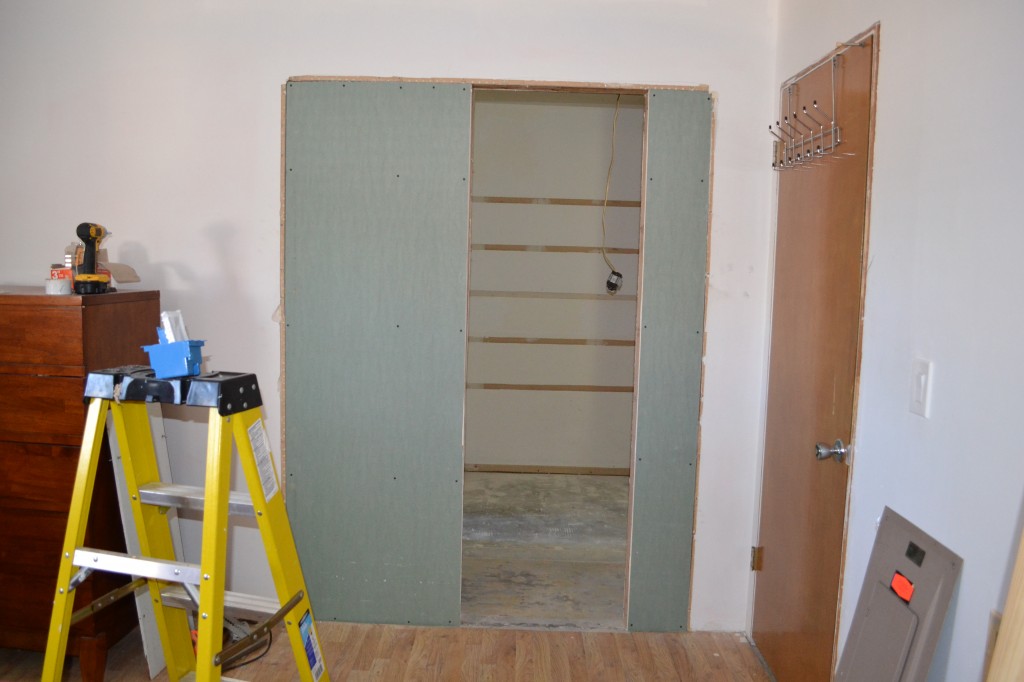
Once the drywall was up, the closet was really starting to take shape. I hope these pictures make sense. If not, refer to the above layout. If it still doesn’t make sense, just stop on by and I’ll show you in person. (I’m only slightly kidding.)

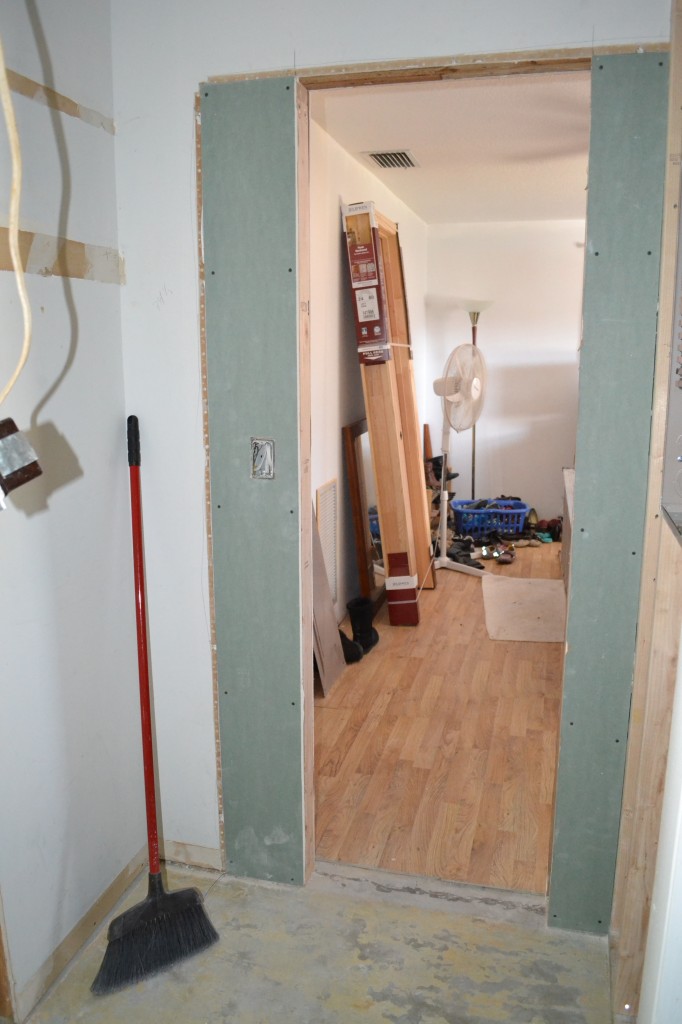
From the bedroom looking in.

From the bedroom looking in.

DSC_0029

From the closet looking out.

From the closet looking out.

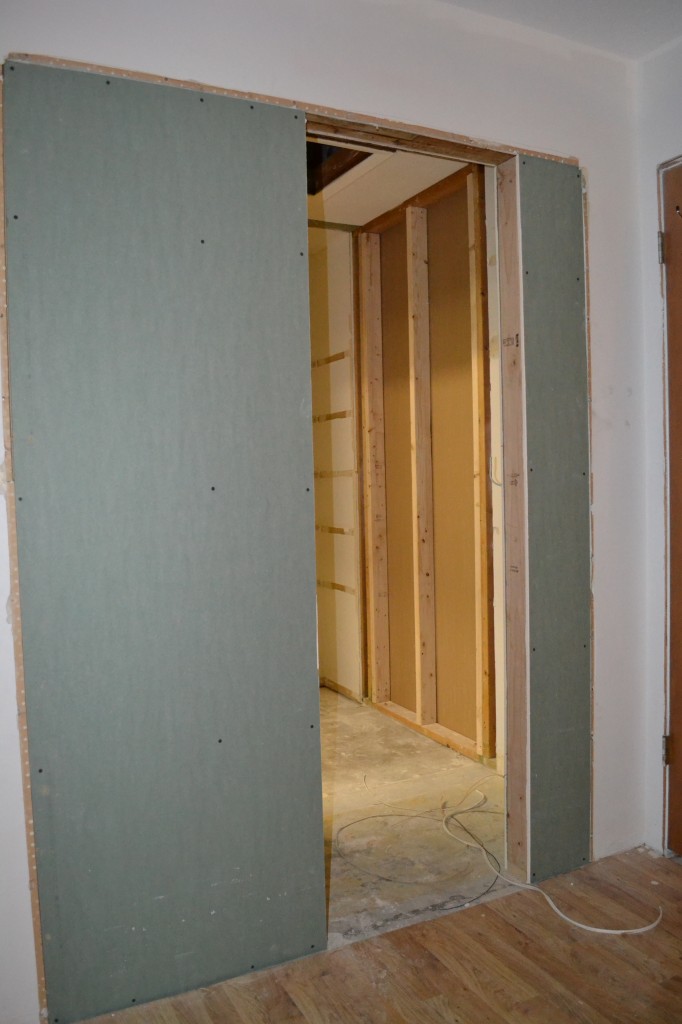
Close up looking into new closet.

Close up looking into new closet.

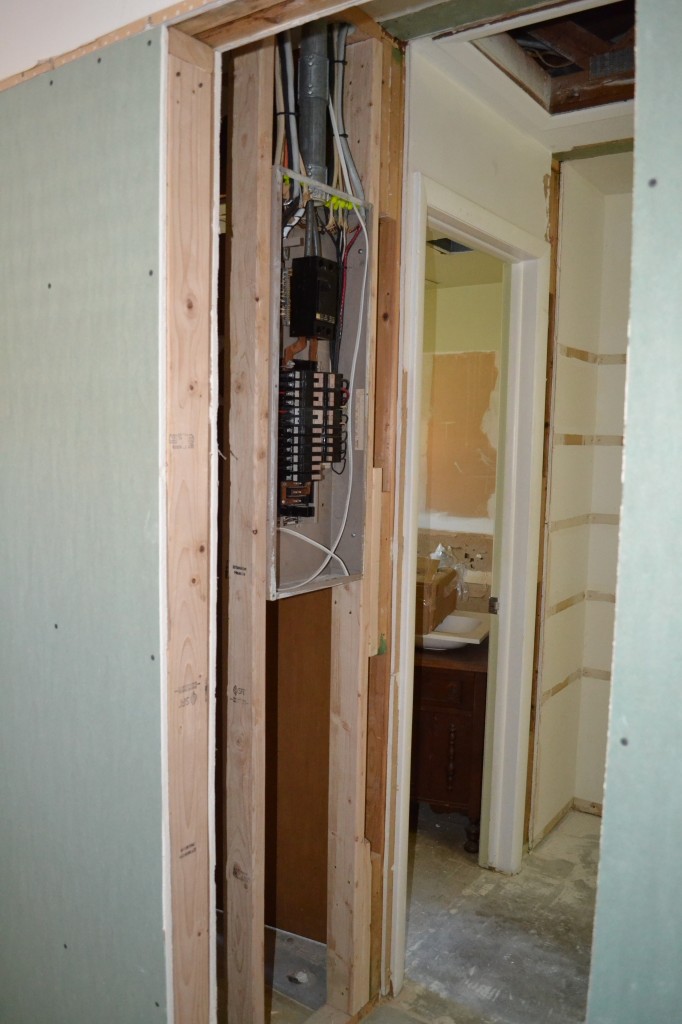
Close up of new breaker box.

Close up of new breaker box.

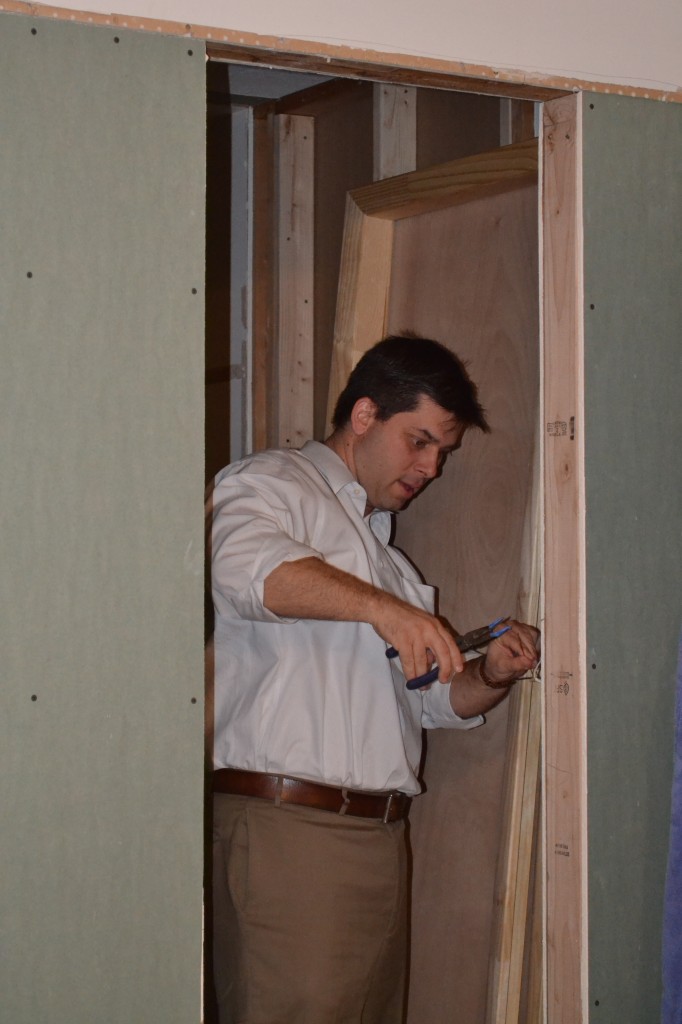
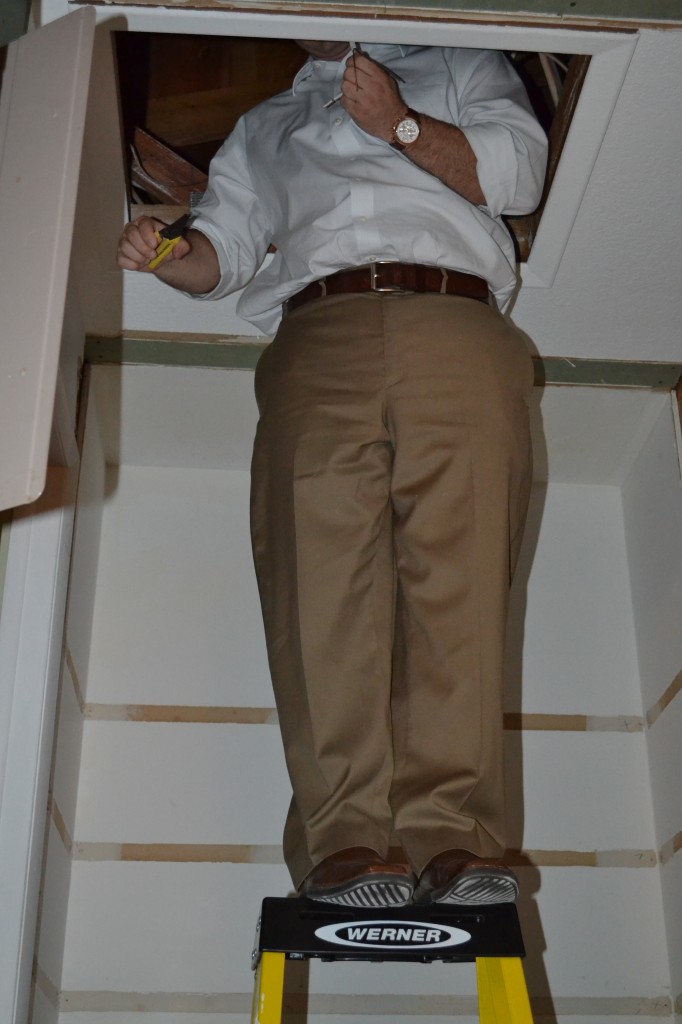
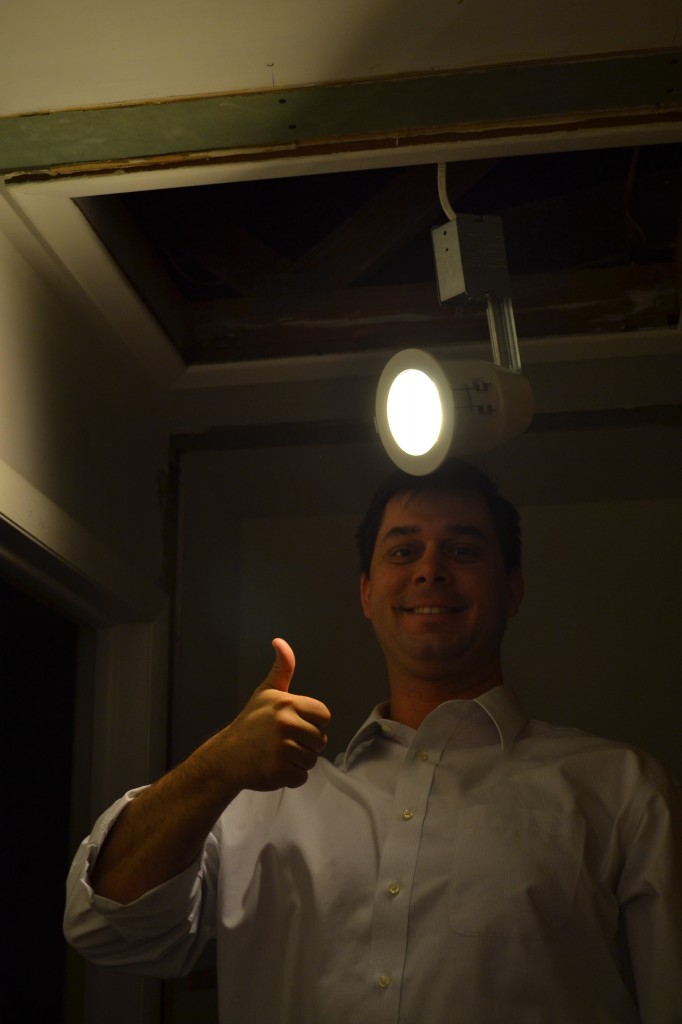
I bought four pot lights for the closet. I’d love to have one big central light, but the access to the attic is in the middle of the ceiling in the closet, so I have to work around it. The Boy decided we needed light in there while we work, so he hooked up one of the recessed lights, which is temporarily just dangling from the attic access, but will eventually be installed correctly.

This is how a real man installs a light.

This is how a real man installs a light.

DSC_0065

Success!

Proof that The Boy owns shirts with sleeves!

So much left to do, but I am pretty impressed by the progress we made in one weekend, mostly thanks to the efforts of our neighbor, Brad. Next up? Well, I’m not sure. But I’ll let you know when we figure it out.

Pinbusters – The Magic of Baking Soda

Have you ever wondered if the stuff people post on Pinterest is true? Well I have, and I test them all so that you don’t have to, ’cause ain’t nobody got time for that.  Click here to check out all of the pins I haven taken on. You might be surprised by some of the results!

This post is a two for one. You’re welcome.

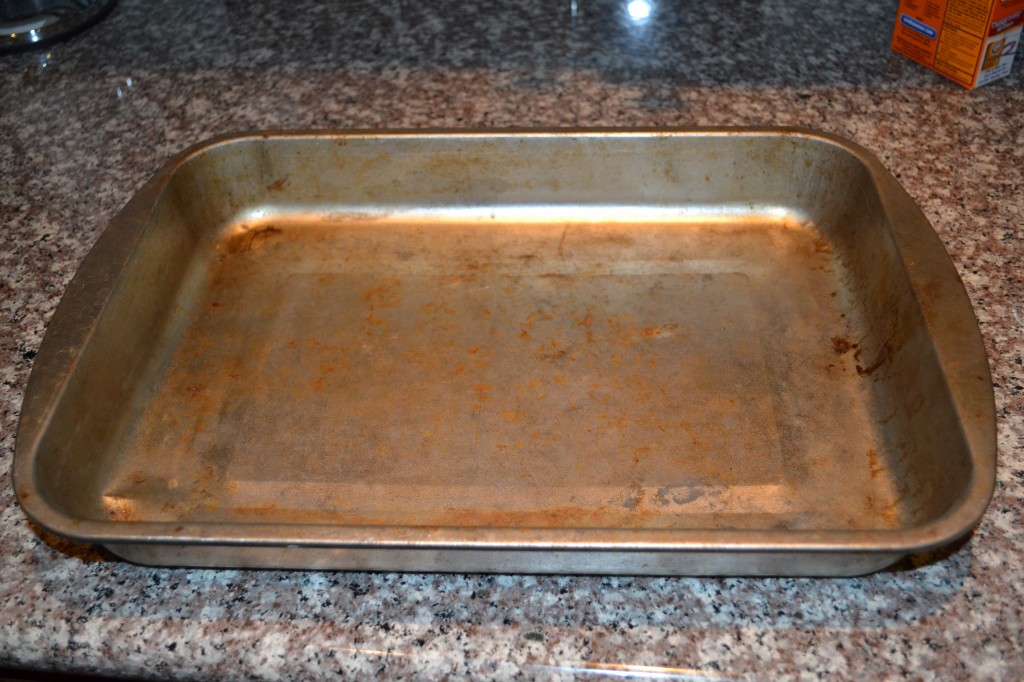
The two pins I tested were cleaning your glass stovetop with baking soda, and cleaning your old, gross pans or cookie sheets with baking soda and peroxide. As luck would have it, I had a disgusting glass stovetop

DSC_0005

DSC_0007

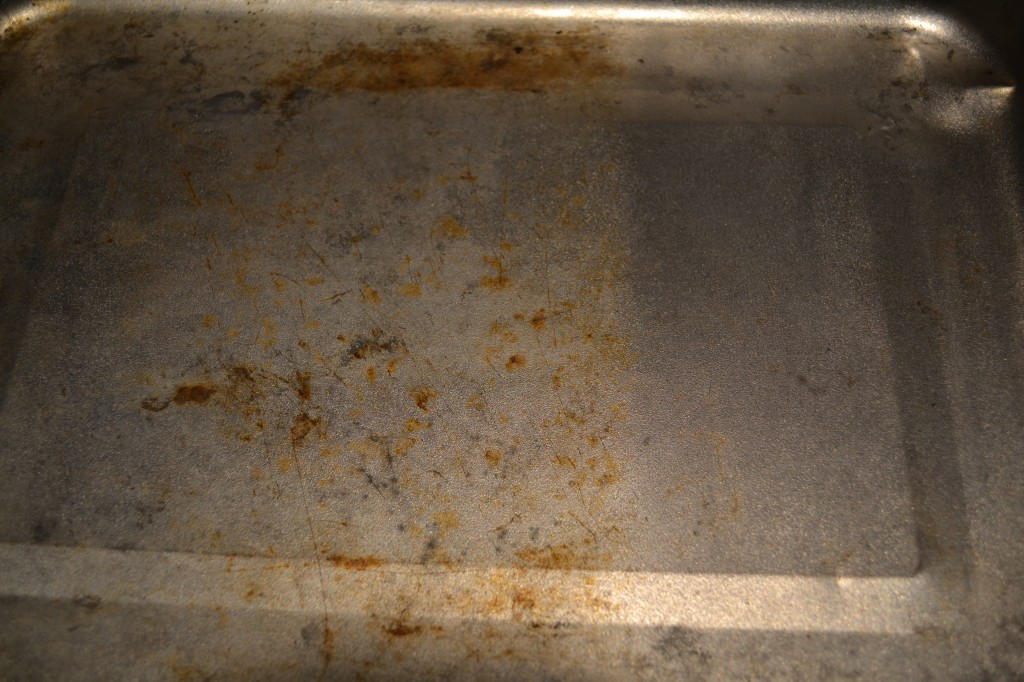
AND an old, gross pan circa 1998.

DSC_0013

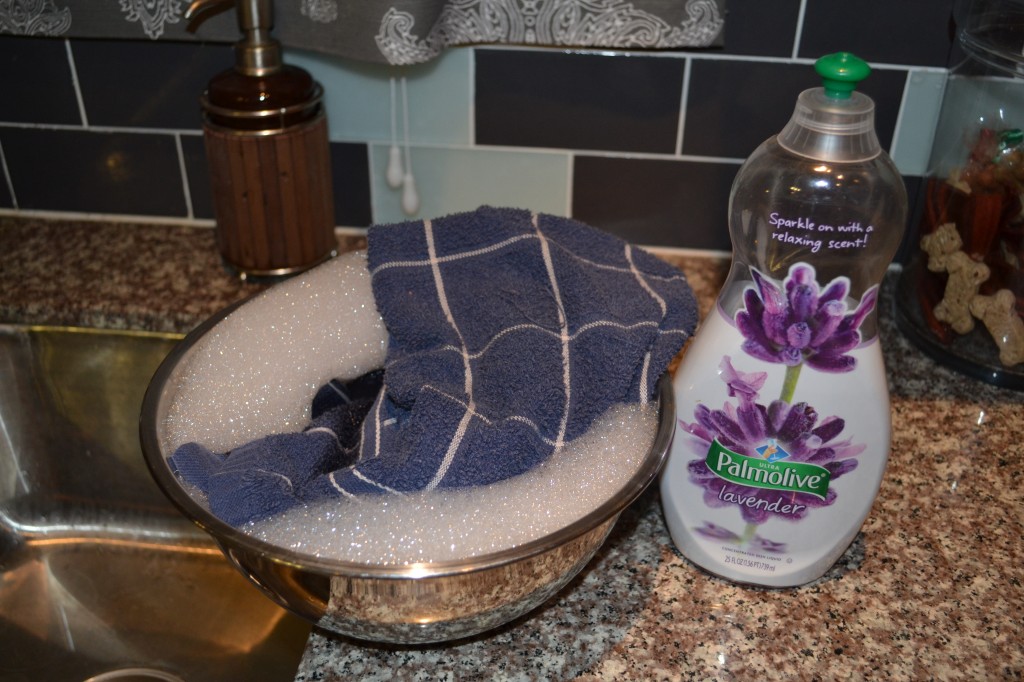
The instructions for the glass cooktop are pretty simple. Soak a cloth (I used a dishtowel) in hot, soapy water.

DSC_0010

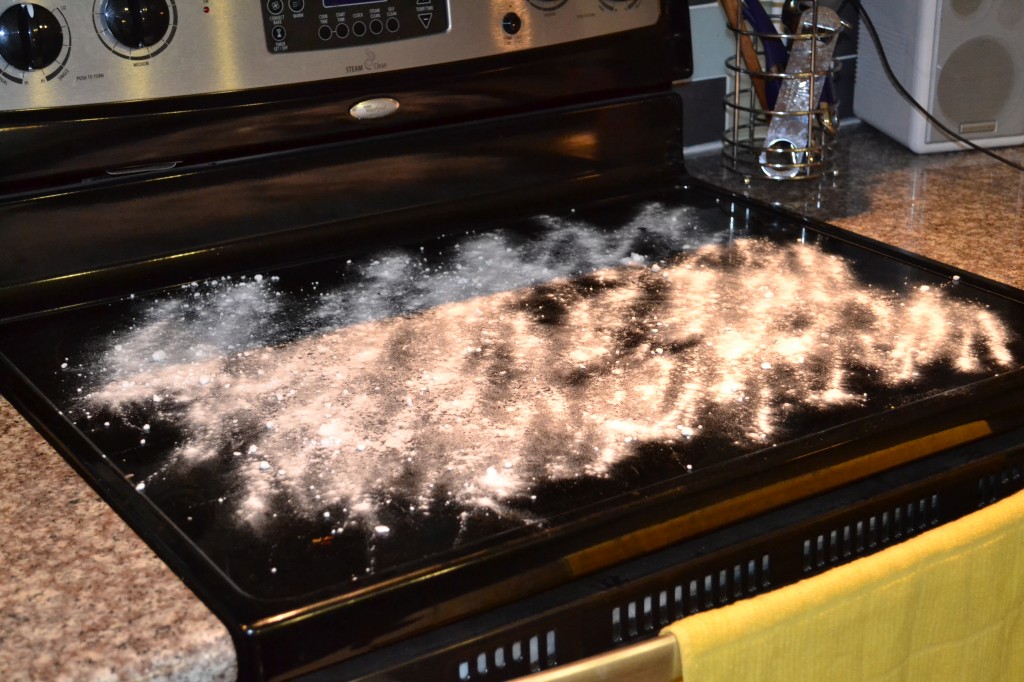
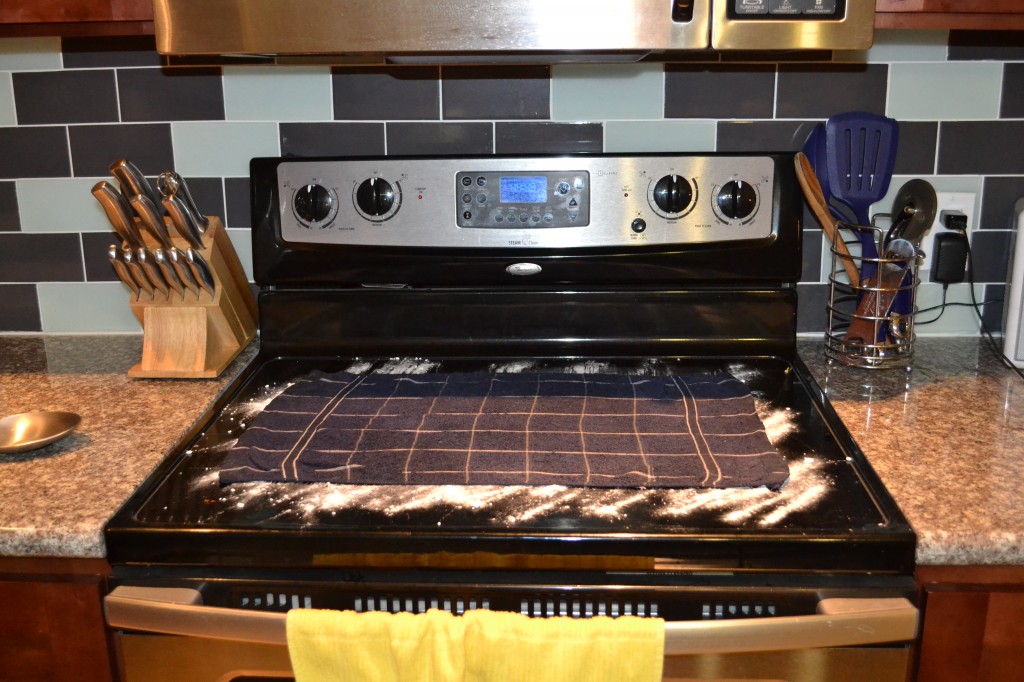
Sprinkle baking soda on your “problem areas,” which for me, was, well …

DSC_0011

Makin’ it rain snow.

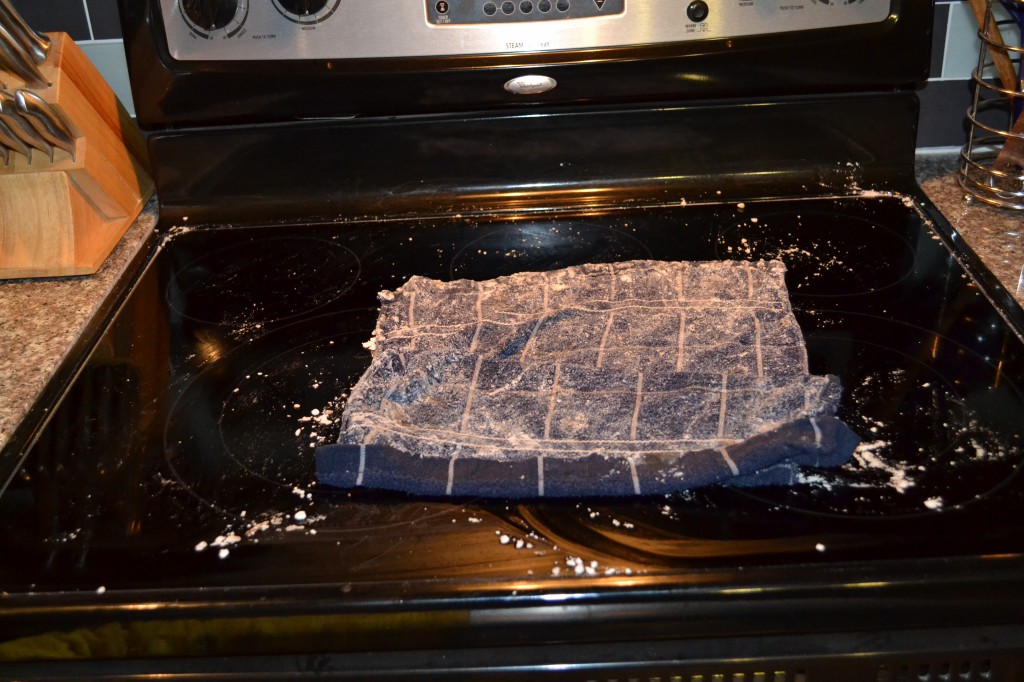
Then you wring out your wet rag, place it on top, and let it sit for awhile.

DSC_0012

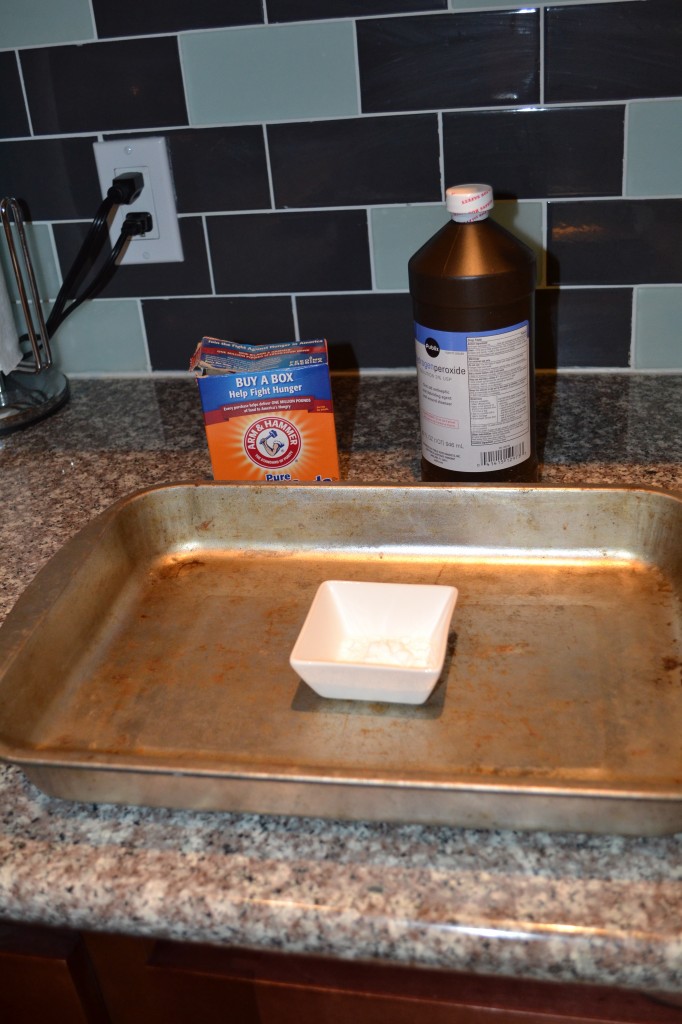
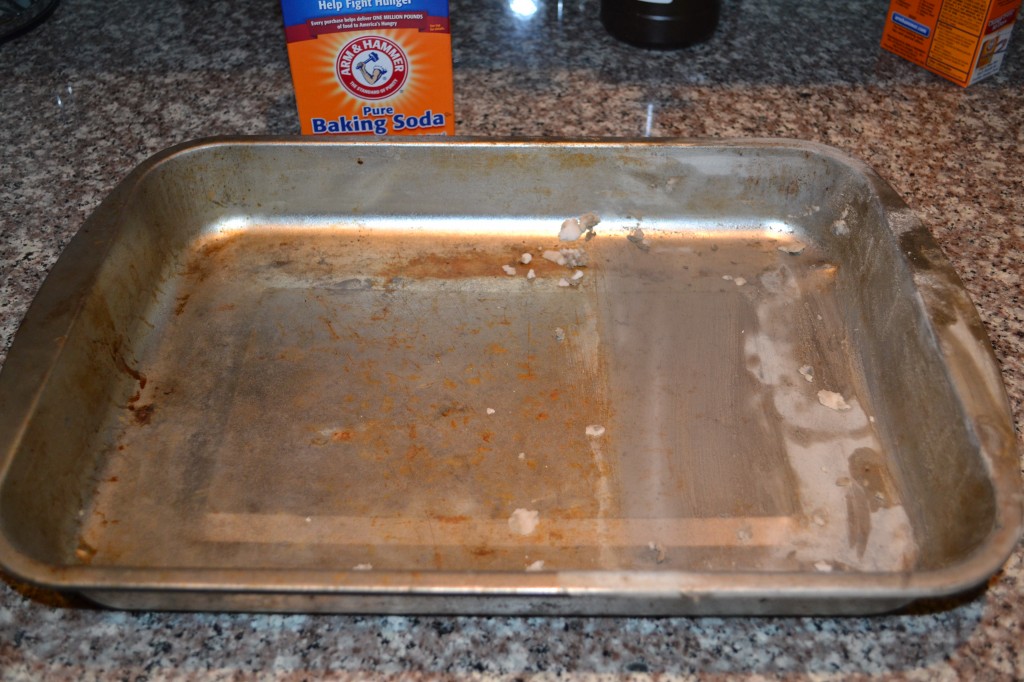
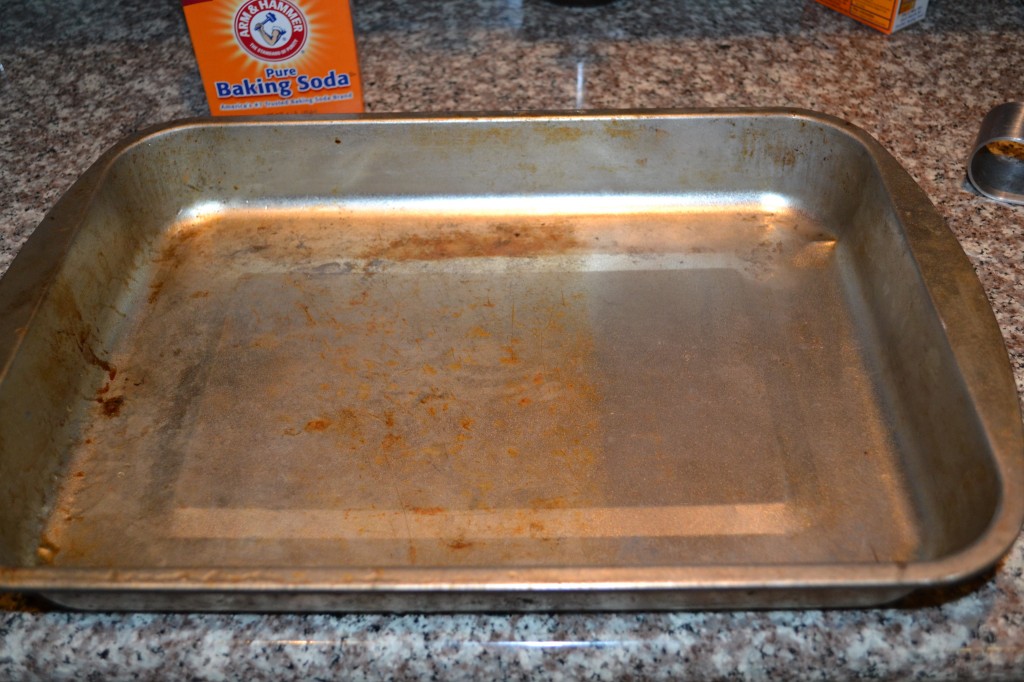
While I waited, I tackled the old pan. I mixed baking soda and peroxide into a paste, and then I started scrubbing. And scrubbing. And scrubbing. It definitely worked, but it required a lot of elbow grease.

DSC_0014 DSC_0015 DSC_0016 DSC_0017

You can see the improvement, but no miracles were performed. Plus I’ll tell you a little secret: I didn’t bother to scrub the rest of the pan. I dried it off and put it away just like that.

By now it was time to address the stovetop. Again, this process required a lot of hard scrubbing too. The baking soda worked well to remove the spots that were really baked on, but it also created hundreds of little balls of baking soda that were time consuming to gather up.

Baking Soda

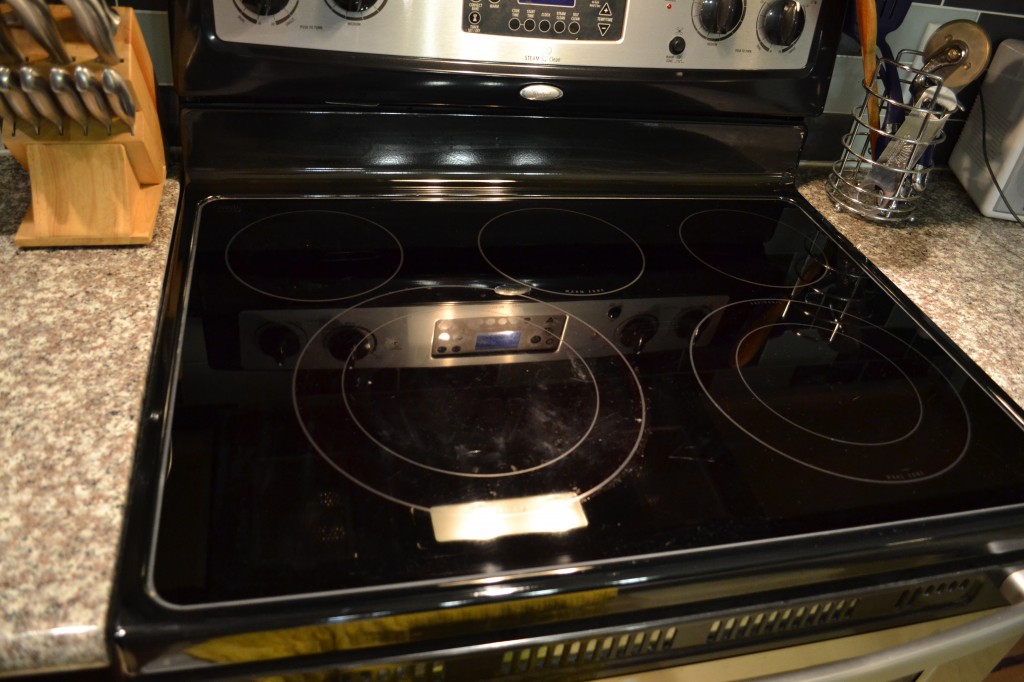
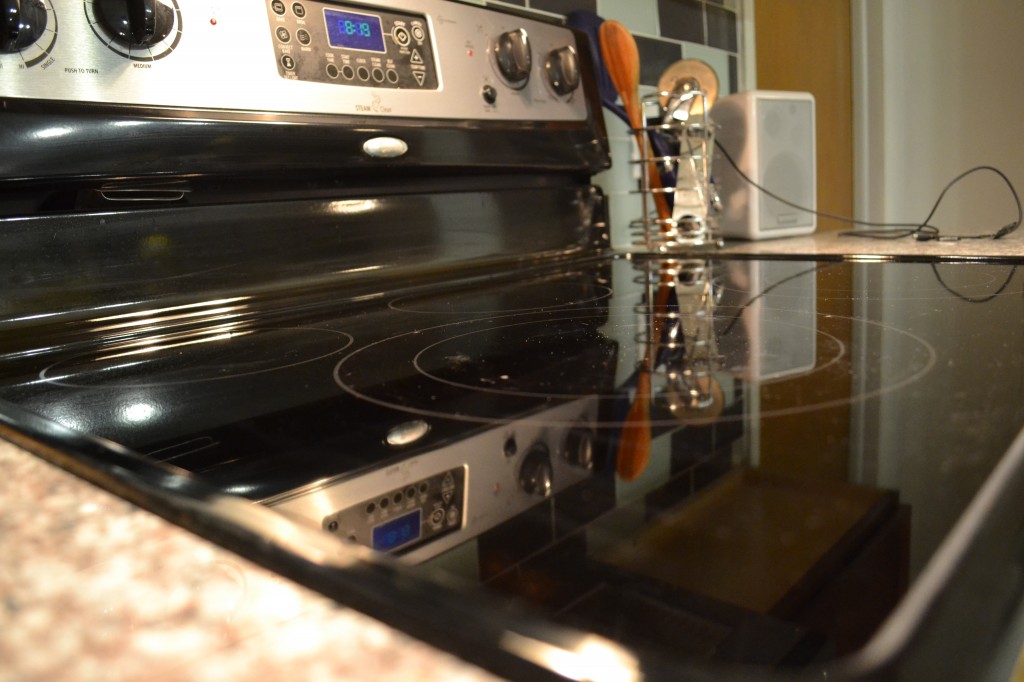
It worked to clean the glass, though, and I am now the proud owner of this:

Baking Soda Baking Soda DSC_0022

I will say this: I have a product for cleaning the glass stovetop (Cerama Bryte Cooktop Cleaner), and it comes with a little red scrubby thing, and it works equally well. So there’s that.

I wish other people would test out cleaning and home improvement pins … at my house.

I am a Dirty Girl!

That title was really redundant. I think everyone knows I am a Dirty Girl, and so is The Dog. On Saturday, though, I got extra dirty!

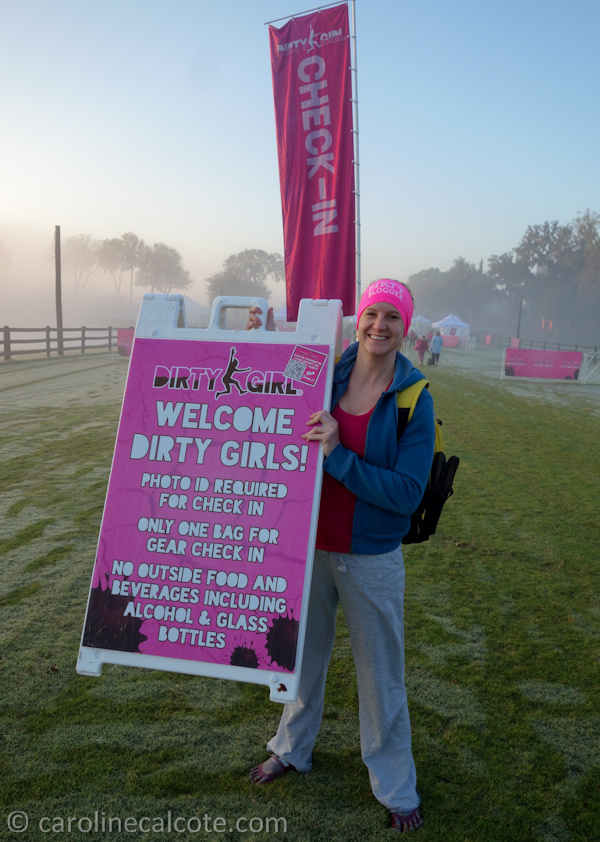
I mentioned the Dirty Girl Mud Run a few months ago in this post, and the day finally arrived. I snuck out of bed at 5:00 a.m. to meet Caroline and Raffi from the Tampa Bay Lady Bloggers before dawn, so we could carpool for the trek over to Dade City. I have never been on speaking terms with 5:00 a.m. or its ugly cousins (5:30 a.m., 5:45 a.m. …) and this morning was no exception, but I got up with no problem because I was excited about this run! We were getting close to the Little Everglades Ranch when the sun started peeking up.

Caroline 07

Caroline 11

A huge thanks to Caroline for jumping on this golden opportunity:

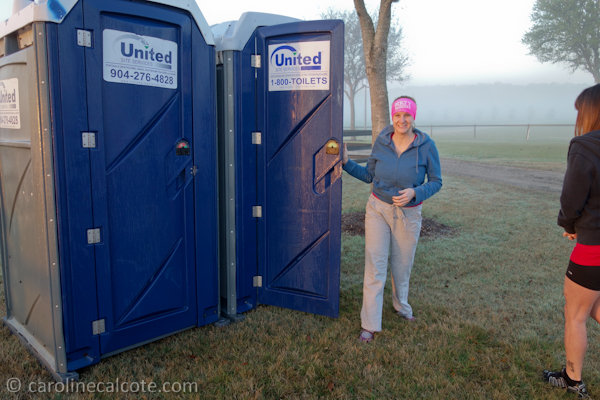
I am still grimacing from the port-o-potty's lovely aroma.

I am still grimacing from the port-o-potty’s lovely aroma.

I almost got my blogger status revoked by failing to bring a camera (who does that?!), but luckily all the girls had me covered, and I have a post chock-full of their photos. So disclaimer up front: the majority of these photos are not mine, but you can click on them to take you to the source. We ran in the very first wave, so the grass was wet, the course was pristine, and the mud was COLD.

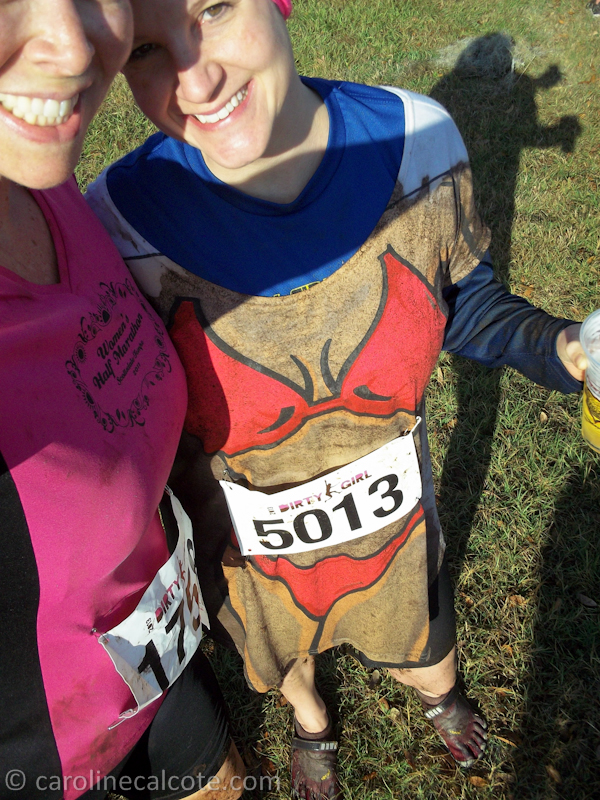
I wore my standard racing gear (the pink bikini shirt from the Tough Mudder) and a new Bondi Band (complements of Raffi):

JFK 01

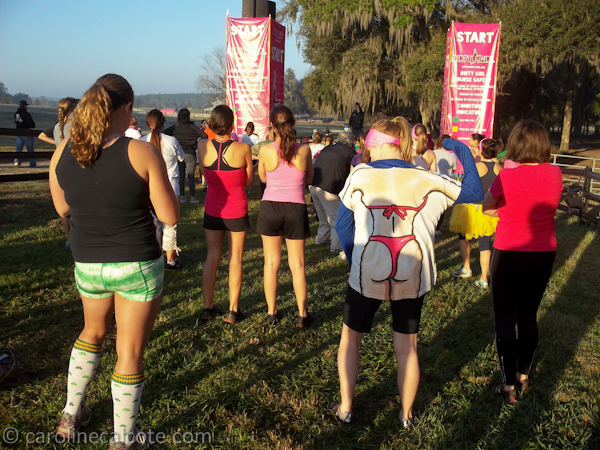
This shirt is best appreciated from behind:

Caroline 02

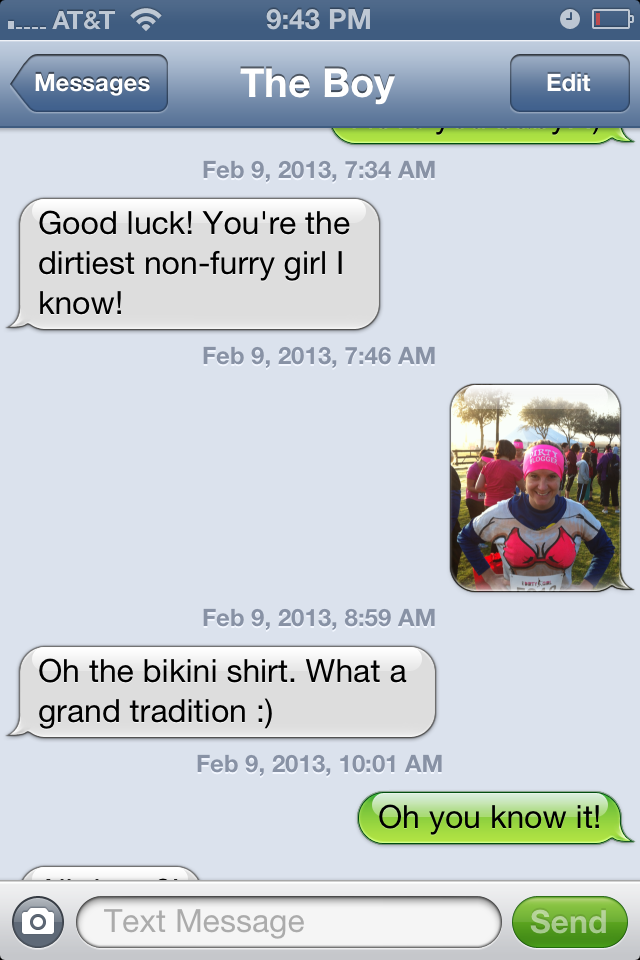
Oh yeah. The Boy asked if he could come support me, and I told him it was “girls only,” so he stayed home, and supported me from afar via text:

JFK 02

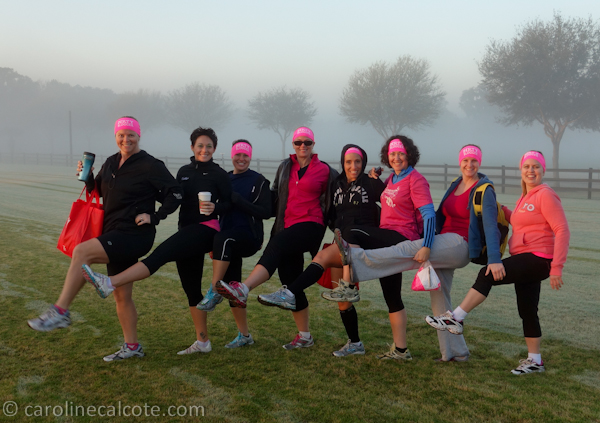
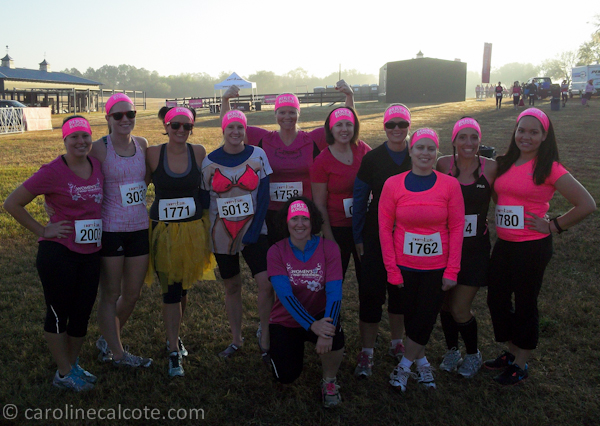
Here we are pre-race:

Caroline 10

Left to Right: Caroline, Caitlyn, Genna, Jenny, Denise, Raffi, Me, and Nicole.

Caroline 01

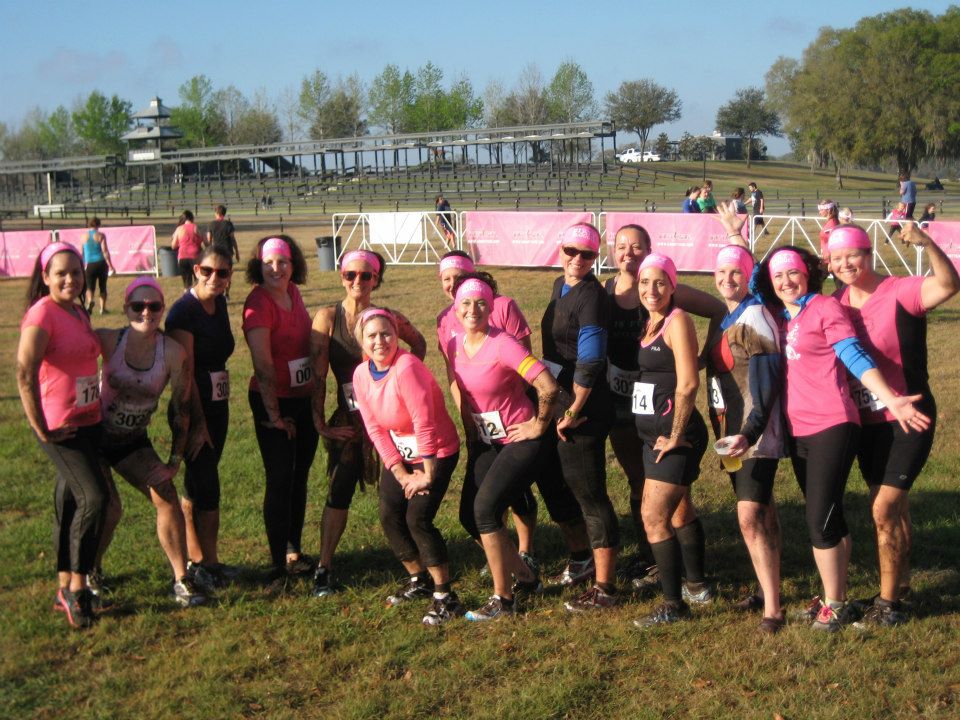
Another shot with more of the group, including Mary, Meghann, Jess, and Margarita. It was very nice to finally meet some of the ladies whose blogs I love!

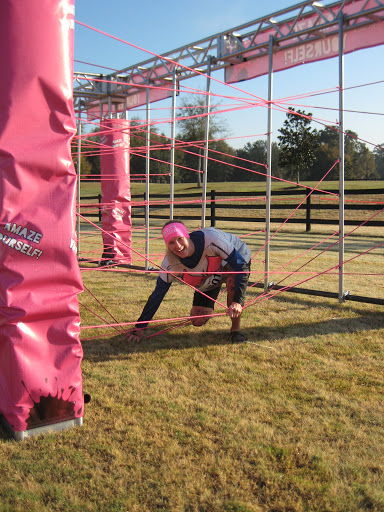
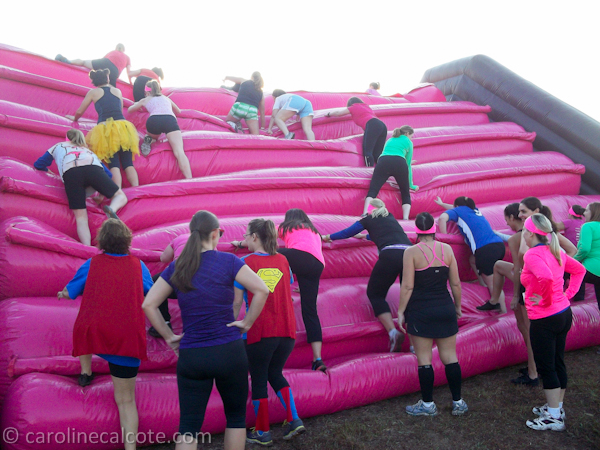
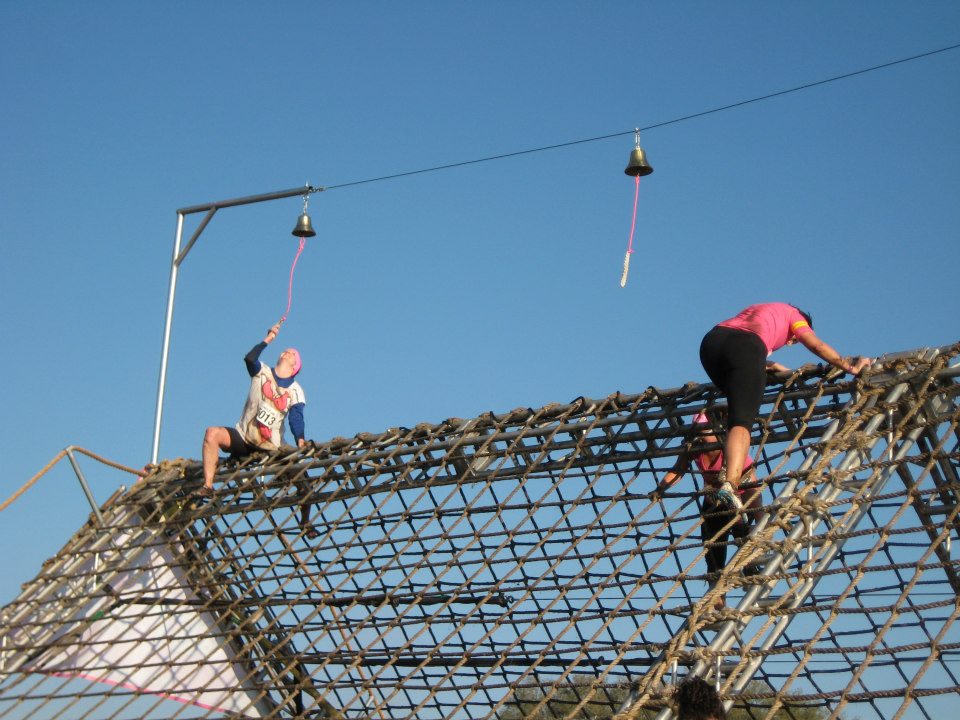
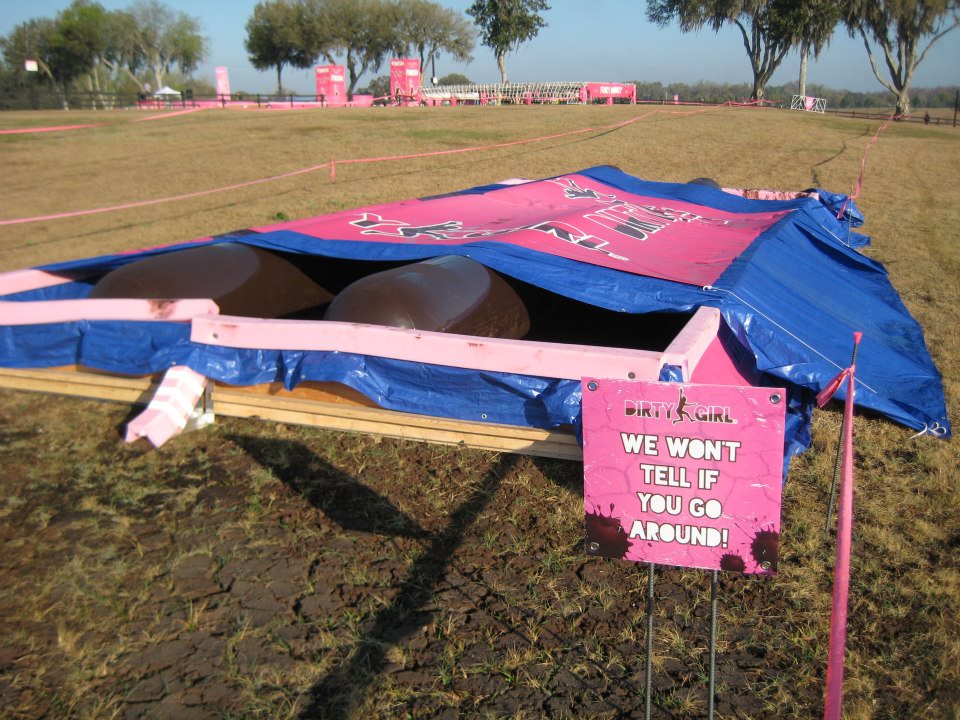
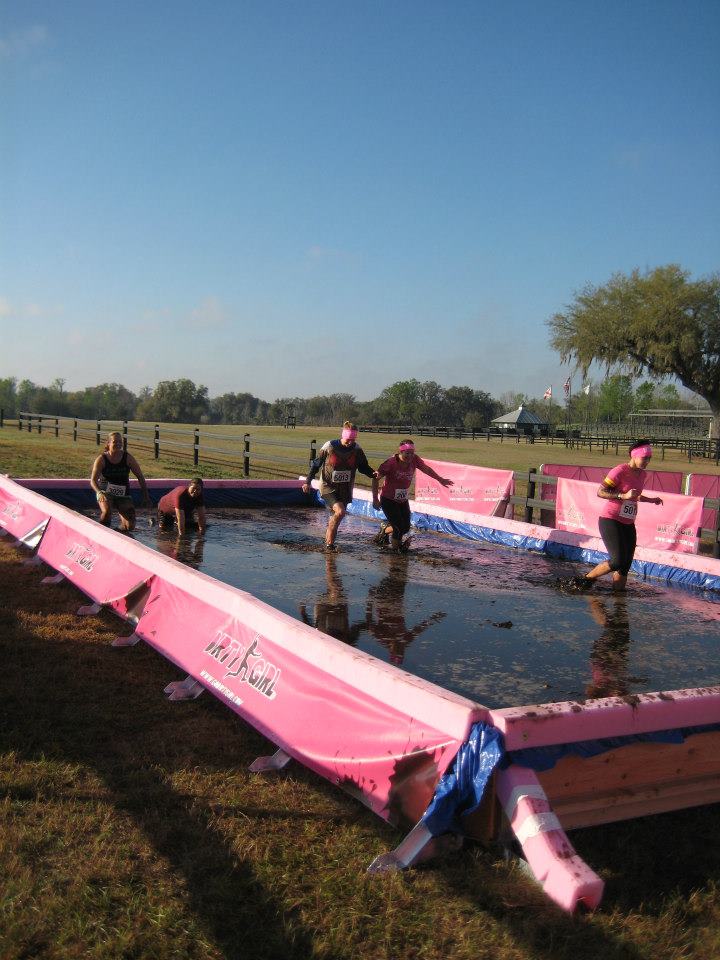
We got warmed up at the start line by a pep talk, and some zumba! That was definitely a fun surprise. The obstacles consisted of mud pits, water hazards, walls, a giant slide into a mud pit (Dirty Dancing), cargo nets (Get a Grip and Funky Monkey), mud tunnels (Utopian Tubes) and a stretchy rope thing (Amaze Yourself) that was actually kind of difficult to navigate.

Lydia’s husband practically ran the race with us, and was a great sport taking all of our photos. Here are a few gems he captured:

Lydia 01 Lydia 02

More obstacles:
Caroline 03

Lydia 03 Lydia 04 Lydia 05 Lydia 06

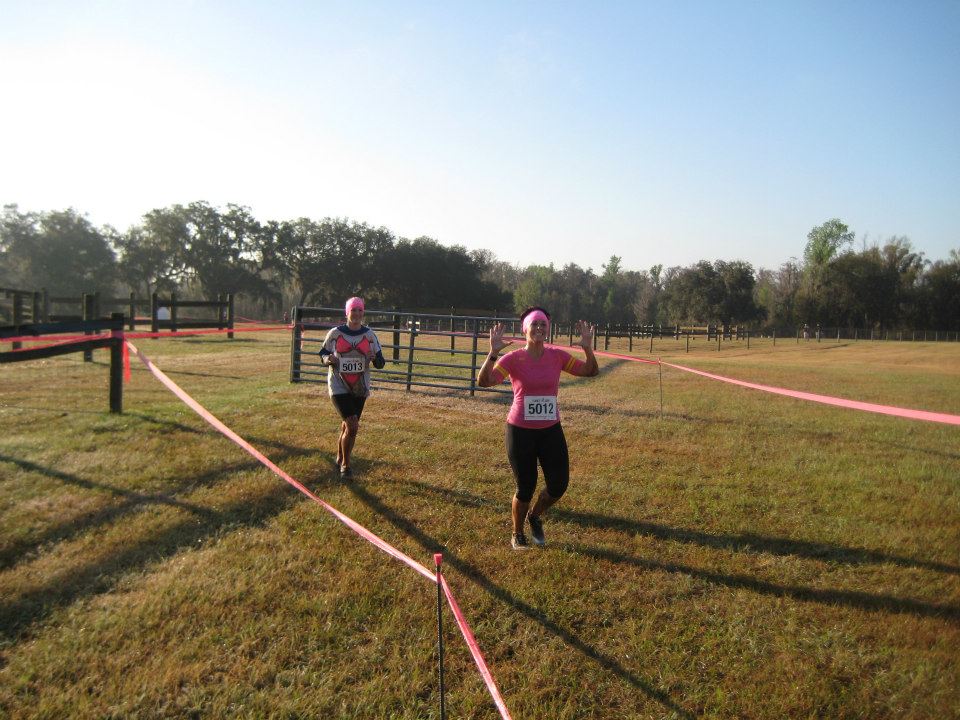
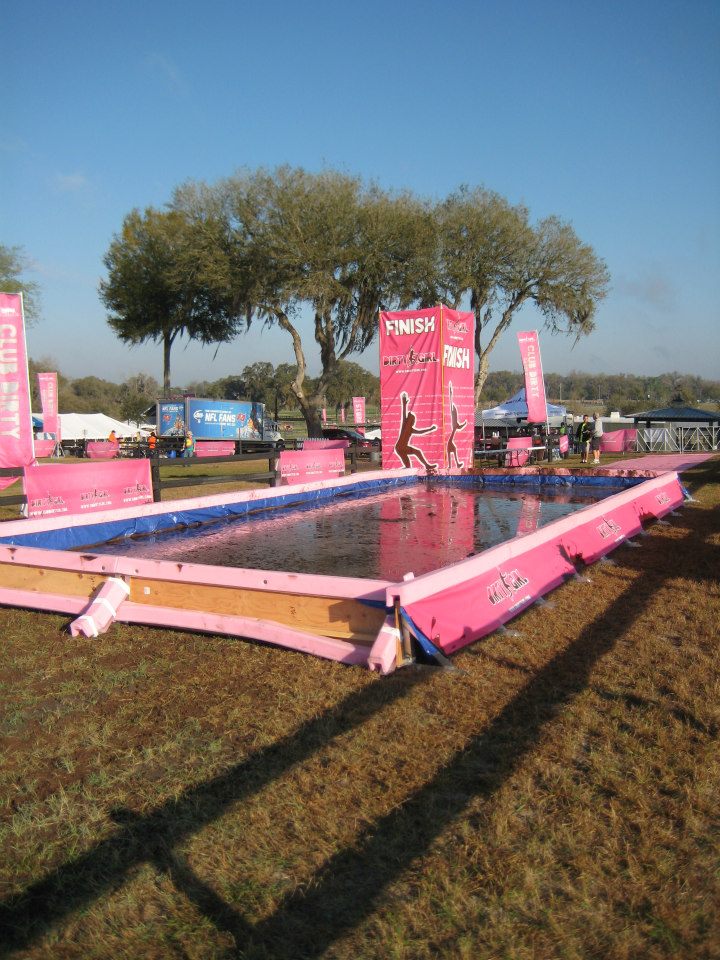
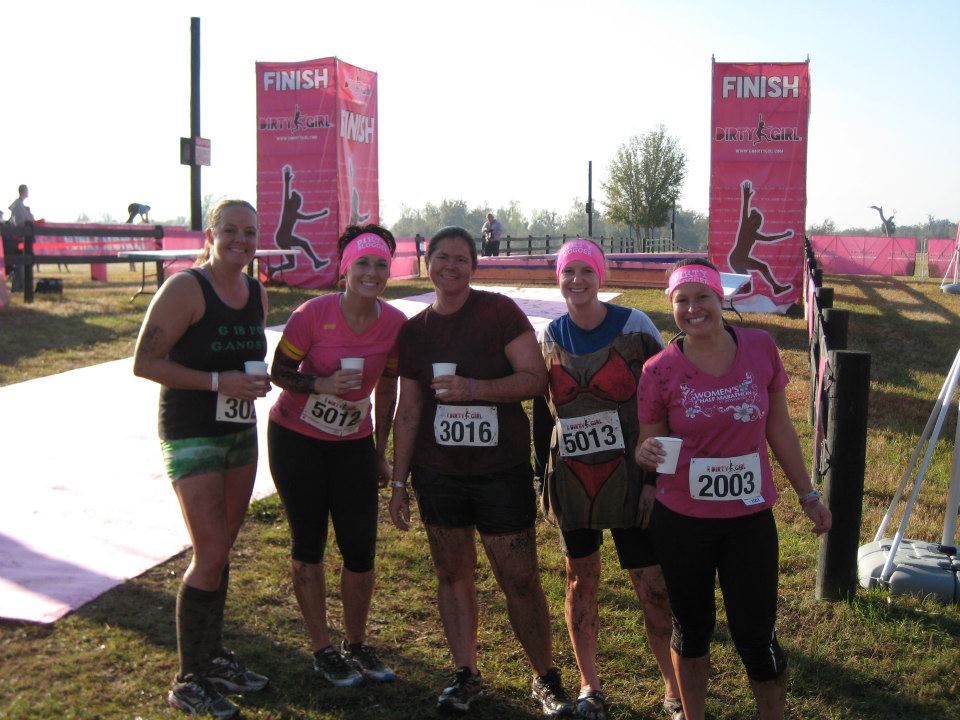
3.1 miles later, and we reached the finish line:

Lydia 08 Lydia 09 Lydia 10

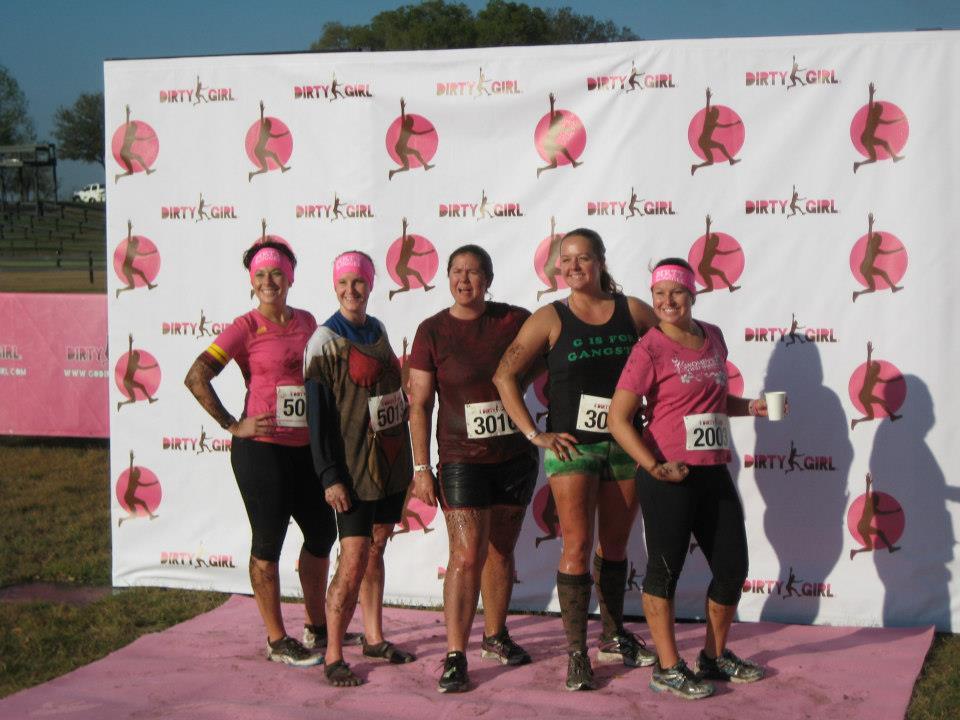
Once everyone arrived, we posed for our “official photos”:

Lydia 11 Lydia 12

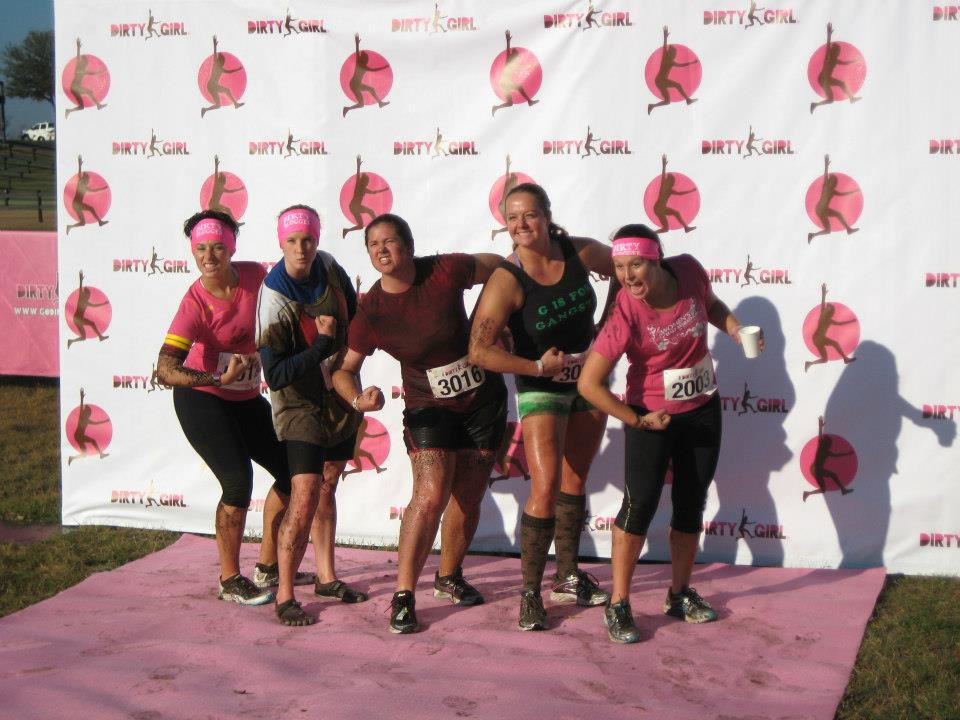
And a few “unofficial” ones:

Lydia 13

Raffi 02

It was a great race, well-planned, organized, and with excellent staff. A fantastic start to my Saturday!

Caroline 05