Shades of Stain

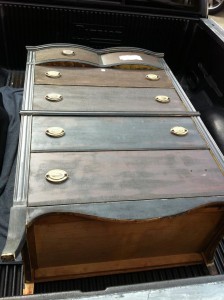
I was browsing the Habitat for Humanity ReStore one day, as I often do, and a dresser caught my eye. The store employee told me they had just put her out, and I knew she wouldn’t last long. I debated the entire drive home, since we already had so many projects going on, but I loved this dresser! I emailed The Boy to ask when Cindy (the truck) was available, and called as soon as I got home to buy her. Here she is on her way home:

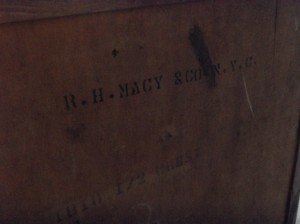
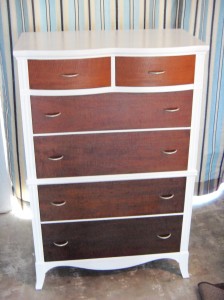
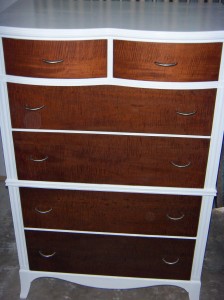
I am not sure why all furniture is female, but that is just the way it is. I always get very excited about starting a new project, and forget to take good “before” pictures, so this is the best I’ve got. Sorry! The back is stamped with “R. H. Macy & Co. N.Y.C” which you might know today as Macy’s. I made sure it wasn’t an Antiques Roadshow make-me-a-millionaire antique, and although it isn’t, it is definitely a neat piece of Americana. The drawers get subtly larger as you go down, and smell faintly of cedar. I really debated what to do with the dresser for quite a while, because the veneer is beautiful, but was in pretty rough shape. Gradient color is very popular right now – I did it with the changing table and really like it – but I thought it would be a shame to paint all of this beautiful veneer. When I inspected further and realized that the drawer fronts were in pretty good shape, I decided to paint the base of the dresser white, and do gradient on the drawers – in stain! Then it was time to work.

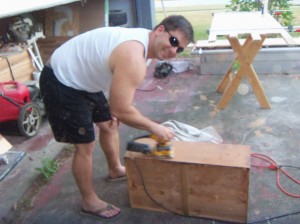
I sanded the base just to smooth it out, and sanded the drawers enough to remove the finish, being careful not to sand too much (veneer is thin!). The Boy even got in on the action:

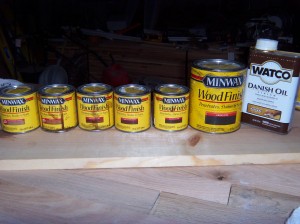
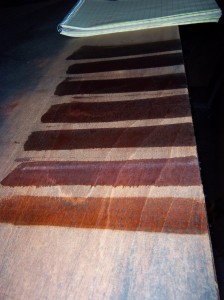
I wanted to see the different stains on the wood to decide which ones to use, so I sanded part of the top of the dresser, and The Boy played bartender.
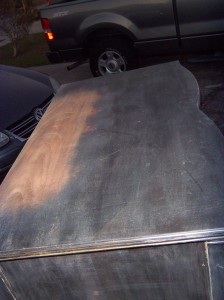

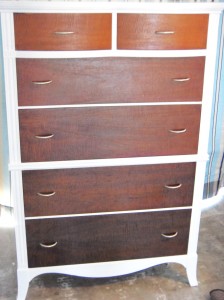
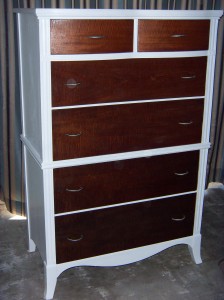
I was smitten. The base was painted, the drawers were stained, and I swooned. It really turned out great. I picked very small and subtle drawer pulls, so they would not stand out. I took a few pictures without the flash, since it shows the true stain colors better, but then I took a few with the flash.

I love the way it turned out, and I would love to keep it, but we don’t have anywhere to put it. Although I cannot name her, my suggestion to her new owner would be Shades of Stain.

Shades of Stain is for sale!

Pinbusters – Tinted Mason Jars

Have you ever wondered if the stuff people post on Pinterest is true? Well I have, and I test them all so that you don’t have to, ’cause ain’t nobody got time for that.  Click here to check out all of the pins I haven taken on. You might be surprised by some of the results!

I am not sure what the practical purpose of this pin is, other than decorating, which I am allergic to. However, in the spirit of busting pins (it doesn’t sound so elegant when phrased that way), I am going to give it my all.

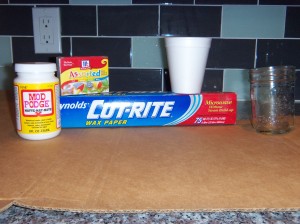
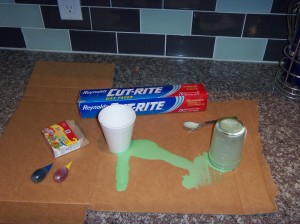
Supplies needed: Mason jars, Mod Podge, food coloring, wax paper, cookie sheet, oven, and ramekins. (Okay, seriously, can’t we just say “little bowls”? I am not sure why this blogger feels the need to use such a ridiculous word.)

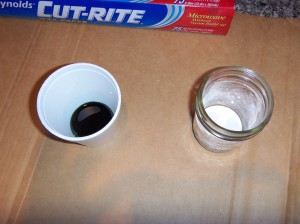
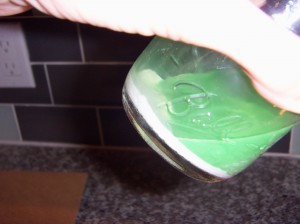
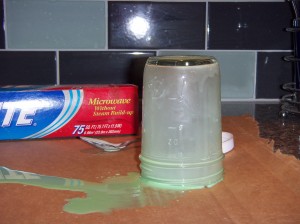
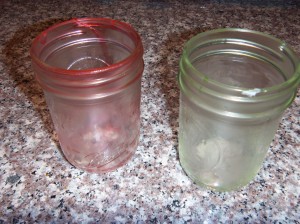
Please note my very fancy styrofoam little bowl ramekin. I followed the instructions perfectly, except with the first jar (green) I believe I used a terrible water to food coloring ratio. The liquid inside my Mason jar was way to soupy and sloshy.

I did manage to get all surfaces covered and set it to dry (and thank goodness our granite is sealed and didn’t stain green!).

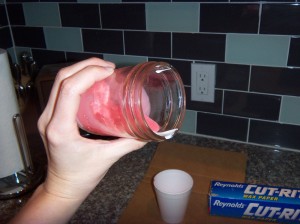
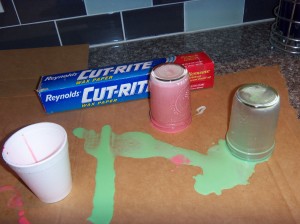
I did a second jar (red) to see if I could get a better result. I used way more food coloring and less water, and it was slightly better. I could roll it around a little better and get the sides coated.

I let them dry for about 30 minutes, then I put them in the oven on the warm setting. (Did you know your oven has a warm setting? I didn’t. I also just discovered the broil feature, though, so I guess I have a lot to learn about ovens.)

They did not turn out great, and do not look as good as the pictures in the original post, but I really think this is feasible. I think I should have turned them right-side up for the baking, because they really stuck to the wax paper. I also would just add food coloring straight to the Mod Podge, and skip mixing with water, to get a darker tint. Finally, I have no idea what the effect of using “matte” Mod Podge versus “glossy,” but I can’t imagine it is much. Point is, with some practice, and a dose of patience, I could get my jars to look like the ones in the original pin. You know, if I wanted to.

This pin is plausible!! Happy Black Friday, everyone. I hope you have a blast throwing elbows in WalMart to save $30 on a flat screen!

The Master-ish Plan

The Boy and I have decided to turn the Master-ish Bathroom into a (gulp) MASTER bathroom. No ish!!

What we currently have is the one renovated full bathroom, off the living area, and the other larger bathroom (a/k/a the green bathroom a/k/a the Master-ish Bathroom) off the hallway. However, the Master-ish Bathroom does share a wall with the largest bedroom, therefore we have entertained delusions of turning the hall and hall closet into a walk-in closet leading into the bathroom from the bedroom.  Here are some pictures so that this might make a little sense:

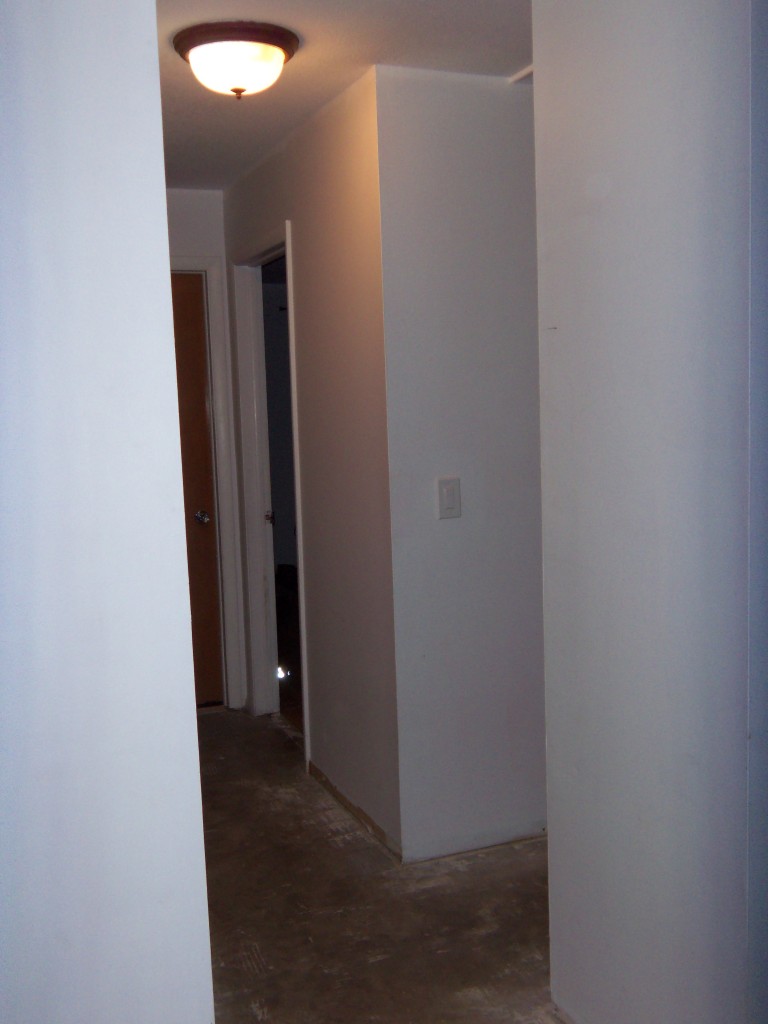
The hallway in question. The first opening on the right leads to the bathroom. The other door on the right leads to the largest bedroom.

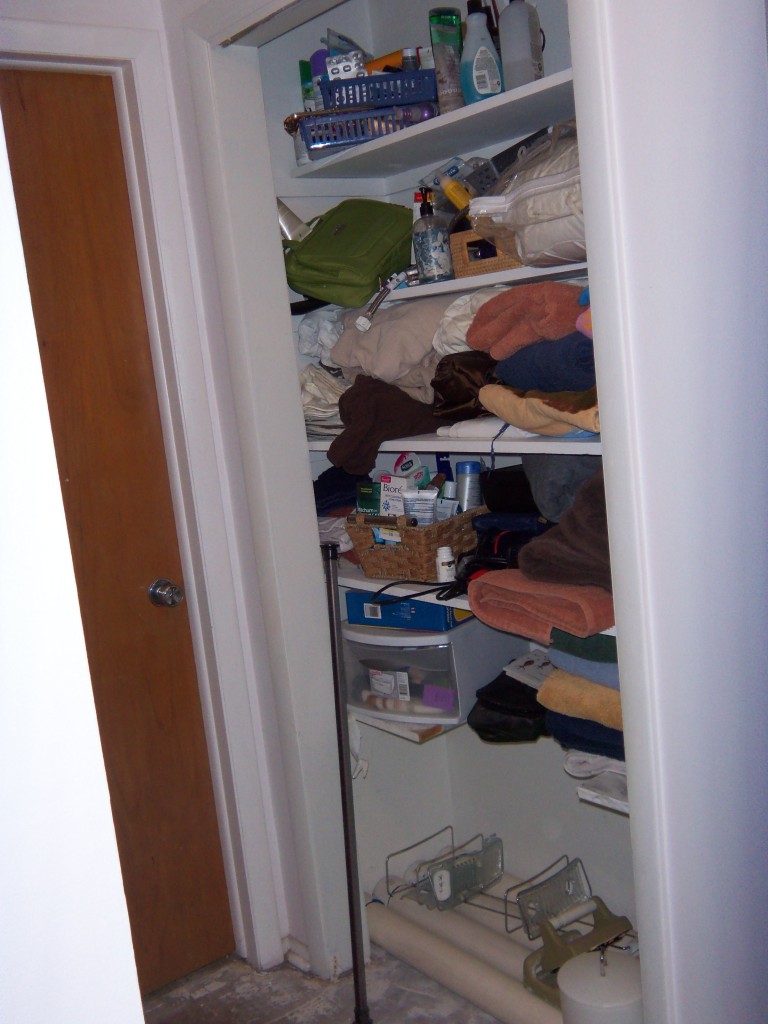
The hall leading to the bathroom, with a closet (missing doors, of course) and bathroom door.

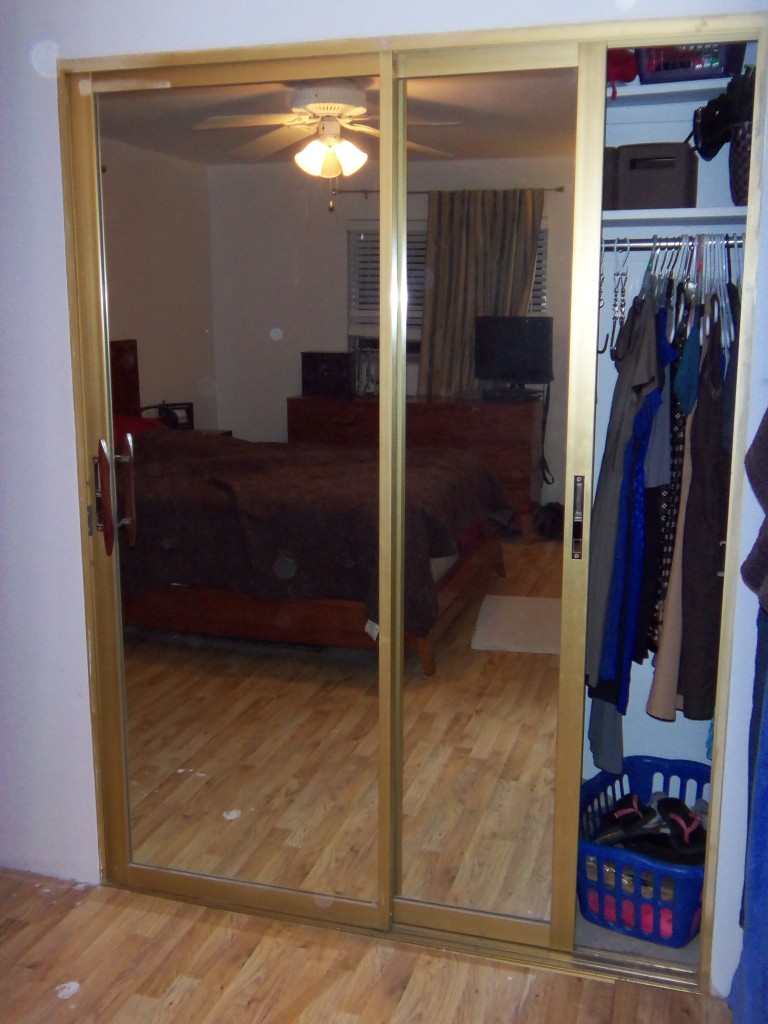
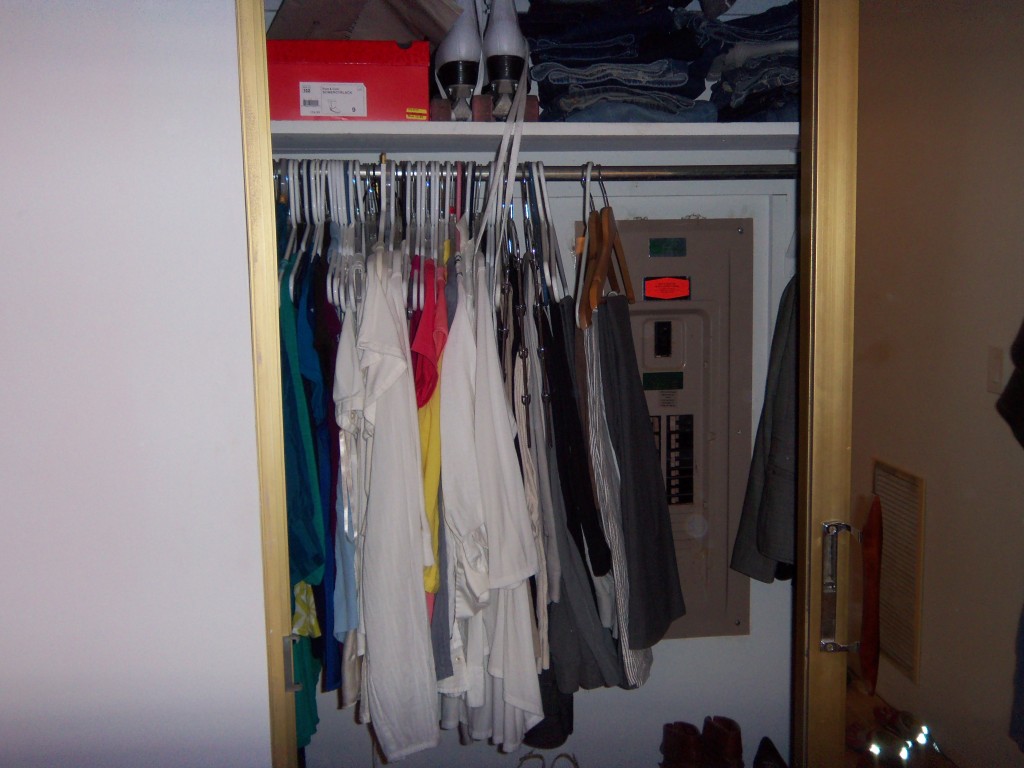
The closet in the Master-ish Bedroom.

The back of this closet is the wall on your left as you are walking into the Master-ish Bathroom (and the hall closet would be on your right).  I hope this is making sense, because I am confused, and I live here. Also, I quickly realized I would not be able to take this last photo without showing most of the bedroom, so I straightened up quickly, which involved kicking shoes behind the bed and putting the laundry on the bed away. I also opened the sliding doors a bit for perspective (and to take me out of the picture!).

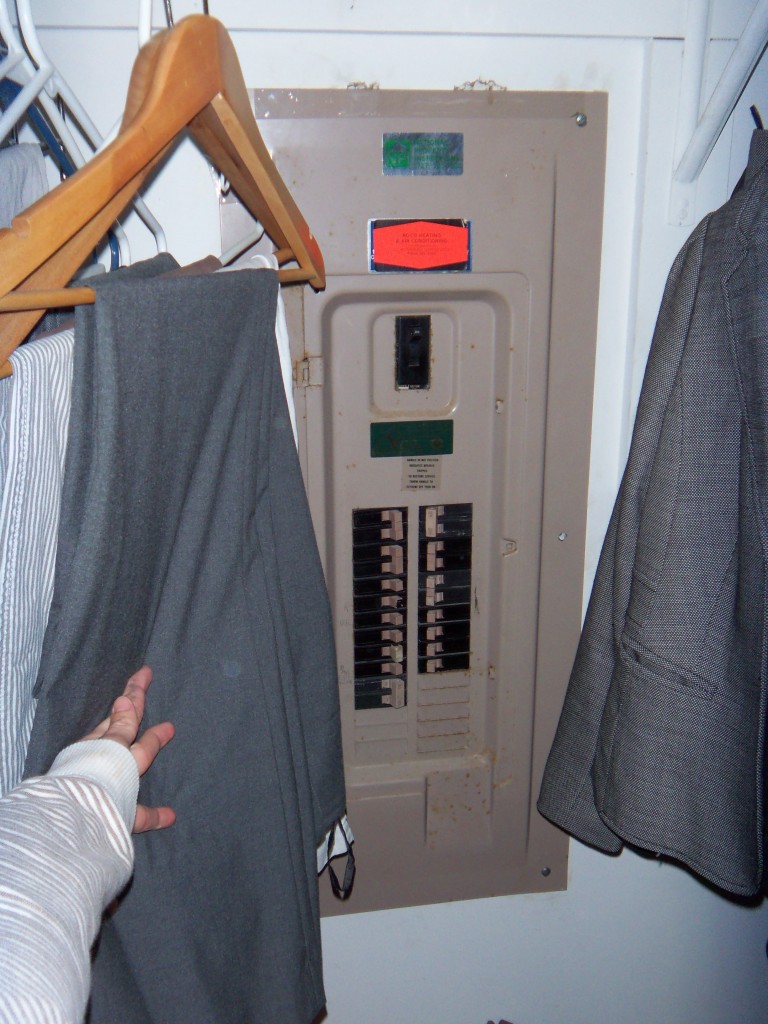
Here is the big problem:

That, my friends, is a breaker box.

This is what we have to do every single time we play with electricity in the house. Which is actually very often, unfortunately.

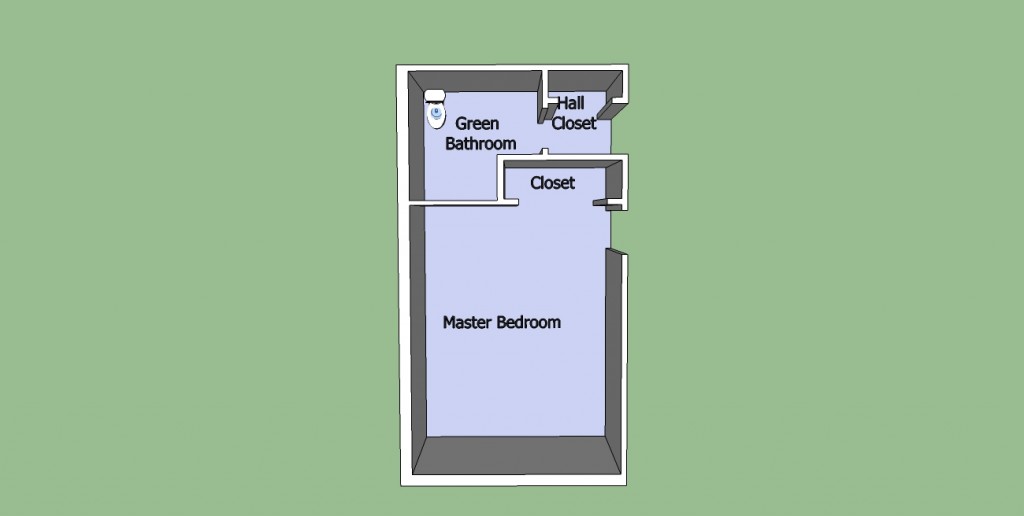
I had The Boy do a quick drawing on Google Sketch-up, to show the before and after of the future layout. This is what we currently have:

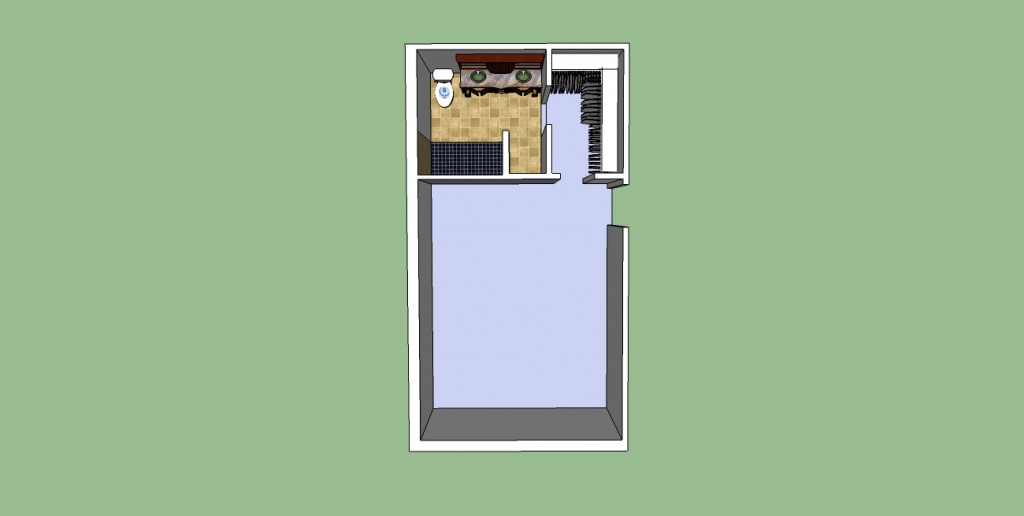
And this is the goal:

The idea is that the breaker box will stay in the closet, turned to be inside the wall on the left when you walk into the master closet, but otherwise unchanged. We confirmed that the power main is coming in from the top of the box, therefore in theory we should be able to pivot it and locate it in the new wall that is built. I am sure this is one of those things that sounds WAY easier in theory than in reality. We will let you know!