Crafting Fail – Fixed!

If at first you don’t succeed … throw that crap away! That was my motto, anyways. The Boy won’t let me though. Boooooo, Boy.

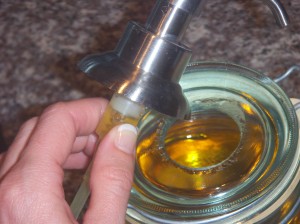
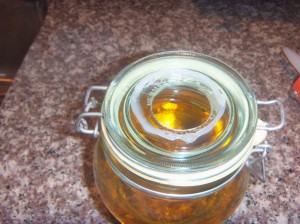
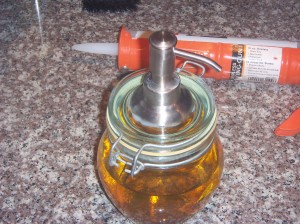
Awhile back I made a soap dispenser out of a fantastic old jar I found at a thrift store. I used my diamond drill bit to put a (way too large) hole in the top, and used super glue to attach a cheap pump.

A few months later, and she isn’t looking so hot anymore.

All that pumping and moisture (get your minds out of the gutter!) have caused the super glue to lose its grip, and the metal pump started rusting at the bottom.

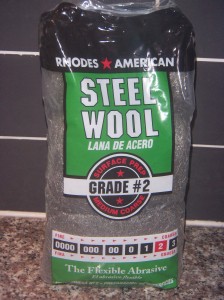
I cleaned the pump and the top of the jar with some steel wool I have left over from the wood stain Pinbuster, and it worked great.

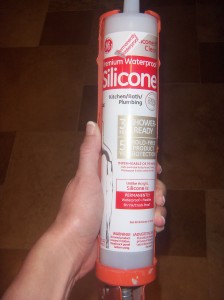
The Boy had picked up some clear silicone adhesive, which I think will work much better and hopefully prevent some of the rusting. I put a small bead in a circle approximately where the pump sits, and put it back into place.

After wiping off the excess silicone, and letting it dry for about 30 minutes, she was good as new and back in place. So if at first you don’t succeed, ignore the problem until The Boy comes home with a solution. That’s my new motto.

Guest Bathroom – Budget Breakdown

I feel the need to shout again:  THE BATHROOM IS DONE!!!

I assumed the biggest expense in this bathroom would be Bertha (the bathtub), but the “miscellaneous” category really took the cake, which surprised me.  In hindsight, we essentially built a bathroom from scratch, which required moving a drain, hanging drywall and cement backerboard, adding a recessed light, and all of those little things add up over time.  Plus we probably went through WAY more plumbing supplies than any self-respecting certified plumber would have, but hey, it was our first time.  I always want the budget to be as low as possible, and I think we could cut out a few expenses next time, but I am still pretty happy with where we ended up.  Check it out:

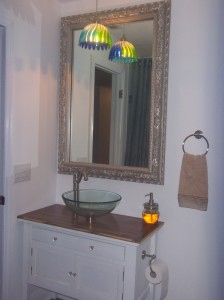
Sink:                      $50.00 (Glass vessel sink on Craigslist)

Vanity:                   $50.00 (Target buffet on Craigslist)

Flooring:                $70.75 (Teak on close out at Floor & Decor – end of last year)

Bathtub + drain:  $453.90 (Kohler Archer 5′ Comfort Depth Bathtub from Overstock Deals (www.overstockdeals.com).  I did a TON of research and Overstock Deals ultimately won because they had free shipping, which was running over $200 on other sites! You had to purchase the entire drain assembly along with it, but they had the best price on this too.)

Shower fixtures:   $146.95 (also Overstock Deals)

Faucet:                   $59.90 (Amazon)

Tile:                        $241.94  (Floor & Decor)

Mirror :                   $50.00 (my friend Sherry who purchased it at a consignment store and wanted to get rid of it when she moved.  It was gold so I spray painted it brushed nickel.)

Misc:                       $682.23 (this includes drywall, tape, mud, etc that goes along with it, cement backerboard, tool rental, recessed light, MDF for shelves, mounting ring and drain for sink, electrical and plumbing supplies, polyurethane glue for teak floors, baseboards, etc.)

GRAND TOTAL:      $1,805.67

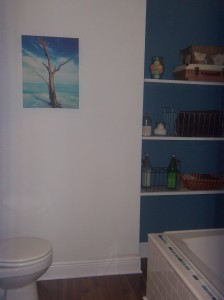
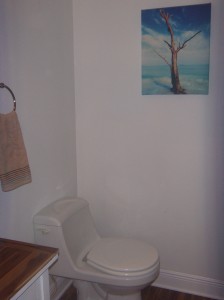
The only thing in the bathroom that we reused was the toilet.  It was fully functional and looked fine.  We did replace the toilet seat with a soft close one, which is included in the miscellaneous category.

It only took us ten months to finish this bathroom (sigh), but I am really hoping the next bathroom goes much faster, since we will not have a drain to move and will hire out any drywall work (it is not a pleasant task for the impatient, perfectionist DIYer!!).  Wish us luck, as the green bathroom is already in full demo mode!
Lawdy Dawdy, We Likes to Potty

We don’t cause trouble, we don’t bother nobody …

YES.  THE BATHROOM IS DONE.  FINISHED.  One hundo percent. On Monday I posted a to do list of finishing touches that needed to be completed before we could cross this project off of our list altogether.  We also needed to return the bathroom door to its rightful place on the hinges and cease all awkward doorless bathroom activities FOR GOOD.

The list included:

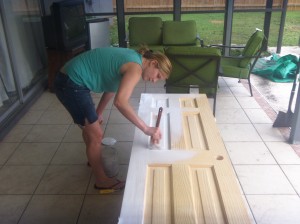
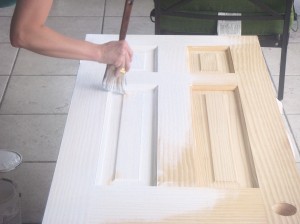
Finish painting the door:

Re-hang the door (and put the door stoppers on):

Put towel hooks on the door:

Paint all trim:

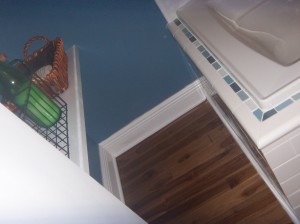
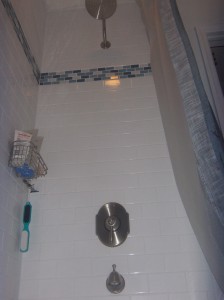
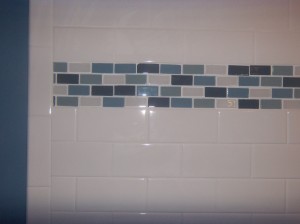
Remove grout stuck on tiles way up high:

This was really hard to photograph!

Paint the ceiling (ok, ok, ok, we did not do it.  But I don’t even care).

CLEAN and write “ta dah” post (here it is!):

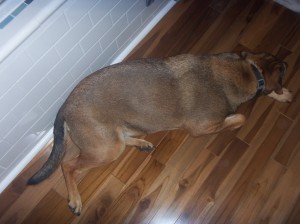
It was hard to photograph such a small bathroom, but it was made more difficult by the perpetual attempted photo-bombing:

Dirty

I just met you, and this is crazy, but here’s my fur coat, scratch me maybe?

Dirty

If you would like to reminisce about how unfortunate looking this guest bathroom was, you can see this bathroom in all its original glory, in progress, installing Bertha (the bathtub), making of the light fixture, replacing the hollow door, transformation of a buffet into the vanity, and the long neglected finishing touches list.

I will do a post soon about all of the items left on our to do list, before we can consider the house finished and ready for sale.  That one will be a doozy.  However, this public shaming sure did get us in gear to finish these nagging tasks, so maybe it will work on the rest of the house too?  It couldn’t hurt (anything other than our egos!).

(P.S. You can check out the budget breakdown here.)