Entertaining Your Furry Kids!

You may have figured out by now that The Dog rules this house – or at least she thinks so, and we don’t have the heart to tell her otherwise.

The best advice we received when adopting an energetic puppy was, “A tired dog is a good dog.”  Truer words have never been spoken.  We have been very fortunate to have just a few cases of chew toy mistaken identity (my new boots, my new hat, and the living room light/fan remote). However, The Boy and I would like to think we have one part good dog, and one part tired dog thanks to our efforts.

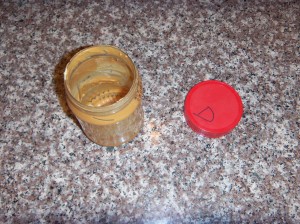
We go through about one small peanut butter jar a month filling up The Dog’s Kong (a/k/a Kongaleeza Rice), and we used to just recycle them.  The Boy had a brilliant idea to make them into toys for The Dog.  This actually occurred for the first time after The Dog’s first birthday party, when she gorged on doggie cupcakes and doggie ice cream (and doggie treats, and other dog’s treats, and anything that fell on the ground), and then went on a hunger strike for several days.  We could not get her to eat her regular food at all, and we refused to continue feeding her junk.  I’ll quit rambling and tell you already.  Sheesh.

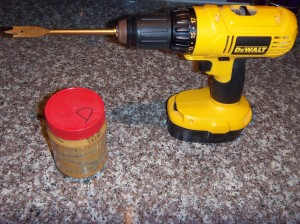
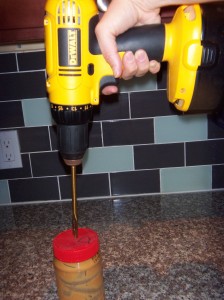
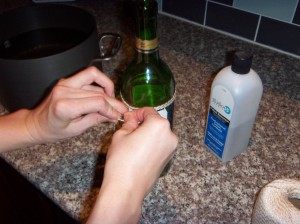
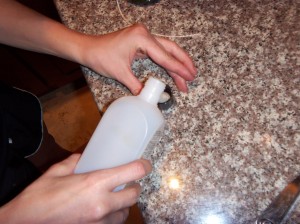
Drill holes in the lid of the peanut butter container, throw in some of your dog’s regular food, and watch them bat it around like idiots trying to get the food to fall out.

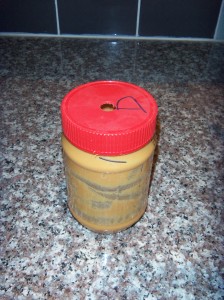
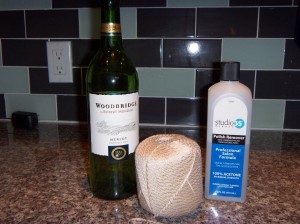
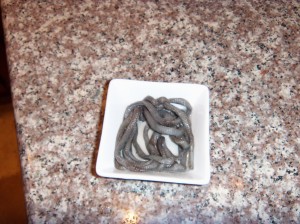
Yep, it is that easy. The last picture is showing how I fish out the little chunks of plastic that end up in the jar.  They probably wouldn’t hurt a dog who inhaled a rib bone and lived to tell about it, but I’d rather not risk it.

The Dog picks this jar up and throws it across the room with her mouth. It is pretty hilarious, and fun for the whole family. The food also gets a light coating of peanut butter in the process, making the reward that much more tasty (and harder to get out!).  We use a 1/4″ wood boring drill bit and make three holes.  However, we buy the mini-chunks, so if your food morsels are larger you may need bigger holes to allow the food to fall out.  Also, every dog is different, but I would never leave mine unsupervised with this toy, because she will chew the lid right off and rip the plastic to shreds (and ingest it, which cannot be good for her intestines!).

I will try to get a video of our furry fat kid going nuts over this, and update this post.  She never seems to cooperate when the camera is on.  I hope your furry kid enjoys this as much as ours does!


Reality Television Stars (Almost … OK, Not Even Close)

“The renovation post you are about to read is real …”

Not too long ago, but before this blog was born, The Boy, The Dog, and I applied to be on an episode of Renovation Realities on the DIY Network.  The process involves filling out a form with lots of information about us and our project, along with a video (eek!) of us showing the area and our renovation goals.  We submitted the following video, which is incredibly embarrassing to watch because we are so awkward.  <cringe>

http://youtu.be/XOfxVAWD9lk

The very next day, we received the following email:

“You guys are adorable!  We think you’d be great for the show, BUT the bathroom is just too small to accommodate a 3-person camera crew, plus 2 renovators.  Do you have any other projects?  I know you’ve already done the kitchen … but a back deck or basement, perhaps?  Just throwing ideas out there.  Let me know if you come up with anything.  Thanks so much!”

We were shocked to receive a very fast response from the network!  When we offered to include the master bedroom in the renovation, they wanted a follow up video.  The Boy and I were very excited, and shot this quick video <more cringe>:

http://youtu.be/t7O3ZR24x2A

After weeks of waiting to hear back, and preparing ourselves for our television debut, we were out of town celebrating our anniversary when we received this email:

“Thank you so much for your interest in “Renovation Realities”. Unfortunately, we heard from the Network today, and they do not feel your project is right for the show. They don’t typically elaborate on their decision-making process, but I suspect it’s because you two have too much DIY experience for this show. Most of our homeowners have done little more than hang picture frames. Funny how it works like that! That being said, I’ll definitely keep your information on file, should we begin producing a different show in the near future.”

Rejection stinks, but if you really want to know why we were not selected, you can read this post.


Pinbusters – Cutting a Glass Wine Bottle

Have you ever wondered if the stuff people post on Pinterest is true? Well I have, and I test them all so that you don’t have to, ’cause ain’t nobody got time for that.  Click here to check out all of the pins I haven taken on. You might be surprised by some of the results!

I am really pulling for this one.  It looks so cool!  All of the elements are there, too:  water, fire, ice, wind, acetone … let’s get down to business.

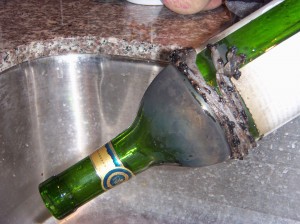
The pin in question claims that you can “cut” a glass bottle (in reality cause a thermal fracture due to differential expansion) by soaking a cotton string in acetone-based nail polish remover, wrapping it tightly around the bottle, setting it on fire, and then dunking it in an ice bath.  Sounds easy enough.

The Boy was skeptical, and said you would have to get it REALLY hot, and then REALLY cold immediately to cause the glass to break along the clean line.  I agreed, but remained optimistic that it would work.

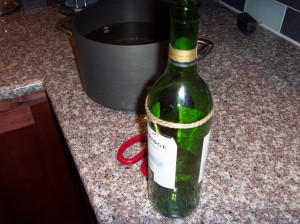
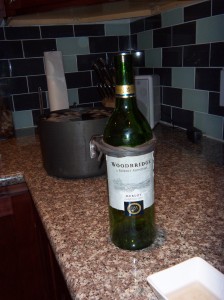
I chose a length of cotton string, and wrapped it very tightly around the bottle three times. (Note: it is not preferred to drink an entire bottle of wine right before attempting this task.  I did drink this bottle over the course of a few nights, and every time I poured a glass I declared that I was “drinking in the name of science!” which frankly everyone should do more often.)

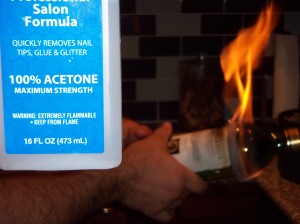
I removed the string, and soaked it in 100% acetone for at least 30 seconds.  Then I fished it out and slid it back onto the bottle.

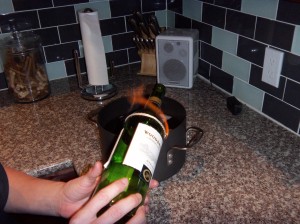
Next: light it on FIRE!!

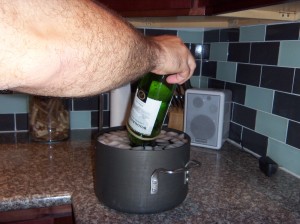
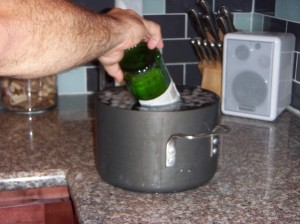
It didn’t take too long for the flames to die out, and I immediately dunked the bottle in the cold water.

Nothing.  Nada.  Not even a gratifying crack.

The Boy was now interested in taking a shot at it.  Permission to light things on fire in the kitchen granted?  Count him in!

We chose a longer length of string, and he wrapped it around 5 times or so.

This time we dunked it in regular nail polish remover (with acetone), put it back on the bottle, and lit it.

The flames were about the same, but did burn longer.  I also added more ice to the ice bath to bring the temperature down.  Flames started dying down, bottle took a swim, and …

NOTHING.  I was just about ready to break this bottle the old-fashioned way.

Last ditch effort.  The Boy sacrificed a shoelace from his yard work tennies.  We soaked this baby in 100% acetone (there should be no difference between the regular nail polish remover and salon strength stuff, because its only purpose is to be flammable, and the acetone is the ingredient that is flammable, so the salon strength 100% acetone should work best).  We let it soak for about a minute, during which I emptied our ice maker’s contents into the ice bath.

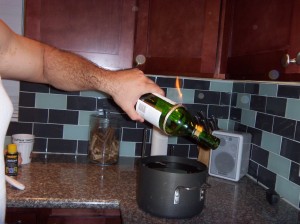
Then, we squeezed the shoelace around the bottle, backed away from the kitchen cabinets, and got our pyromania on.

Flammable? Ya don’t say.

The Boy, holding a flaming borderline-Molotov cocktail, suddenly started looking up and all around the ceiling, and then said “Oh thank goodness we don’t have any smoke detectors.”  Thank goodness?!?  This burned for well over a minute, and as soon as it started to go out, The Boy dunked it, even hitting it against the bottom trying to cause a fracture.

BIG FAT NOTHING.  And it caused the kitchen to smell vaguely of nasty burnt shoelaces.  Yum.

I haven’t been this disappointed since NKOTB got back together (why can’t we just have our lustful childhood memories and leave it at that?  Sigh).

Verdict:  Don’t try this at home.  Liar, liar, bottles on fire (c’mon – I HAD to do it).