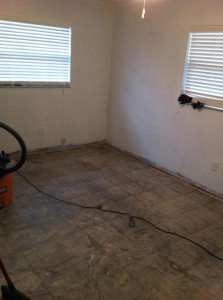
As you saw in the demo post, we removed all of the tile flooring in the entire house, except two bedrooms that had very cheap laminate, which we left temporarily. Having mostly cement floors has been rough on the feet and paws, but great for construction, painting, adopting The Dog, etc., because we don’t have to be even the slightest bit careful about damaging the floor. I will be the first to admit that I am one of the clumsiest people in the Tampa Bay area, if not the entire state. A few examples: in a high school softball game I stepped on my own hand running bases and blew the game, I broke my collar bone riding a bicycle as a kid, broke my foot riding a bicycle as an adult, tripped and fell flat on my face 3 times in one evening (sober – I swear!), I shot myself in the thighmeat with a staple gun, and very recently hit my hand, head, and butt simultaneously while in a bathroom stall. I now understand why The Boy comes running (ok, sprinting) into the garage any time I am out there alone and he hears a power tool start up. I cannot be trusted.
Our idiot-proof floors cannot stick around forever, unfortunately. I nonchalantly shopped for at least 8 months looking for hardwood, nice laminate, or engineered hardwood flooring, and everything was just so expensive. We have at least 1,100 square feet to cover. I scoured every ReStore in central Florida, Craigslist, Floor & Decor, etc. Eventually I stumbled across very affordable oak factory seconds on Ebay from a company in New York state. (“New York City?!?” haha)
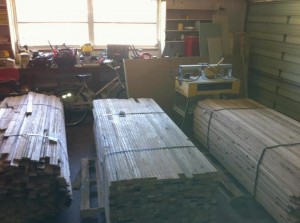
The catch with factory seconds is that each board was rejected in the quality control process for some reason. We had to buy 1.5 times what we needed, to allow for lots of unusable pieces. The grand total came to around $1,400, almost half of which was for shipping. $1,400 for unfinished solid oak flooring, when we were looking at $3 – $4,000 for engineered floors. A steal, right?? When the three pallets arrived, were squeezed into our two car garage, and I realized the enormity of the project, I started to have doubts.
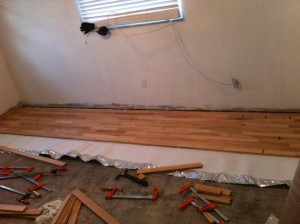
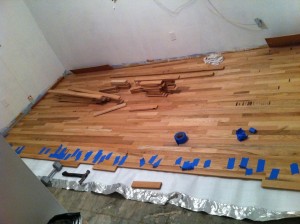
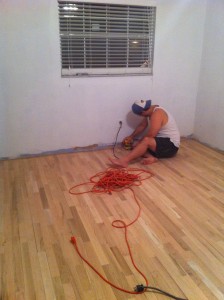
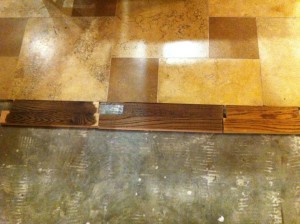
It has become a time-consuming hot mess of an idea. We decided to do one bedroom first, since we need breaks at every bedroom door anyways to allow for expansion and contraction (the gap will be covered with transition strips). Plus, we wanted to “practice” laying floors before we attempted it in the main living area. Before we could start laying any flooring, though, we had to inspect every. single. piece. of. wood. and. cut. off. any. flaws. Oh yeah. We have quite the knack for choosing to tackle the most unpleasant outdoor/garage/attic tasks in the dead of summer. In Florida. Yay.
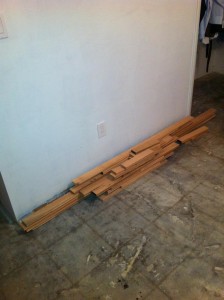
We got started, and were surprised by how much was too damaged for use. Admittedly, we were too picky at first, and have relaxed a lot, but plenty of pieces were split completely, or had large knots that you could put your fingers through, and we salvaged as much as we could.
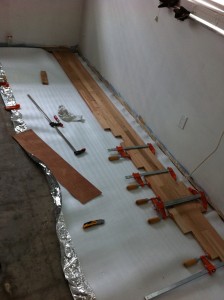
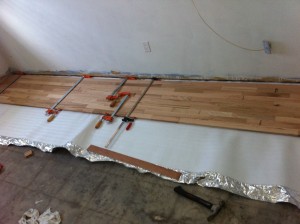
The other obstacle was that we were floating the floor (not much option with a cement subfloor), so after the underlayment, we glued each piece to the next. It creates a very secure and sturdy bond, but it was hard to keep the wood very tight to the next piece. We used long clamps for as much as we could, but eventually the clamps were not long enough.
Next up was tool rental! I get pretty excited when we get to rent a tool. It makes me feel like I’m legit. “Look at me! They rent expensive tools to me! I must know what I am doing!” Once again, we turned to THG Rentals for all of our renting needs, and this beast was ours for the weekend:
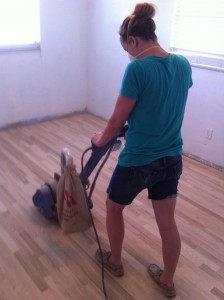
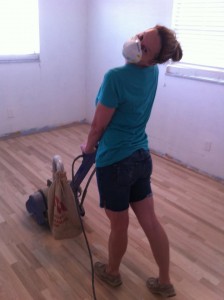
Here I am rocking the sander:
The trick with the drum sander is to keep it moving at all times! If it is running, it needs to be moving. There is a lever that puts the sanding drum in contact with the floor, and we would start moving before we pushed the lever down. The Boy had the bright idea to run across the planks, instead of with the grain, to sand down any high spots … I do NOT recommend that. Go with the grain. The other issue is that the round drum doesn’t get close enough to the wall, so going back and forth, we started making valleys near the walls. We did use a handheld power sander to go around the edges, corners, and a few spots in the closet that were hard to get to, but those valleys were virtually impossible to smooth with the hand sander. If I had it to do all over again (and I do! yay?) I would like to try a different type of power sander.
I was pleasantly surprised by how much sawdust the bag collected. However, after the sanding was done, I started cleaning the room to prepare for staining the floors, and discovered that sawdust had invaded every crevice. The shelves in the closet, a fine coating on the walls, an adorable tiny pile on every light switch and outlet cover, and completely coating the blinds. The aftermath of this project and the growing pile of sawdust in our garage led to the naming of our blog, so I suppose I can’t be too upset.
Picking a stain color was tough, because although I prefer a very dark shade, many people warned me that it would show every speck of dust, and we have quite a bit of that floating around our house, not to mention dog hair.
I conducted a Facebook poll to select a stain color, and the middle won!
It is Dark Walnut from Minwax, which Home Depot oddly does not carry in gallons (only in 8 oz., quart, and weird marker thing sizes). Yet they have other stain colors in gallons. I wish I could have been at the meeting where this decision was made.
“All in favor of carrying gallons of Minwax in Dark Walnut, say yea.”
[Crickets]
“All opposed?”
“Boo! Boo! Rubbish. Filth. Slime. Muck. Boo Boo Boo!”
(The Boy is totally impressed by my Princess Bride quote.) I ultimately saved the day by finding a gallon at Lowe’s. Whew. Crises averted. We bought a cheaper version of this stain applicator, but I could not find the one we bought on the website:
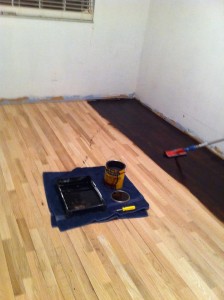
We started in one corner and worked our way out. The Boy applied, while I moved things out of his way and re-filled his stain tray.
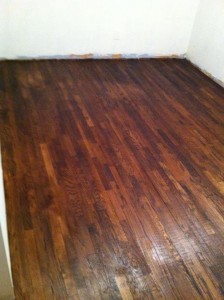
When we were almost done, I stood on my tippy toes in the corner with an old cotton sheet, and waited. Once we felt the stain had set enough, and my arches were cramping, I put the sheet down and used my double-socked feet to kind of drag it along the floor. This step is pretty important because only so much stain soaks into the wood, and any excess will become tacky. Afterwards, we had this:
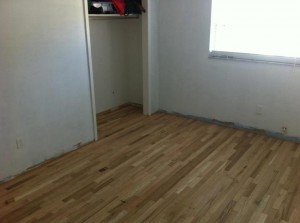
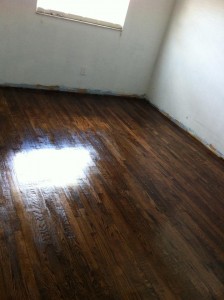
After this dried overnight, the next morning I went in to take a peek. I believe I have mentioned that patience is a virtue I do not enjoy. I marveled at our accomplishment, backed out of the room, and looked down to see a very distinct outline of my foot. Oops. Won’t make that mistake again! After waiting more time than required (that can of stain is a liar, and now I know why Home Depot won’t allow it in their stores!) we went back in and put a second coat on a few lighter areas. Finally, two coats of polyurethane later (applied using a roller on an extension pole), and we had a beautiful new floor.
Since we re-tiled the kitchen and the entryway, we now need to lay this flooring in the living room, dining room, hallway, and the remaining two bedrooms. However, since we still have one bathroom left to gut and remodel, we are going to wait on those floors. Until then, we will continue to squeeze around the pallets in the garage and have no room to work out there. Remodeling isn’t always fun, almost never glamorous, but it is very often rewarding!

