Pinbusters – DIY Mason Jar Air Freshener

Have you ever wondered if the stuff people post on Pinterest is true? Well I have, and I test them all so that you don’t have to, ’cause ain’t nobody got time for that.  Click here to check out all of the pins I haven taken on. You might be surprised by some of the results!

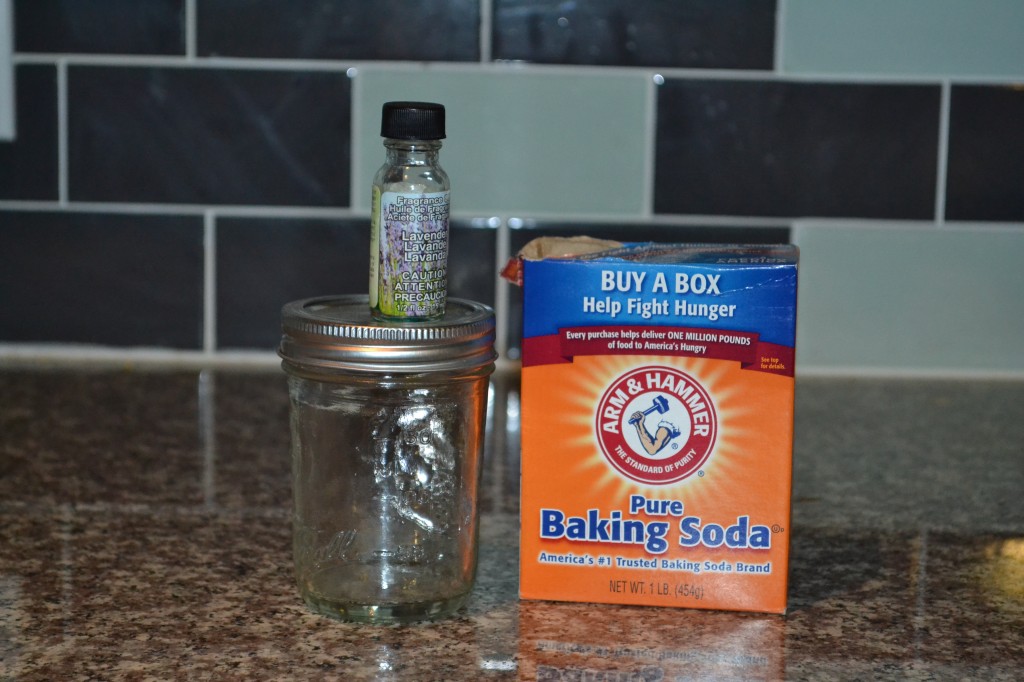
Yep, it is scent-speriment time again (see the last one here). This pin claims you can make an easy air freshener by punching holes in the top of a mason jar, and filling it with baking soda and essential oil. In theory, this is a great combination, because baking is said to have odor-absorbing qualities. I was optimistic.

Mason Jar Air Freshener

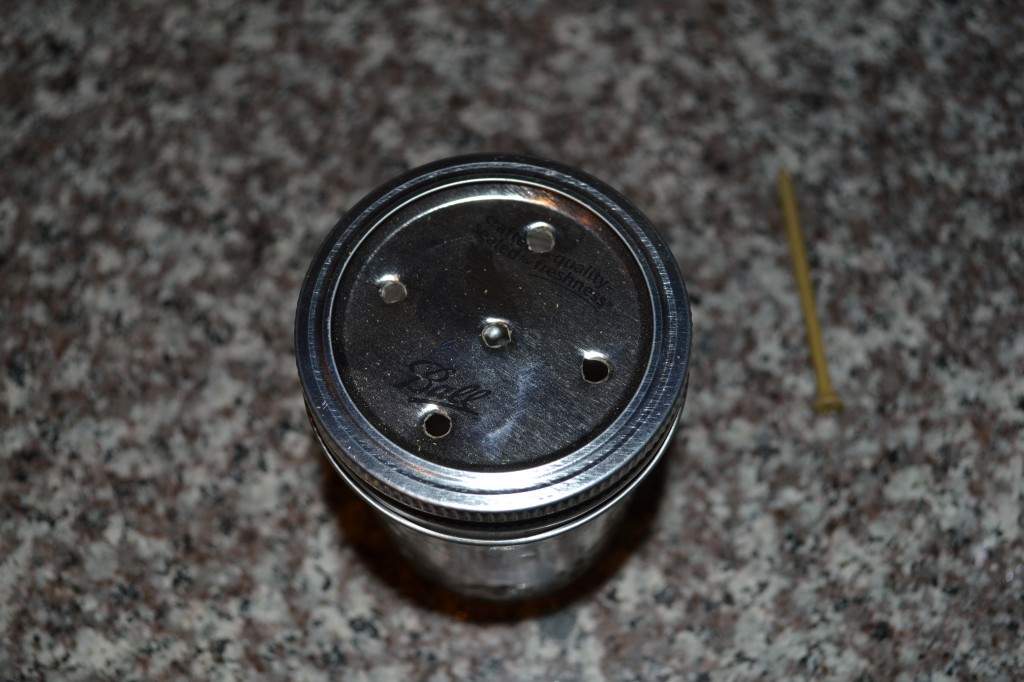
The poking of the holes was fairly easy, and I did it like so: hammer the screw in, yank it out.  Repeat.

Mason Jar Air Freshener

Mason Jar Air Freshener

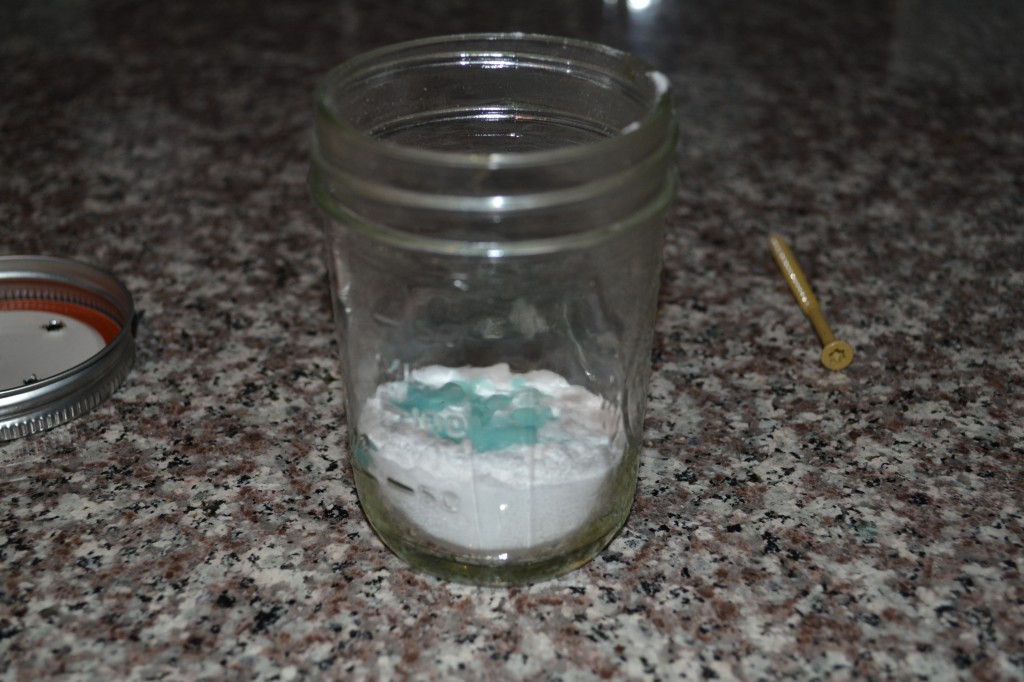
I chose my favorite essential oil flavor of lavender, and added my ingredients.

DSC_0029

When you get up close, the smell is very good. I let this contraption sit in the guest room for about a week now. We have actually been sleeping in this room while the laying of hardwood flooring in the master bedroom, closet, and office is ongoing. And going. And seemingly never going to end. But that is a different post for a different day/week/month. (Seriously, we will NEVER do floors this way ever again.)

There is no scent – not even a hint – of lavender.  If you shake the jar up, put your nose right over it, and inhale, you definitely smell it. As for “freshening” an entire room, though, it ain’t happening. This pin is busted.

Someone, anyone, please come lay these hardwood floors …

Pinbusters – Glue and Shaving Cream (Kids’ Edition!)

Have you ever wondered if the stuff people post on Pinterest is true? Well I have, and I test them all so that you don’t have to, ’cause ain’t nobody got time for that.  Click here to check out all of the pins I haven taken on. You might be surprised by some of the results!

This one looked like fun, so I wanted to give it a shot. The idea is that you mix shaving cream and glue to create fluffy “paint.” You can see the original pin here.

The simplicity was astounding.  Here are the items needed:

Shaving Cream and Glue

In reality, you should use colorful construction paper. People with kids probably have this stuff laying around, but we didn’t, so I improvised with a colored file folder. Hey, it worked.

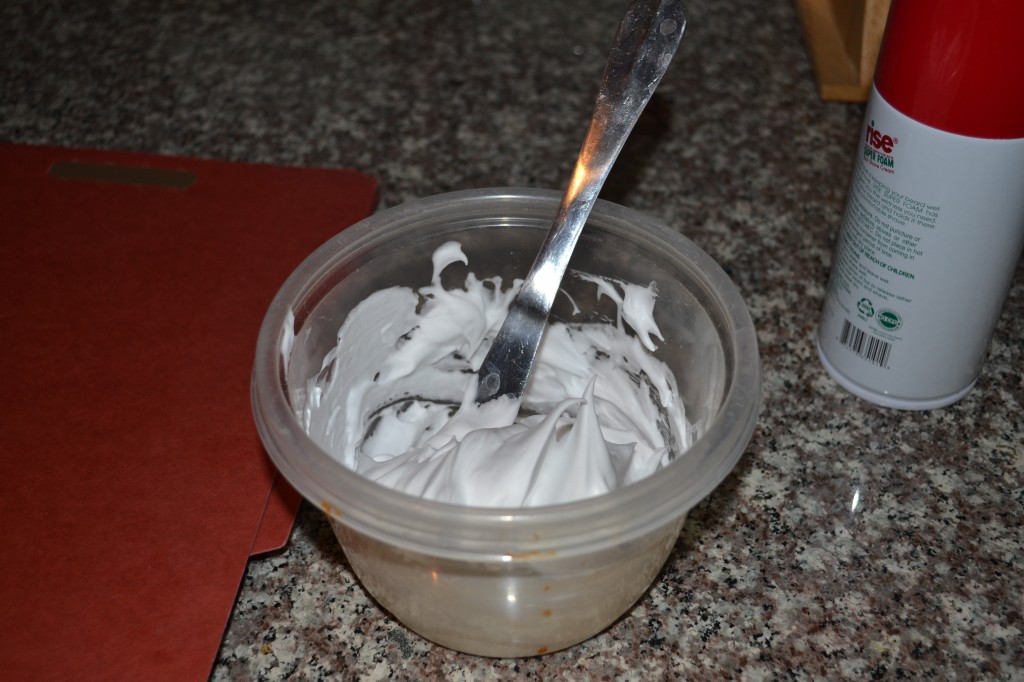
First I mixed the dollar store shaving cream with a healthy dose of Elmer’s glue. I did my best to create an even half and half mixture.  Then I stirred it with a butter knife.

DSC_0027 DSC_0028

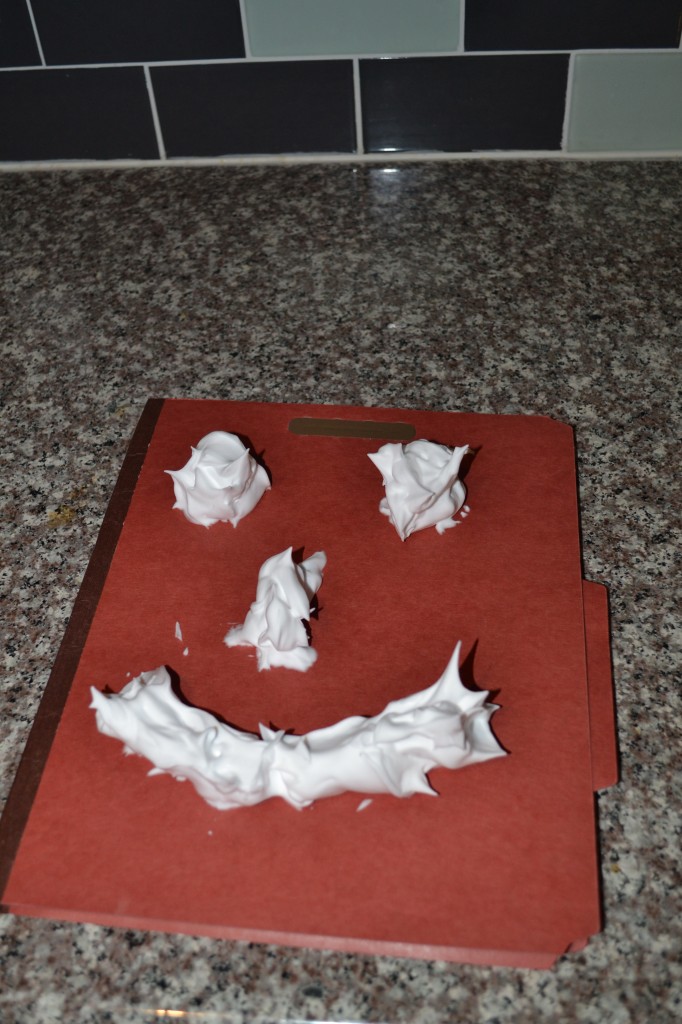
I channeled my inner Monet as I created my epic masterpiece:

DSC_0029 DSC_0030

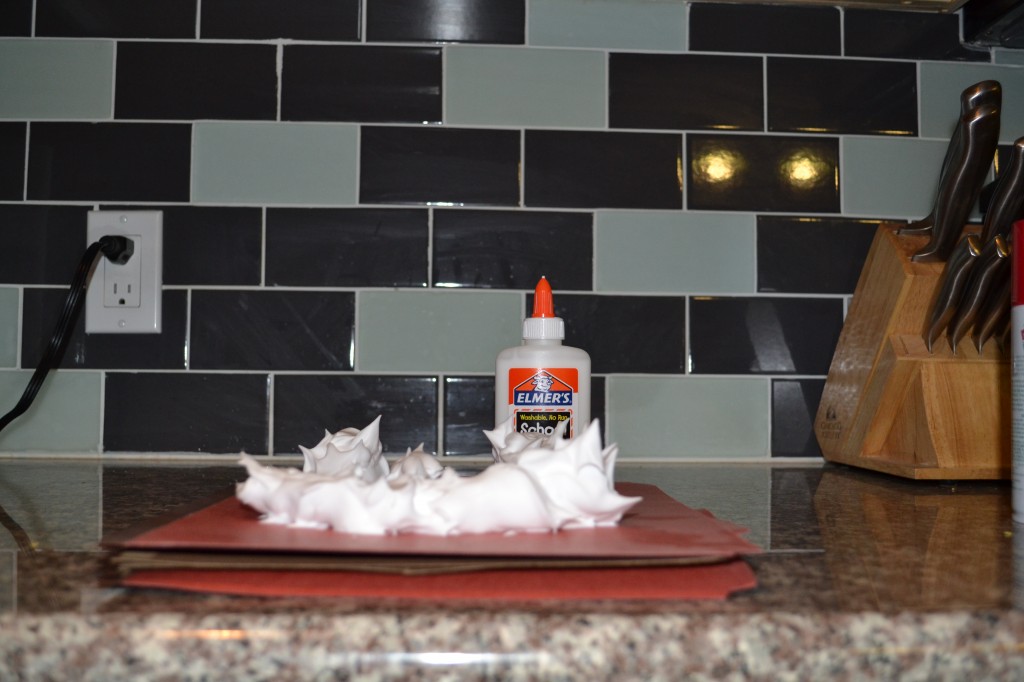
I took a photo from the side so you can see the height of the fluff, using the glue bottle as a measuring stick. It is impressive!

DSC_0032

When I woke up the next morning, the fluff had deflated only minimally, and it had the consistency of a marshmallow. Pretty cool!  However, by 24 hours later I had this:

DSC_0004

Adios fluff. You were fun while you lasted. So, the pin is not busted, it definitely works, but has a fairly short life span. Marvel at your fluff while it is standing tall! And then throw it away during nap time.

“Mom, where is my fluffy art work?”

“What fluffy art work? You must have dreamt it, honey.”

I am going to be a great mom someday.

Money can’t buy love …

… but it can buy finished drywall, and that is pretty much the same thing in my book. As I mentioned previously, I got about 1/8 of the way through with the drywall, and decided to call in a professional.  It isn’t that I CAN’T do drywall, it is that I am very slow at it. (Have I mentioned that I hate doing it? Maybe once or thirteen times.)

The guy we hired, Scotty, told me sweet, sweet lies and said I did a pretty good job on the drywall. However, he and his guys accomplished in four days what would have taken me a month or more. He was punctual, cheap, hard-working, and did a great job. They even textured the ceiling, and cleaned up after themselves! Also, I had to get ready for a baby shower while the guys were there, resulting in compliments on my appearance from The Boy and a whole crew of men  (I mean, a girl will take what she can get, right?) It might have been the single most enjoyable contractor hiring experience of my life. But enough jabbering, let’s get to the pictures!!!

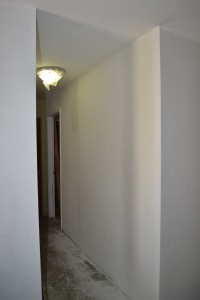
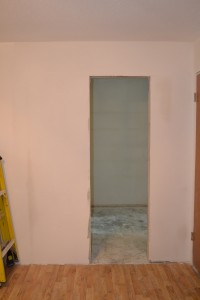
The hallway:

Master Bathroom          Master Bathroom

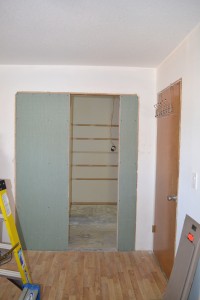
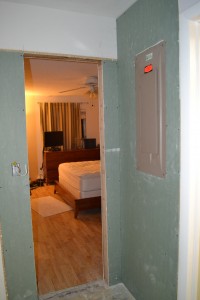
Looking into the new closet:

Master Bathroom          Master Bathroom

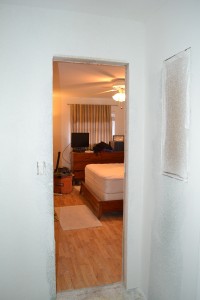
Looking out from the new closet:

Master Bathroom          Master Bathroom

The bathroom:

Master BathroomMaster Bathroom

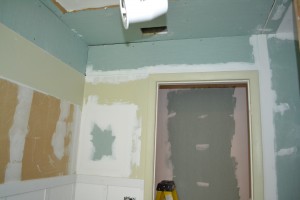
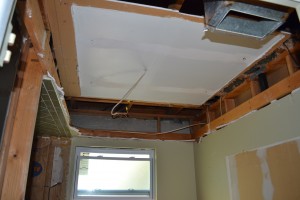
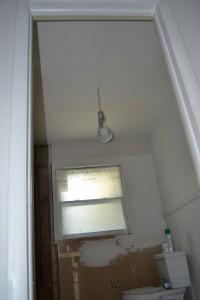
The bathroom ceiling:

Master BathroomMaster Bathroom

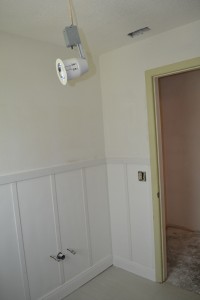
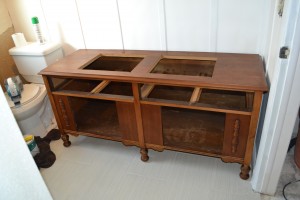
Holy crap, ya’ll, it is actually looking like a closet and a bathroom! We had to wait a few days, but can now jump on installing the vanity and sinks, priming and painting the walls, lighting, and our biggest hurdle still – the shower. We already moved the vanity into place because we were so darn excited:

Master Bathroom

I will do a separate post on all of the work that went into getting the vanity ready, and we are thrilled with the way it came out, although it doesn’t look like much in this picture.

This has been some very refreshing summer soup, served chilled, of course.