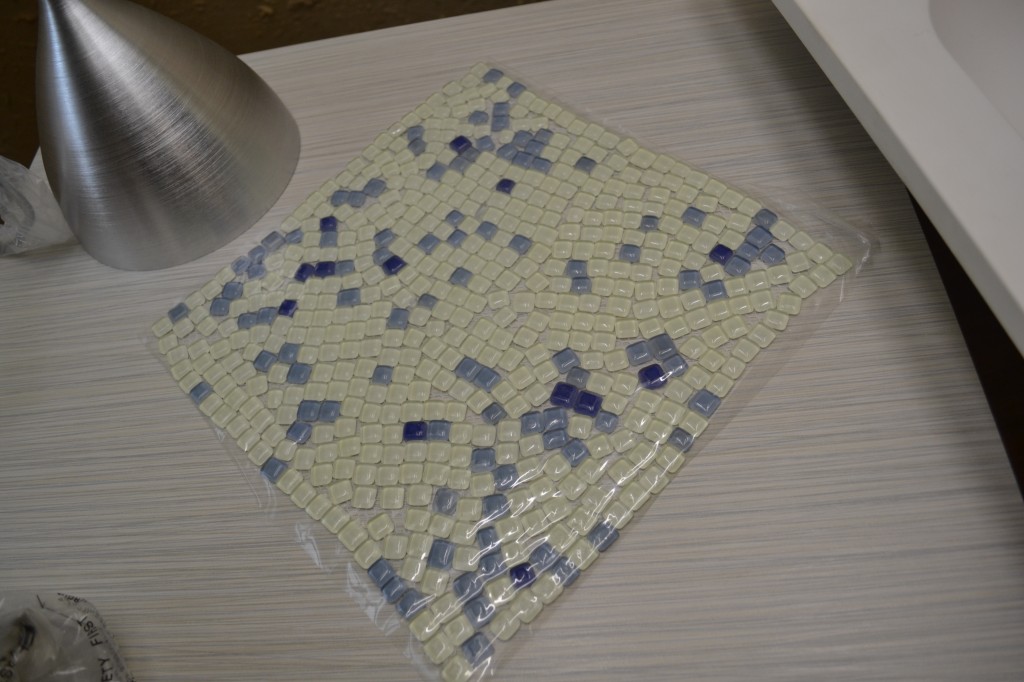
I am sure plenty of people were wondering what the heck we were doing adhering plastic sheets to our bathroom walls. The idea was to avoid having to rip out and replace all of the drywall, or worse, skim coating the entire thing (I can’t even fathom doing this, given my hatred of taping, mudding, sanding, and generally anything drywall-related). To class it up, though, we added some simple wainscoting using pre-primed MDF boards and lattice. The first step was installing the baseboards, and we had a piece left over from the other bathroom renovation. Cutting a 12 foot long piece of trim alone proved to be quite a challenge, but I am the queen of improvising and being really freaking stubborn. Enter my assistant, the grill.
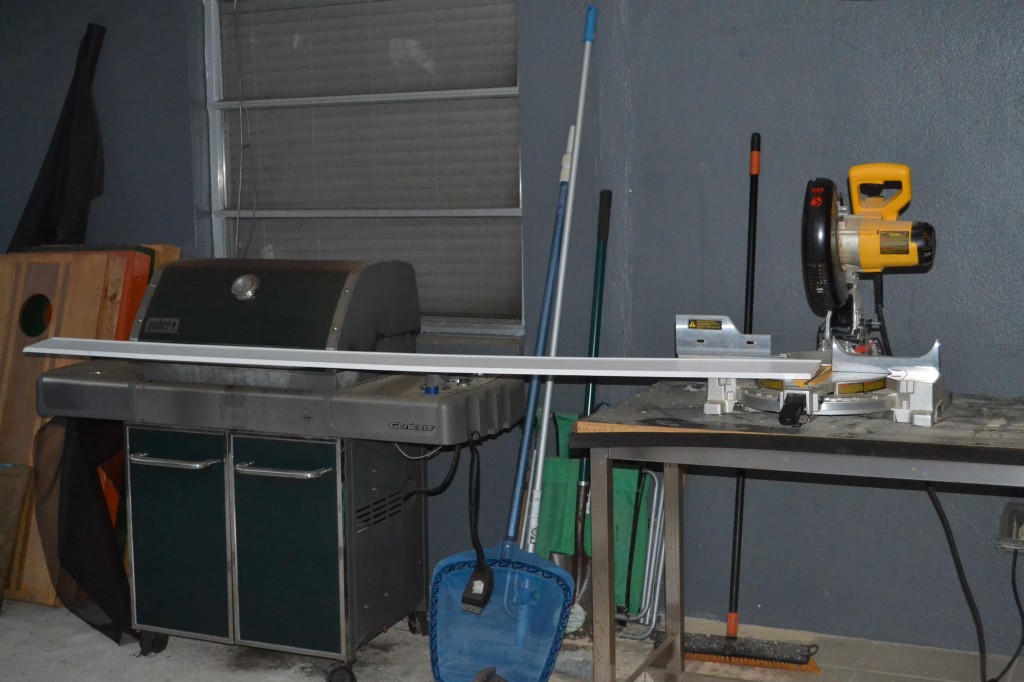
Our workshop a/k/a back porch a/k/a grilling area
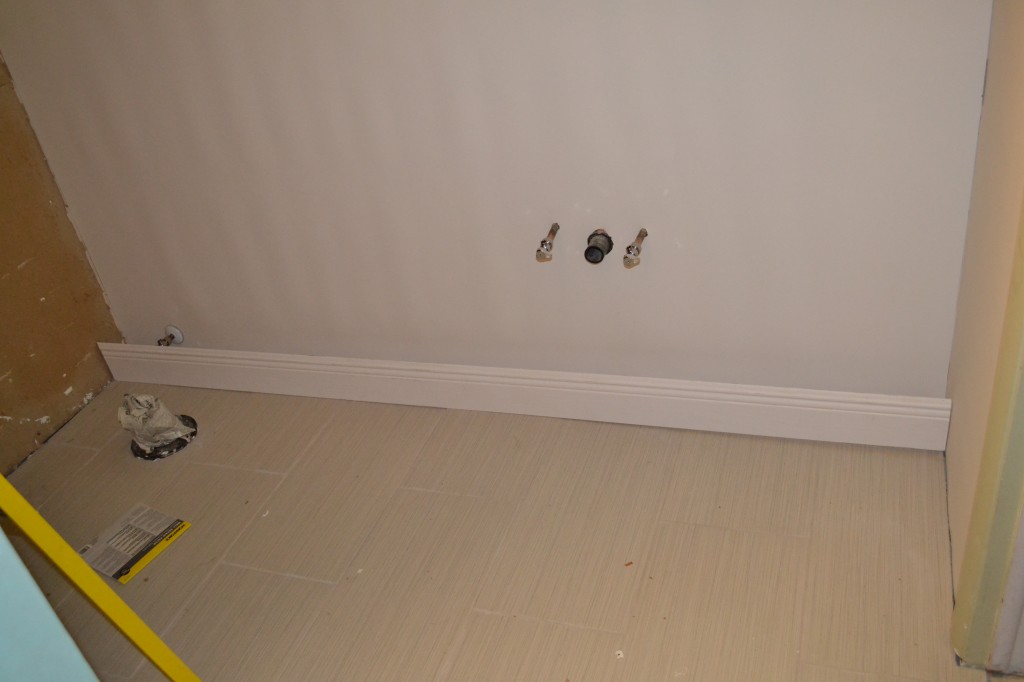 I had to figure out what to do with the toilet valve you see on the far left, because we cut the board in half at this point in the other bathroom, cut a notch out of one side, pieced it together, and it turned out like crap. I am sure it is invisible to any visitor’s naked eye (literally, since they are likely getting out of the shower), but I see it. Every. Single. Weekday. And twice on weekends. Therefore, I devised a scheme to cut a hole to size and slide it over. The problem is that I could not figure out how to release the hole saw holder-thing (yes, the technical term) from a different size hole saw, so I could put it on the size I needed and make my cut. I thought I was doing it right, but it wouldn’t budge.
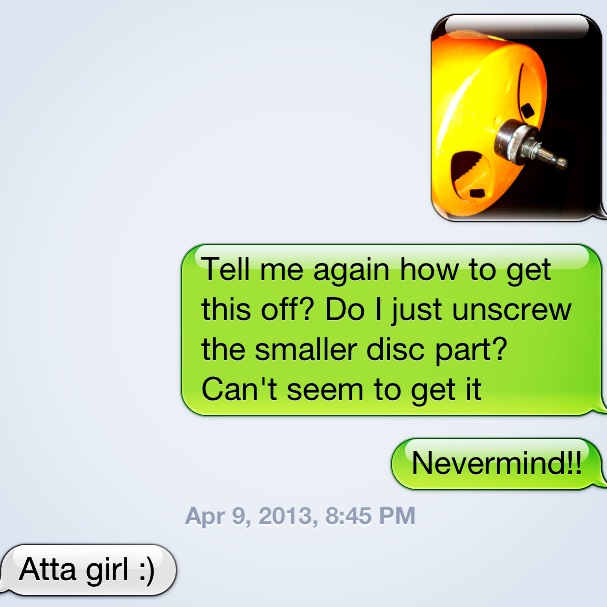
That text to The Boy went unanswered for, oh, I don’t know, about 48 seconds, and in that time I got some locking pliers, and made that hole saw holder-thing my b!*ch. Then I eyeballed where my cut was in relation to the top of the baseboard, held my breath, and hoped for the best.
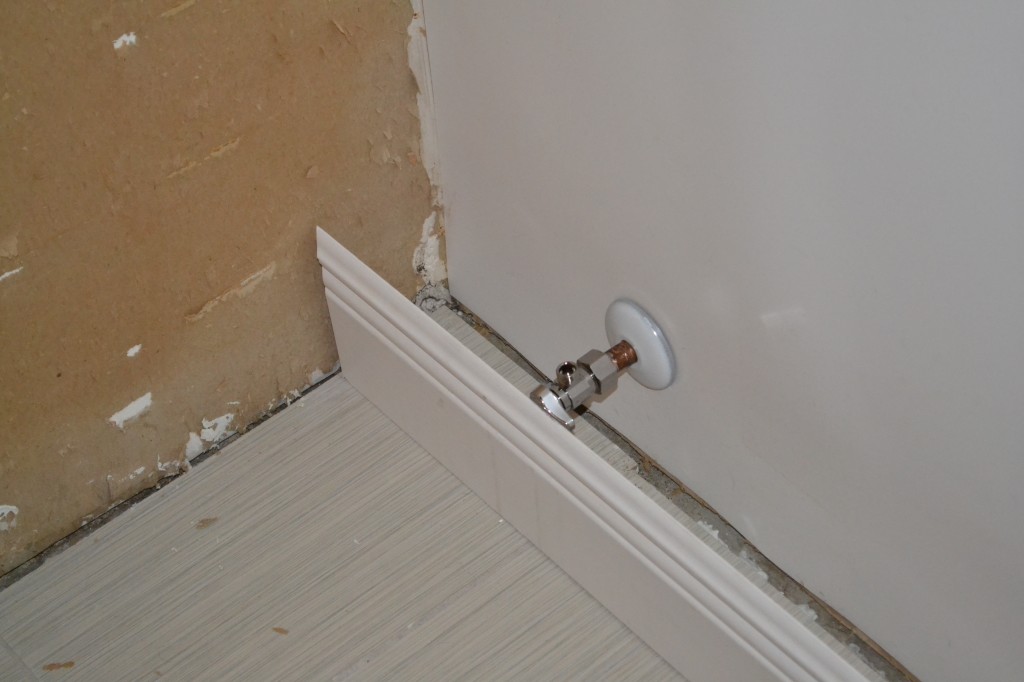
Eyeballing.
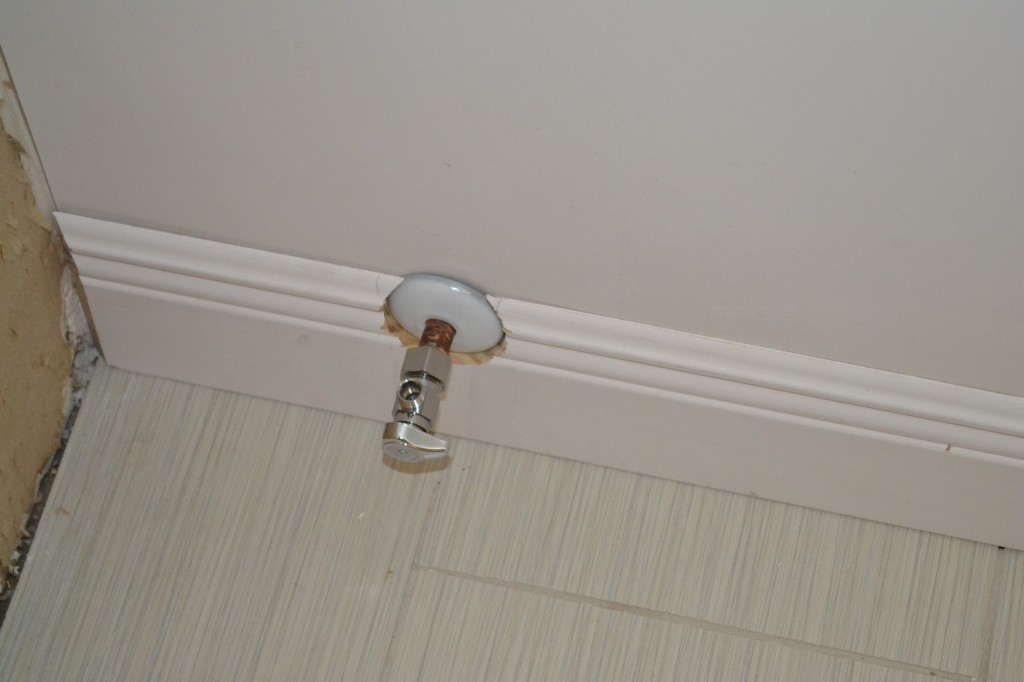
The best.
I nailed it. (As in, I got it right. Then I actually nailed it.)
After the baseboard went in, I measured, cut, and nailed in the top rail. I waited for The Boy’s assistance with this, because it was quite difficult to hold, level, and nail a 9 foot long board to a wall.
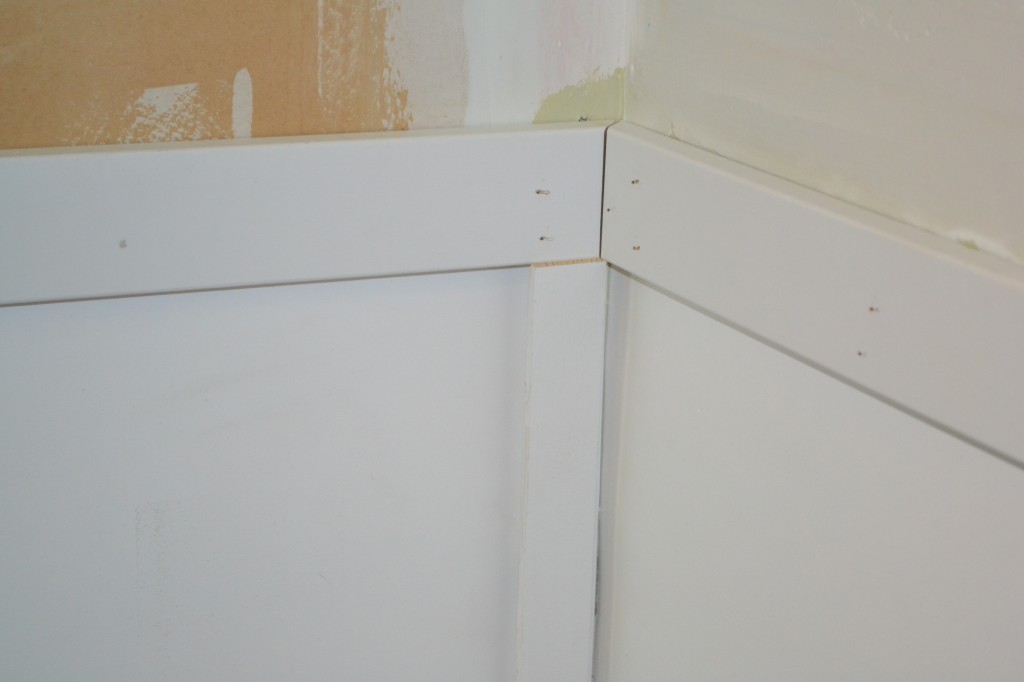
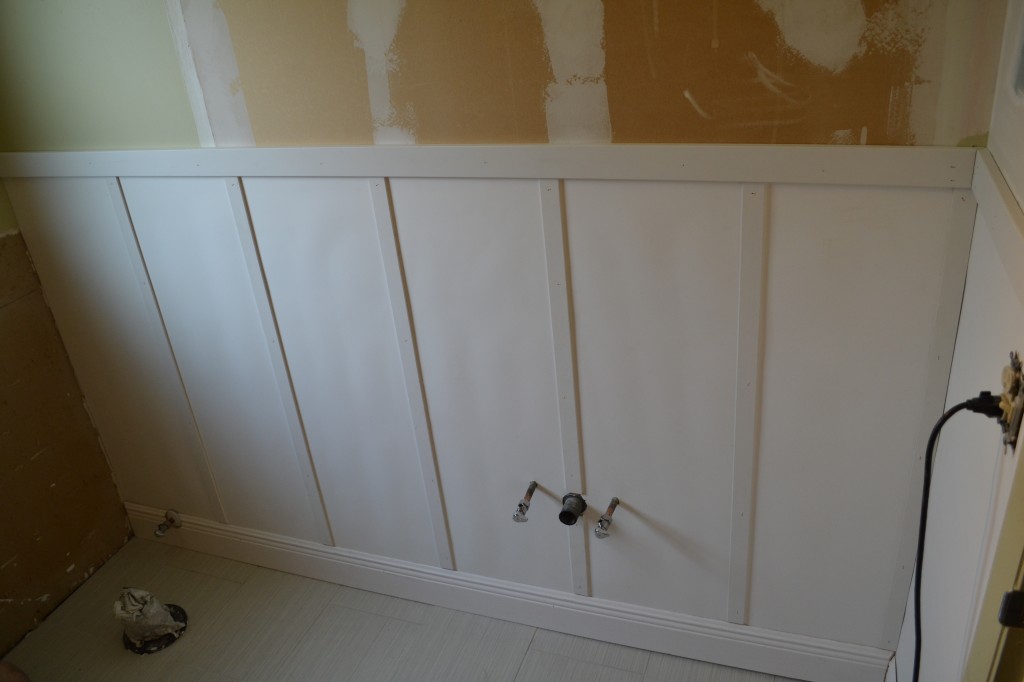
We are going to do the wall covering and wainscoting on the far wall too (the one with the window) but we need to wait until we have tiled the shower. However, I desperately wanted a second toilet again, so we did the wainscoting on the other two walls so we could make that happen. The lattice was easy – just measure, cut, and nail into place. It was a little thicker than the top of the baseboard, so I cut them all at a 45 degree angle at the bottom. It looks great caulked:
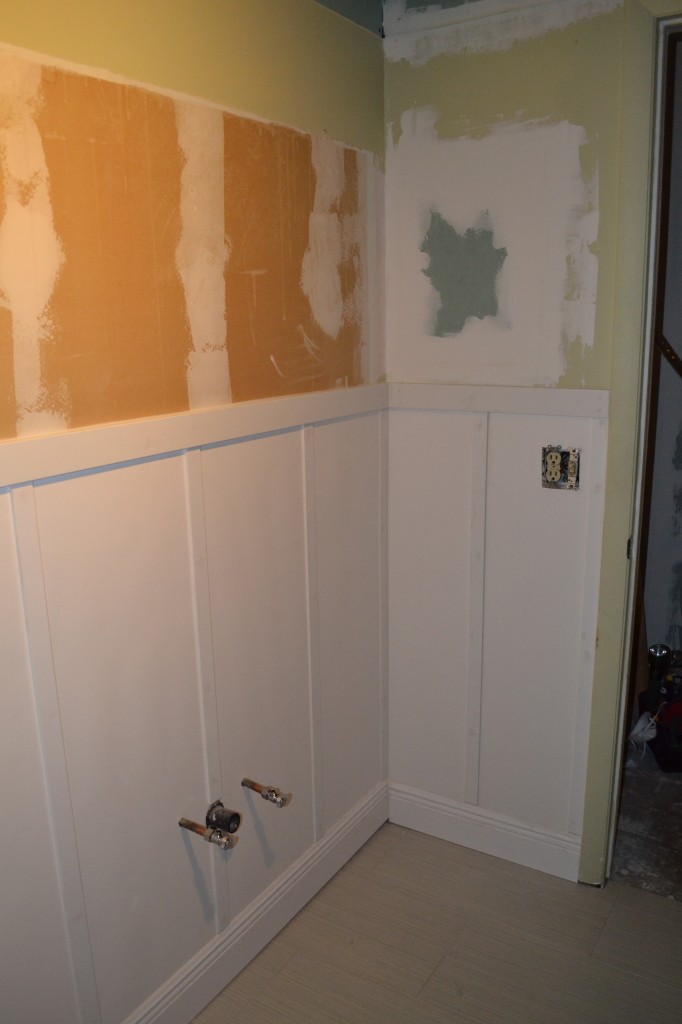
Everything still needs a coat of paint, but so far, I love it. I know the baseboard is up a little too high at the end (you can see the gap at the floor), but it is a compromise we had to make that will be completely covered by the vanity.
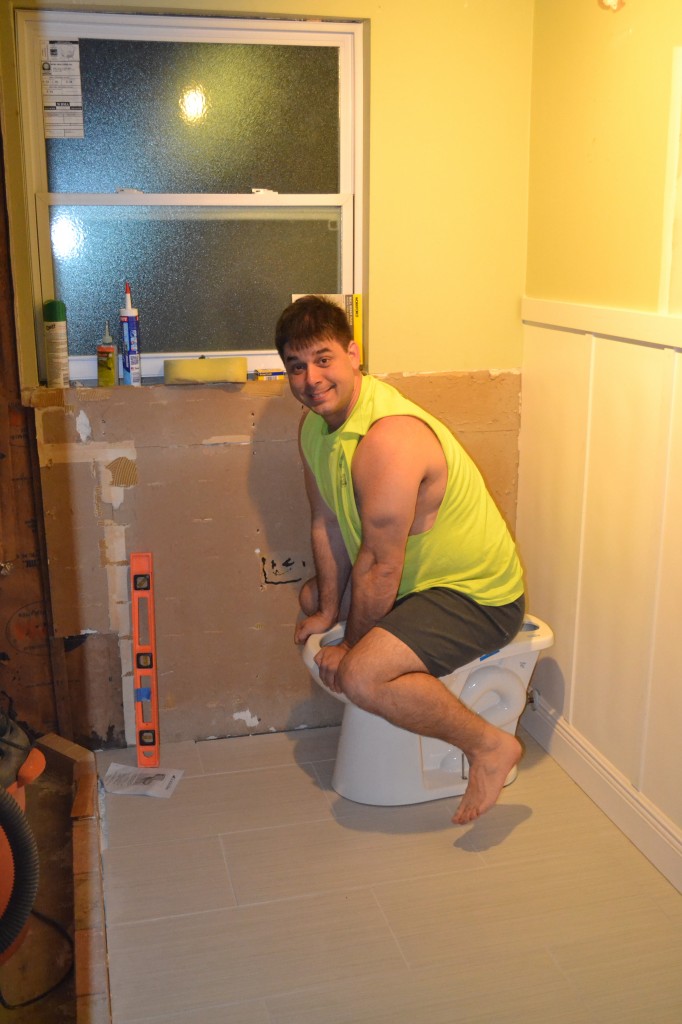
Then came my least favorite part, installing the turtle. It is not a difficult thing, but the wax ring is gross, and I just like to forget that I had anything to do with the install. Here is The Boy pushing the turtle down to get a good seal with the wax ring:
Then we put the tank on, attached the water hose, turned the water on, found a slight leak, turned the water off, tightened a few things, and it was easy sailing from there.
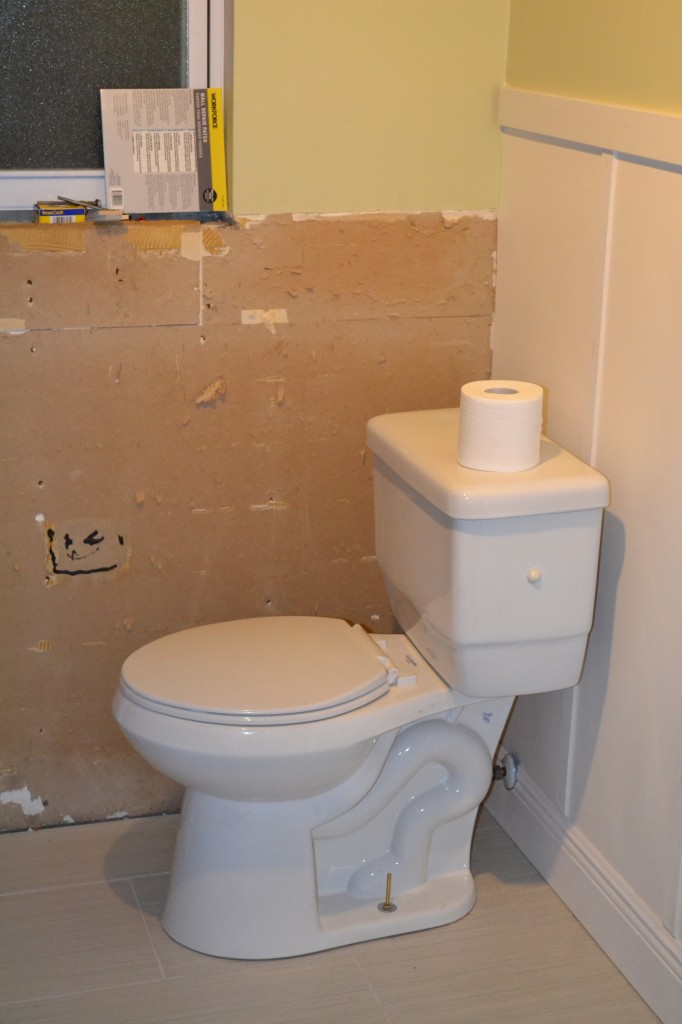
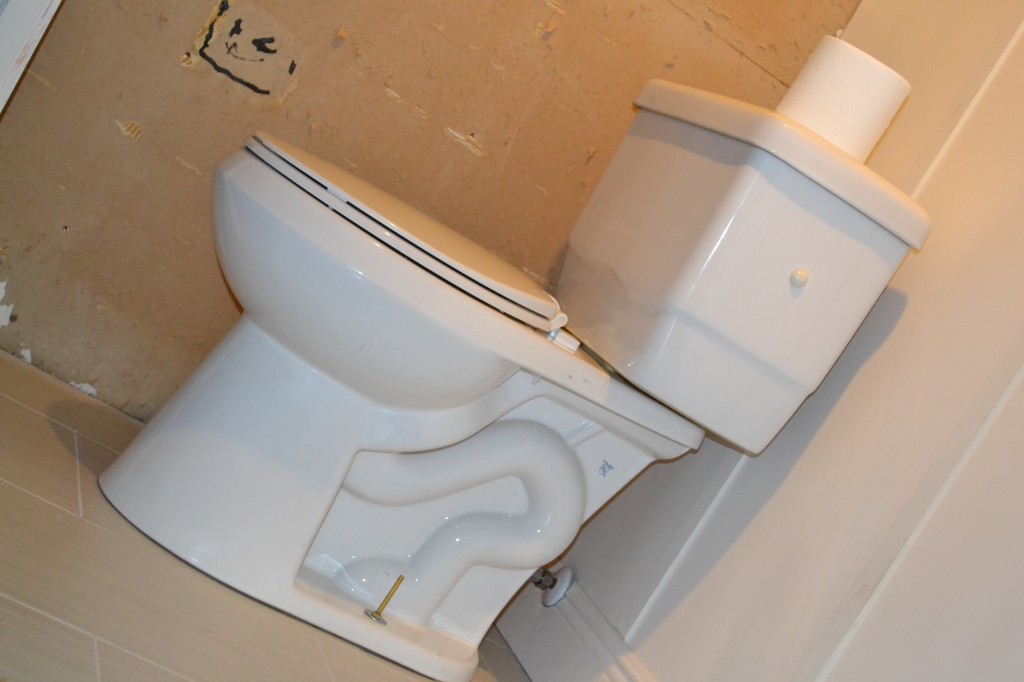
I keep forgetting we have a toilet in there. Probably because there is still no door on the closet or the bathroom, so there is zero expectation of privacy. In an emergency, though, there are options. I love options.
Let’s take a stroll down memory lane with a few before and during side-by-side comparisons:
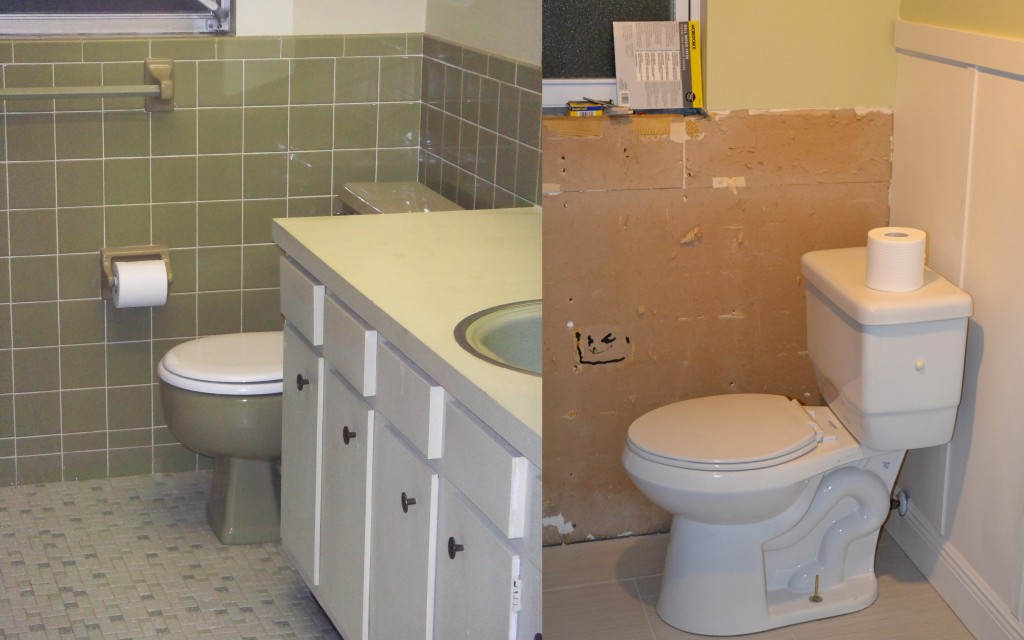
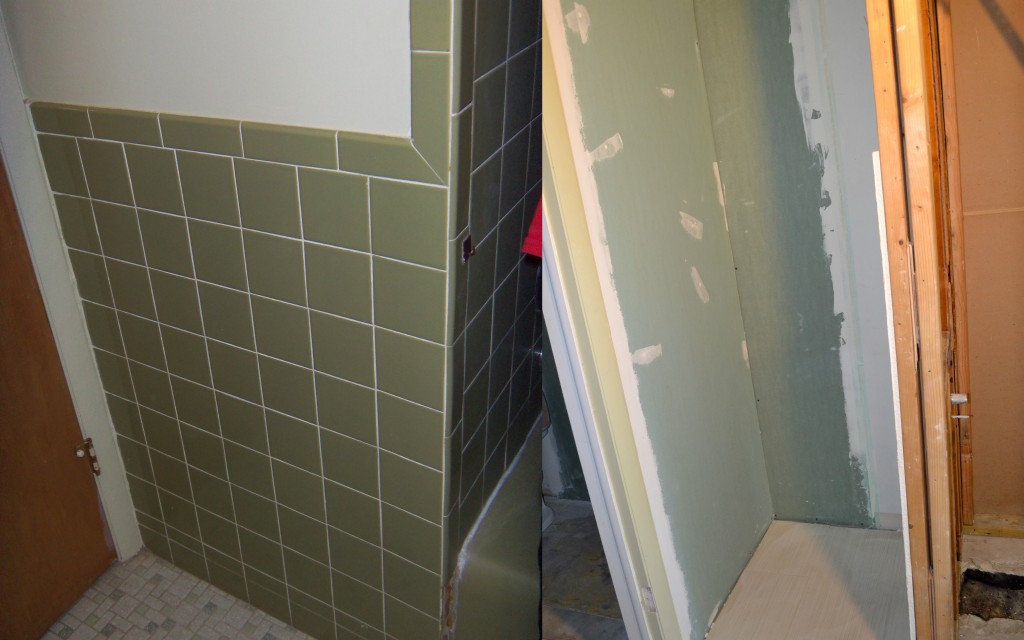
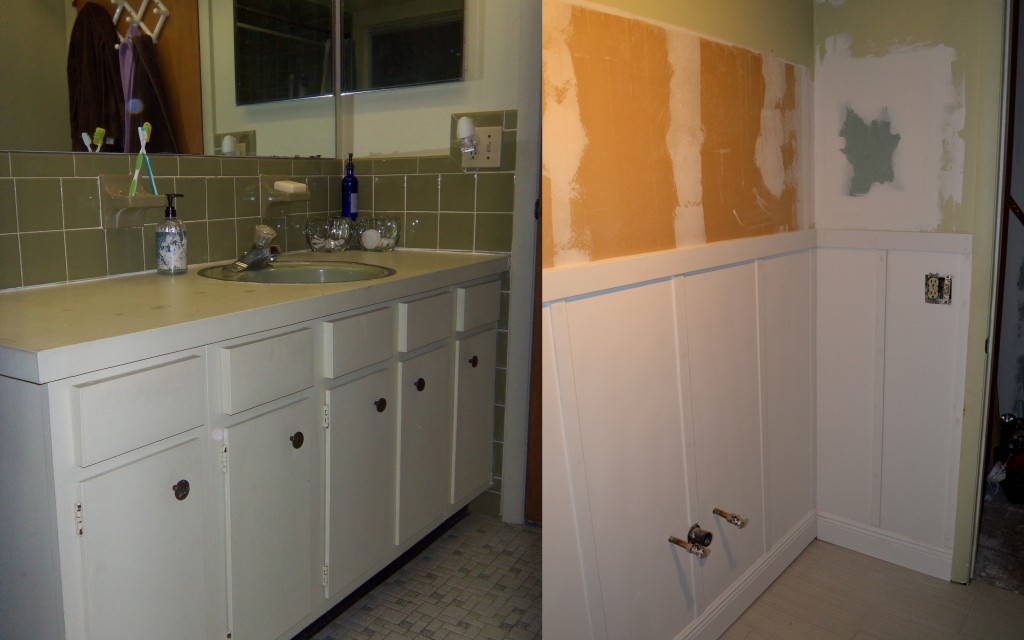
What do you think? An improvement?
