YLOD? NBD 4 POS!

My brother and I have a very special Christmas tradition.  Every year, I buy him a new video game.  Every year, he buys me the same video game.  We wrap them – poorly, and usually on Christmas morning, and then twelve minutes later unwrap them.  We act surprised.  People take pictures.  Just a good time all around.

Our festivities had a somber setting to them this year, however, because a few months ago, within days of each other, BOTH of our Playstations 3s died.  Kicked the bucket.  Bought the farm.  Croaked.  Gave us the yellow light of death, known as the YLOD, and laughed at us.  We both researched the internet, AND the world wide web, and tried the “hair-dryer fix.”  I give the  “hair-dryer fix” a grade of D-.  It let me turn on the PS3 for twelve seconds, so I can’t give it an F.

Further interwebs research  resulted in this video.  The guy isn’t…well he’s not a stand-up comedian.  But, he IS informative, and his technique is pretty much spot-on.  There were a few differences between his PS3 and mine though.  The steps below were for my PS3, his video covers his.  At the end of the video, you can link to Part 2, and at the end of Part 2 is Reassembly.

Before you follow my steps, you SHOULD watch the video to make sure I didn’t miss anything.  Then you SHOULD have no problem with the process.

Legal disclaimer: I am a lawyer, albeit not a particularly good one.  So I am obligated to “lawyer up” from time to time.  I’m not telling you to void your warranty, melt your PS3, or otherwise wreck stuff.  I’m telling you what *I* did.  You put your big boy/girl panties on and make your own decisions.  Don’t sue me.

Here’s what you’ll need and where to find it:
Heat gun
Screwdriver (you need a general screwdriver, and one with a very fine tip)
Torx T-10 security screwdriver.  The important part is the “security” aspect.  It means there’s a hole in the tip of the bit, which you won’t get on general Torx bits.  I bought mine from Home Depot, but of course, the one I bought wasn’t listed on the website.  The one I linked to will get the job done.
Thermal Compound
Flux capacitor

Also, I used a piece of paper and a pen to identify a few screws, and had plenty of space to lay out the other screws.
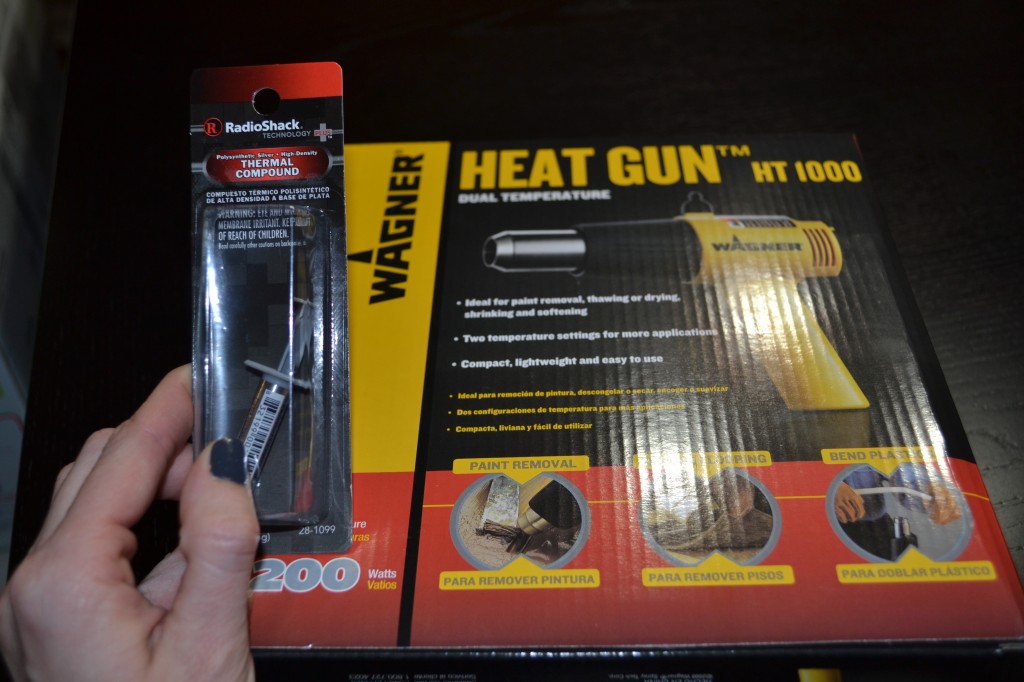
Not pictured: Torx, screwdriver, The Boy.

Not pictured: Torx, screwdriver, The Boy.

Step 1: Deep breath, unplug all plugs from the PS3.  Put the PS3 on your work surface.

Step 2: Remove long panel that covers the hard drive.  Use the fine tipped screwdriver to remove the blue screw, then flip the wire tab, and pull the hard drive toward the front of the PS3 and remove it.

Step 3: Remove the sticker above the now-removed hard drive panel.  Congrats, you just voided your warranty!  Pull the rubber foot off, slowly.  Don’t break it.  I said don’t!

Step 4: Use the T-10 security Torx driver to remove the screw that was hidden by the rubber foot.  The one I said not to break.  Then remove the top of the PS3 by sliding it toward the side that had the screw.

Step 5: Under that panel, the plastic cover should have a series of arrows that point to the screws that hold the next piece on.  While you’re removing them, make sure to lay them out somewhere in the same pattern because I don’t believe they are all the same length.  Then remove the next plastic cover.

Step 6: Remove the blue-ray player, making sure to unplug all wires and ribbons.  The ribbons can be a little tricky because you have to flip up the black part of the plug for the ribbon, and it’s a very small moving part.  Maybe use tweezers?  I used my coke nail.  By which I mean the nail that I use to open Coca-Cola cans.
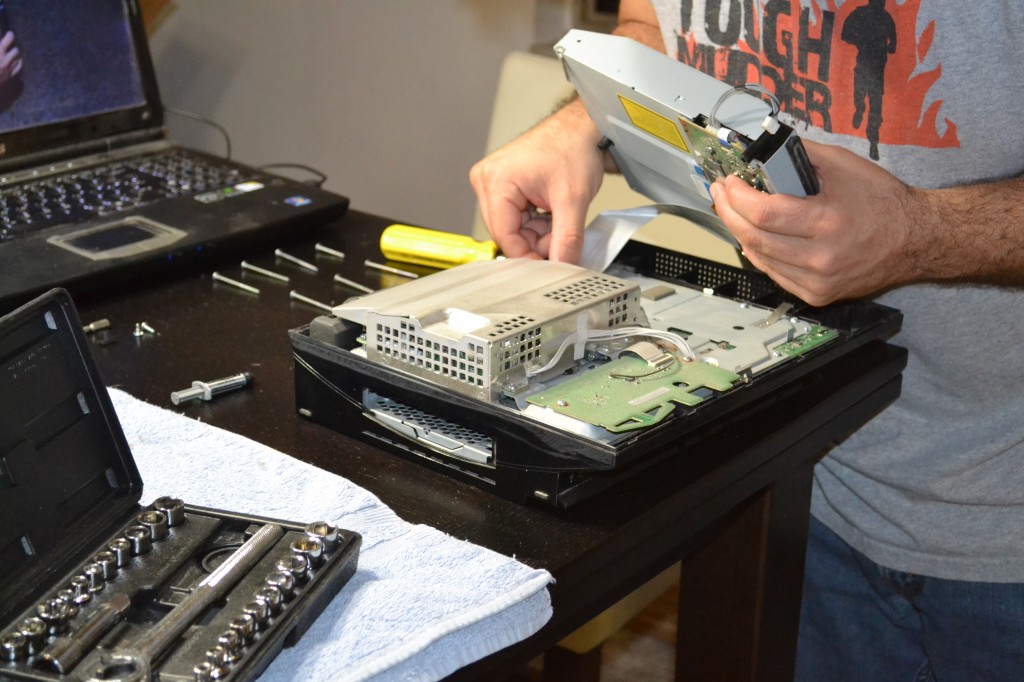
Power supply - BEGONE!

Blue-ray player – BEGONE!

Step 7: Screwdriver.  Use the link above.
My "screwdriver" stand-in.

My “screwdriver” stand-in.

Step 8: Unscrew the one screw holding the blue-tooth or wireless receiver.  That’s the thing with the long wire coming out of it.  Mine was taped to the side of the power supply, and did not disconnect from the small circuit board it’s attached to.  I just peeled back the tape and left it for reassembly.  I put the screw for the receiver on the piece of paper and wrote what it was for.

Step 9: Unscrew the small circuit board.  Remove.
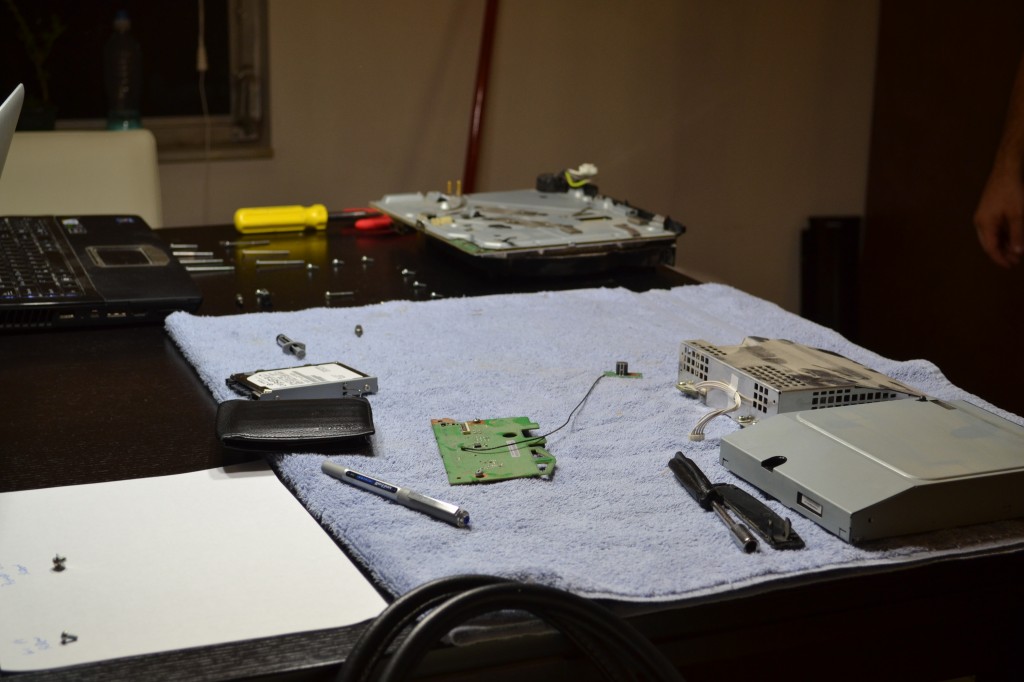
In surgery: guts on the table.  Power supply, blue-ray player, small circuit board.

In surgery: guts on the table. Power supply, blue-ray player, small circuit board.

Step 10: Next, unscrew the power supply.  The housing has arrows for all of the screws.  Again, possibly not all are the same size, so keep them organized by their hole locations.  Remove the ribbon, remove the power supply.

Step 11: Now we’re gonna remove the bottom plastic tray.  The metal cover plate ALSO has arrows with screws.  You know the drill.  Remove, organize.  Then you will have to pull the bottom plastic off.  Mine took a little wiggling.  Be patient.

Step 12: Remove the three screws holding the fan on.  Remove the fan.  CLEAN the fan.

Step 13: Remove the four screws holding the two diagonal metal plates.

Step 13: At this point, you should be able to open the two metal halves of the case like a clam shell.  Clean the old thermal compound off of the two processors, and the heat sink.  I used paper towels, but any cloth should do.

Step 14: I’ll refer to the video on this one, as I’ve only done this once, and I’m not 100% sure on the distance to hold the heat gun, or the length of time.  I think the video is real-time though, so if you can watch it while you’re using your heat gun you’ll know when to flip the board, and how long to heat each side.
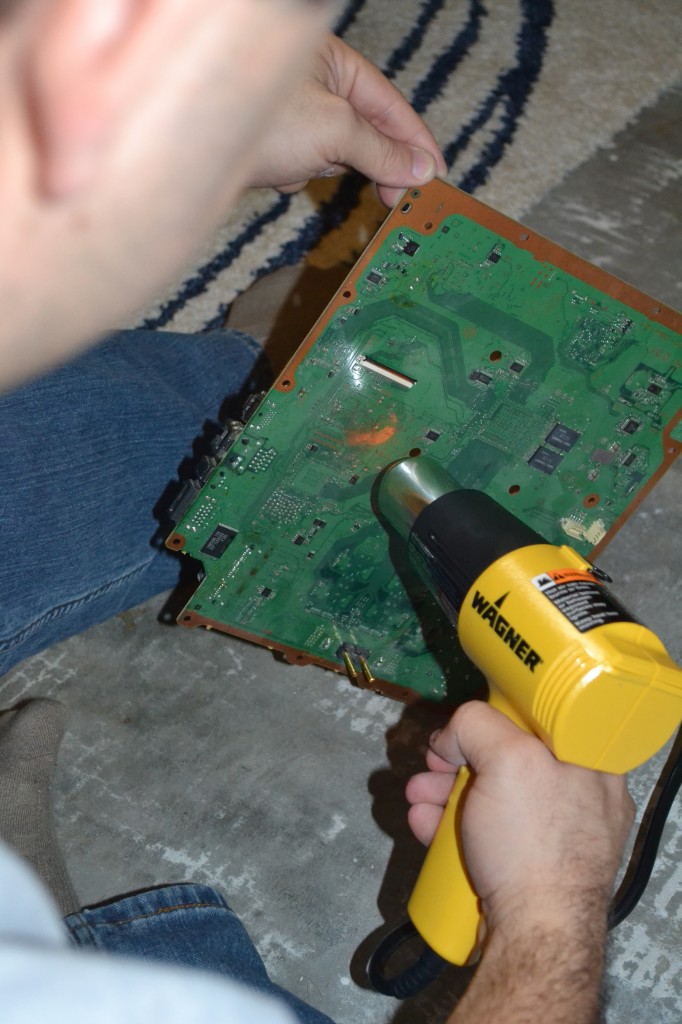
Oh yeah, this looks legit.

Oh yeah, this looks legit.

Step 15: Heat just the processors now.  When you’re done, let it sit for 15 minutes to cool.  DON’T MESS WITH IT.  DON’T LET YOUR THE DOG MESS WITH IT.
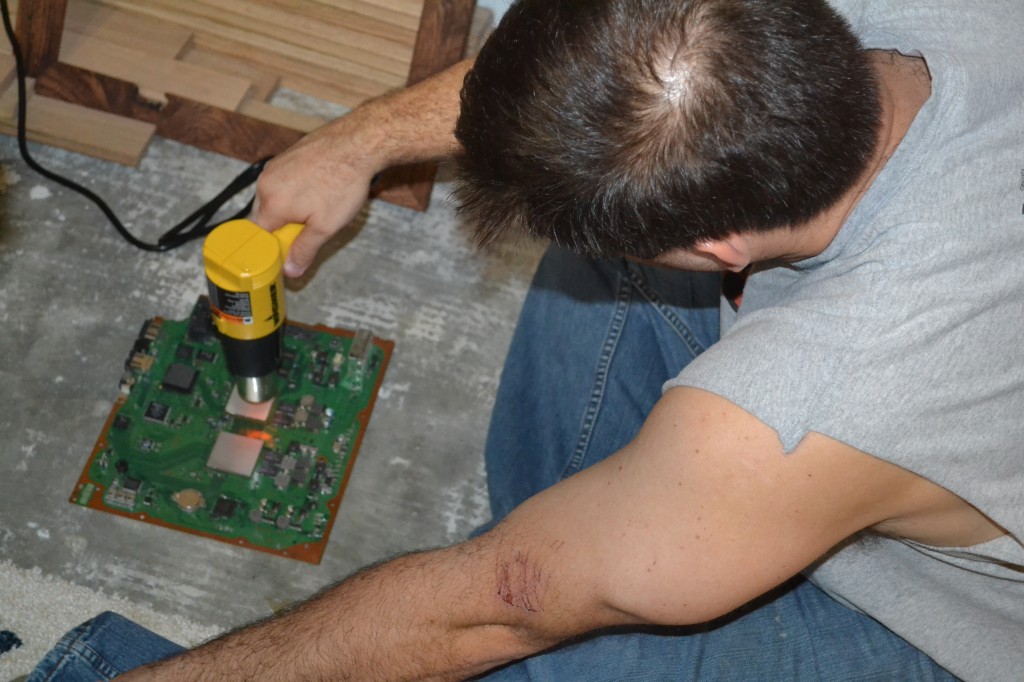
Heating just the CPUs.

Heating just the CPUs.

Step 16: Apply the thermal compound, and spread it with a credit card, or credit card substitute.  Not too thick, not too thin.  I just covered the whole surface of both processors, scraped them smooth, and let ’em be.

Step 17: Reassemble.

Step 18: Screwdriver.  Small prayer to any or all deities of your choice.  Plug that bad boy in and see what happens.  Worst case scenario, you broke your already broken PS3 a little more.  Best scase scenario – you’re playing your PS3 to the wee hours of the night.
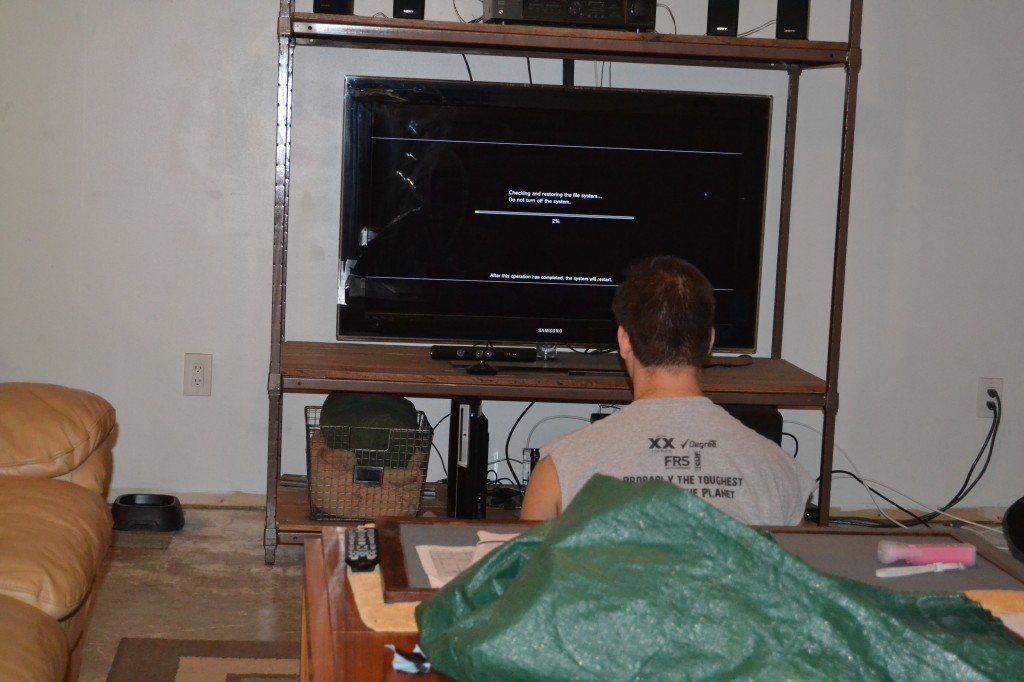
Success!

Success!


Mobile POS – Bathroom Light Edition

A friend in need is a friend … who better have beer and pizza.

Having “mastered” electrical wiring, it became obvious that The Girl and I needed to share our gifts with the world (a/k/a use someone ELSE’S house as a construction zone for once).

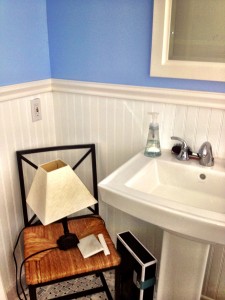
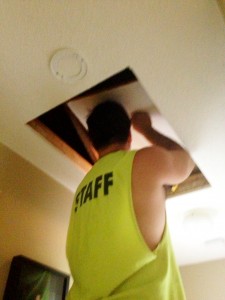
Our friends Joey and Christine recently renovated their bathroom. It looks very nice, and they are quite happy with the results. The only problem is that during the demo phase, the wires to the ceiling lights were cut and taped off in the attic. This also caused an unanticipated problem of disconnecting the light to one of the walk-in closets in the master bedroom, which is obviously on the same circuit. The family was using a tiny table lamp on a chair to have light in the bathroom, and Christine was wearing the same few outfits for weeks since she couldn’t see in her closet. The Girl knows how much I enjoy spending time in attics, so she quickly volunteered my services as an electrician.

Hutchings Bath 1 Hutchings Bath 2

DISCLAIMER: I know VERY little about electrical. What I do know, I learned from a summer science class (taught by my mother) and from Miguel. Recently, I called my mother with an electrical question – she promptly told me that she had no idea what I was talking about, and not to mess with electrical wiring in the house where The Girl, The Dog, and I were living. Bah. Miguel said go for it.

So, I showed up one evening to our friends’ house and promptly got to work in the attic.

Hutchings Bath 7

Four hours later, and VERY frustrated, I left with my head hung low and covered in sweat and fiberglass. I hate fiberglass.

Several days later, The Girl joined me in another trip to the house. I thought I’d had an ephiphany, but judging by the results, it was probably just indigestion. I climbed back into the attic, hauled up all the tools, and spent another three hours sweating and cursing.

Hutchings Bath 6

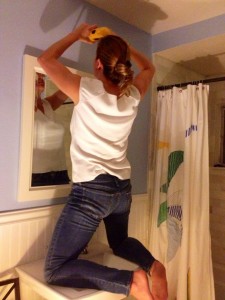
Meanwhile, The Girl broke out the cordless drill and started putting holes in the walls so we could run electrical wires from the attic down the walls and into the wall sconces that our friends picked out. This would have worked out just fine if there hadn’t been a 2×4 running through the wall at one point which I couldn’t drill through.

Holes in the wall? Yeah – that’ll happen when you “hire” your friends to do weekend electrical wiring. The Girl abandoned the previous “one light on each side of the mirror” arrangement and moved to the “one light on top of the mirror” arrangement.

Hutchings Bath 4

Except, yours truly couldn’t figure out the wiring. Cause I’m not that smart, and probably shouldn’t be wiring ANYONE’S house, let alone the house of a couple we both LIKE, who have two kids under 3. Stupid electricity. Day 2 ended with a minor success: I managed to get the master bedroom’s closet light to work, and the fan in the master bathroom working. Score: minor victory.

Day 3. Yes, another day. In the attic. Doing electrical work, for which I am COMPLETELY unqualified.

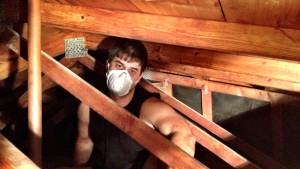
OK, it is the same picture. But this is what I looked like again!

OK, it is the same picture. But this is what I looked like again!

Except this time I called Miguel on the way over. THIS time I explained the wiring to Miguel. THIS time Miguel said “Oh, just wire it like this.”

God bless Miguel.

Turns out the light was wired “switch-leg” at the switch. Once explained to me, it made a LOT of sense. I only had to spend about 15 minutes in the attic this time.

Hutchings Bath 3

Holes for two sconces? What holes?

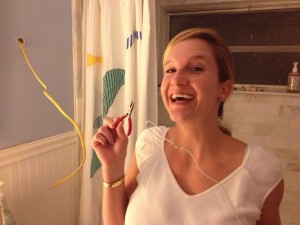
View the splendor! Behold the majesty! Honestly, this was one of the most rewarding DIWhy Not moments I’ve had. Mostly because I was working for someone else, and at the end of the day, I wanted to make them happy with what I’d done. They were super encouraging, provided consolation in the form of beers on the days I was unsuccessful, and congratulations for the last day’s triumph – also in the form of beers. The Girl supported me the whole time, and even joined in on the fun. One lesson learned is to bring your own tools, because not everyone has an entire two car garage full of random tools scattered everywhere. The Girl asked for pliers, and was given these:

Hutchings Bath 5

I’ve Been Framed!

Sometimes it just feels good to make something out of the stuff The Girl and I have laying around in the garage.  It is usually inexpensive, and let’s face it: using power tools is a good way to relieve stress.  There’s just a very satisfying feeling when you pull down on the mitre saw and the blade eats through the 2×4, and at the end of the day, you’ve made something…even if it’s just a pile of cut up 2x4s.

But, in an effort to be more productive than just turning one large piece of wood into several smaller pieces of wood, I’m going to take some otherwise useless leftover flooring and turn it into a rustic picture frame.

AAAAAAAAAAND…..the inevitable “The Boy takes time to mathify and be boring and plan a whole bunch instead of just cutting and gluing” portion of the episode.  Skip ahead if you’re not interested in the mathitude and just want to see whether or not I end up with as many fingers as I start with after using all sorts of spinning blades.

First things first: figure out what size photo you want to frame.  In this case I’m framing a photo that is 24 inches wide and 16 inches tall.  If you decide to tackle this kind of project, I would recommend starting much smaller just to get used to the process.  The width of the frame will be 2 inches on all sides, so the total width is now 28 inches (24 for the picture, 2 for each side) and the total height is 20 inches (16 + (2 x 2)).  The only other thing we need to take into consideration is the width of the inner lip.  This is what holds the picture inside the frame.  When we’re done, there will be a 1/4 inch lip all around the inner edge of the frame, which means we need to subtract 1/2 inch from our width and height totals.  This gives us a frame width of 27 1/2 inches, and a height of 19 1/2 inches.

And now back to our regularly scheduled not-boring portion of the post!

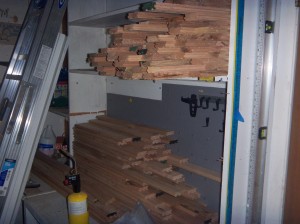
Here are the stacks of leftover wood from the (ongoing) flooring project that had holes or knots in them, which made them unusable for flooring:

This wood has what The Girl and I like to call “character.”  Character is not good for flooring, but it IS good for frames!  The first step is to pick out four pieces, long enough to make up the sides of the frame.  I cut them to length on the mitre saw, leaving me with two pieces of 27 1/2 inches, and two pieces of 19 1/2 inches.  So far, so good.

The flooring I used had a tongue on one side, and a groove on the other.  I believe that this type of flooring is called tongue and groove flooring.  Clever, no?  Unfortunately, I didn’t need either the tongue, or the groove, so they had to go.

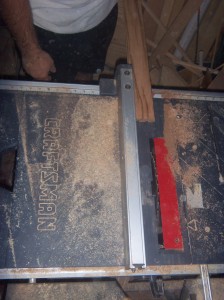
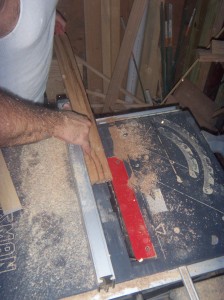
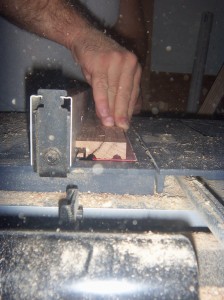
Now, for the dangerous stuff: the table saw.  We wanted 2 inch widths for our frame, so I set the rail at 2 inches.  Then I ran each piece along the rail with the groove against the rail, essentially cutting off the tongue.

Before…

…During…

…(almost) After! USE A PUSH STICK!

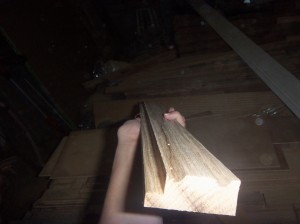
After ripping each of the four pieces to 2 inch width, we needed to make the 1/4 lip on the inner edge.  For this, I set the rail at 1/4 inch and set the depth of the blade so that it just cuts above the bottom of each groove.  Then I ran each piece across the blade, groove side against the rail.

REMEMBER: the blade is below the board, so you can’t cut your fingers so long as they are ON the board, but be sure you are not pushing at the end of the board or you WILL cut your fingers (off).

Result: four nice, smooth, pieces of wood with a 1/4 inch lip cut into them.  SWEET.  Time to cut some 45 degree angles on the edge of each.  The side with the lip is the short edge, and the smooth side is the outside edge.  Back to the mitre saw.

You got a purty mouth…lip…whatever.

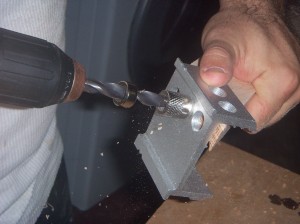
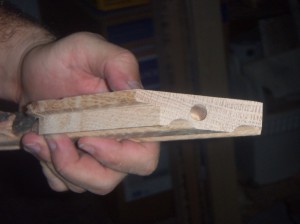
Now that the dangerous stuff is over, it’s time for putting it all together.  I’ve used a biscuit joiner in the past, but I was out of the small biscuits and decided to use a dowel jig instead.  After using the dowels this time, I will be using them again in the future…much easier.  Drill a hole in each side of all four boards and then use a dowel and wood glue to put all the sides together.  Set it and forget it. (for a few hours, then remember it)

I love it when a plan comes together.

Time to pretty it up.  In a very tough and rugged fashion, obviously.  I sanded the front of the frame with 60 grit.  Then I used a wet cloth (sock) to dampen the freshly sanded edge. This makes the wood swell slightly, and the fibers of the wood will stand up.  Once it’s dry again, I hit it with 100 grit to make it extra smooth.  BOOM!

Finally, a coat of stain, and polyurethane to protect the wood and the stain.  Makes for a very rustic picture frame.  I didn’t show it here, but you can pick up hardware for hanging the frame and securing the back of the photo at your local hardware shop.  You’re on your on for picking out a photo for the frame!

That’s a good lookin’ picture!