My friend Marty had a problem. She hated her kitchen table, but didn’t want to buy a new one, since there was nothing “wrong” with the dining set, except wear and tear and, well, some ugly. I was due for a visit so I packed up my tools and drove over on Friday after work. We relaxed on Friday night, caught up, played with the kids, and got working Saturday morning. I always underestimate things – how much primer we will need, how long the project will take, how much it will rain, how many blisters I will get, how hard a child can work, etc. We had to sand the table top down to bare wood, prime all of the chairs, paint all of the chairs, prime the base of the table, paint the base of the table, stain and polyurethane the table top, and reupholster the seats of the chairs. In a day and a half. Yup. We were attempting to complete a 4 day project in less than half that time. However, another thing I underestimated was how much we both wanted to finish this table, so we made it happen. We started by taking the seats off of the chairs and dragging them into the backyard, where we sanded them to scuff them up and started priming.
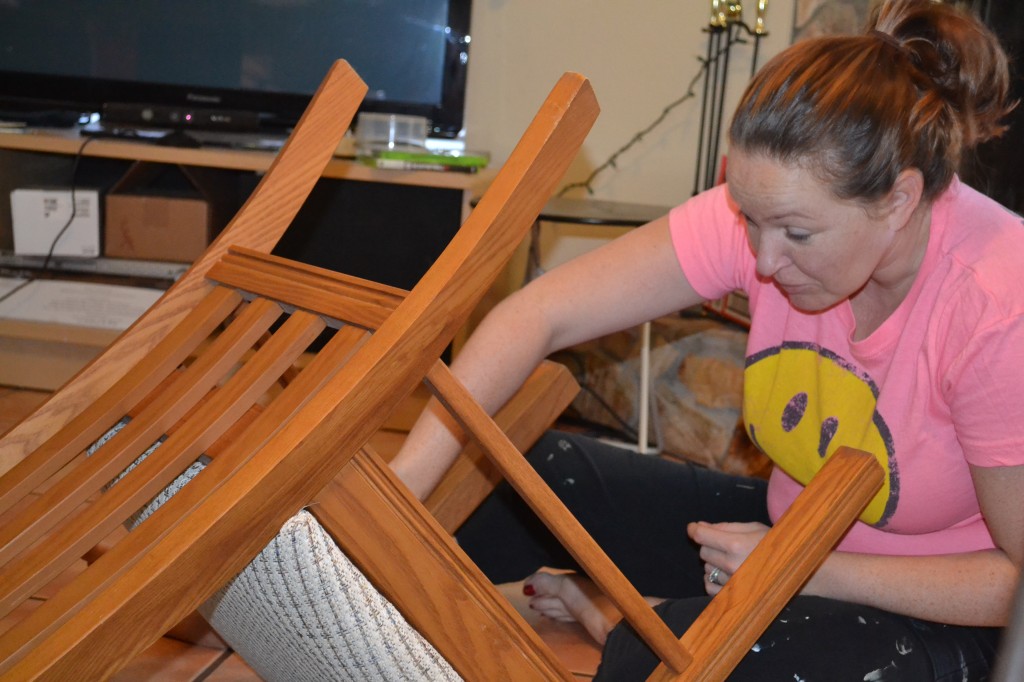
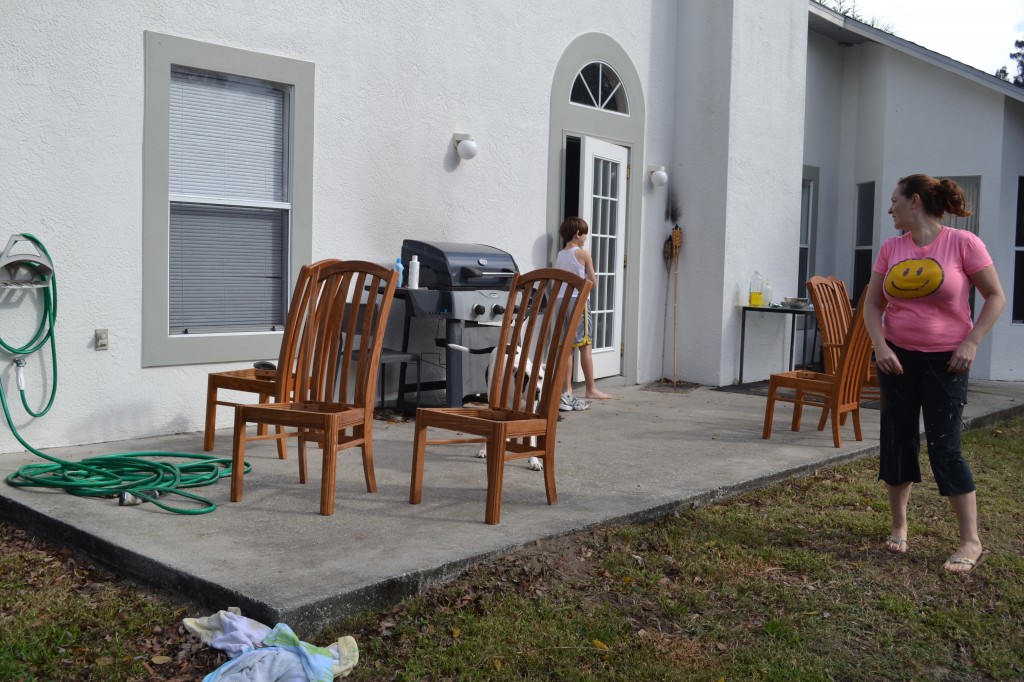
Aaaannnnddd then it started drizzling, so we moved the party to the garage and started sanding the table top. Here is what we started with:
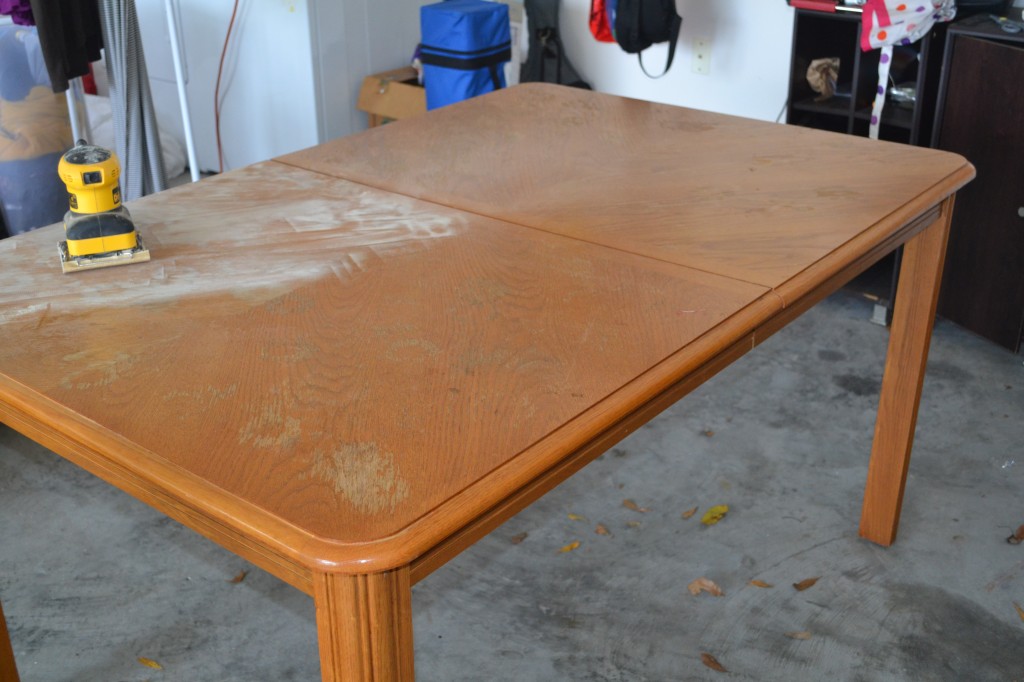
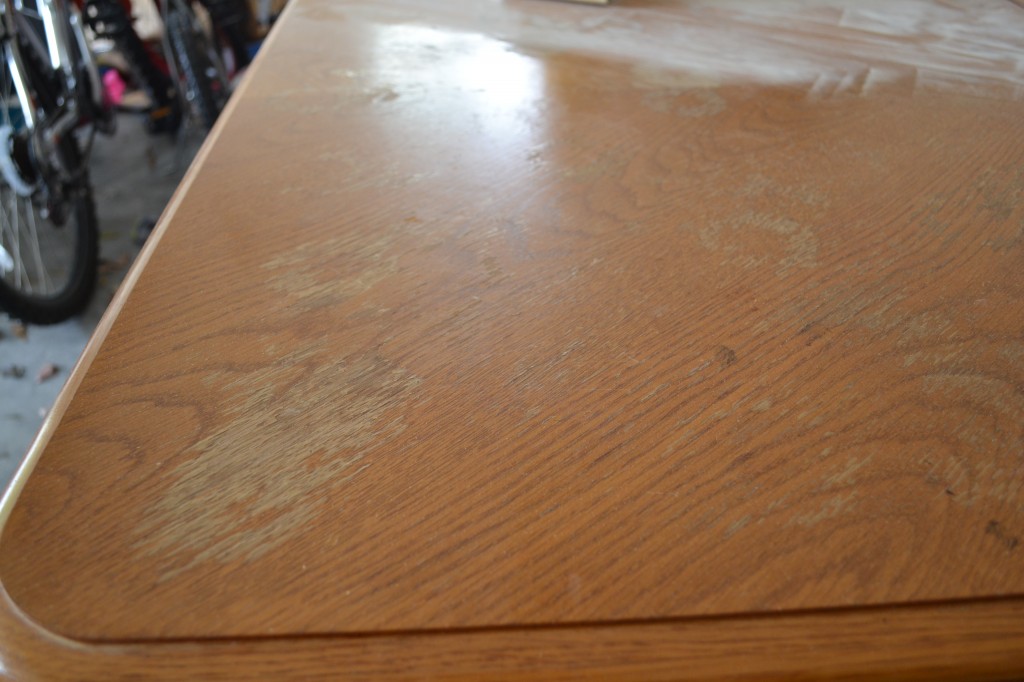
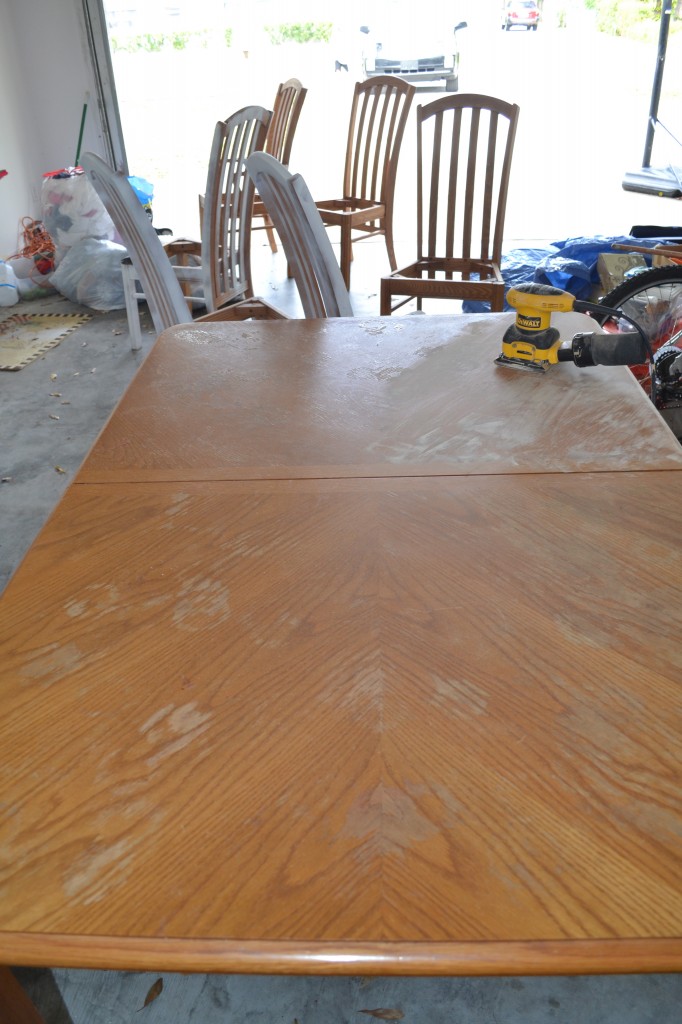
Of course, I forgot to take true “before” photos because I was eager to get down to work. However, I stopped early on in the sanding to document the depressing state of this table. Also, you can see how much priming of the chairs we accomplished before the weather intervened. It became pretty clear that we were gonna need help.
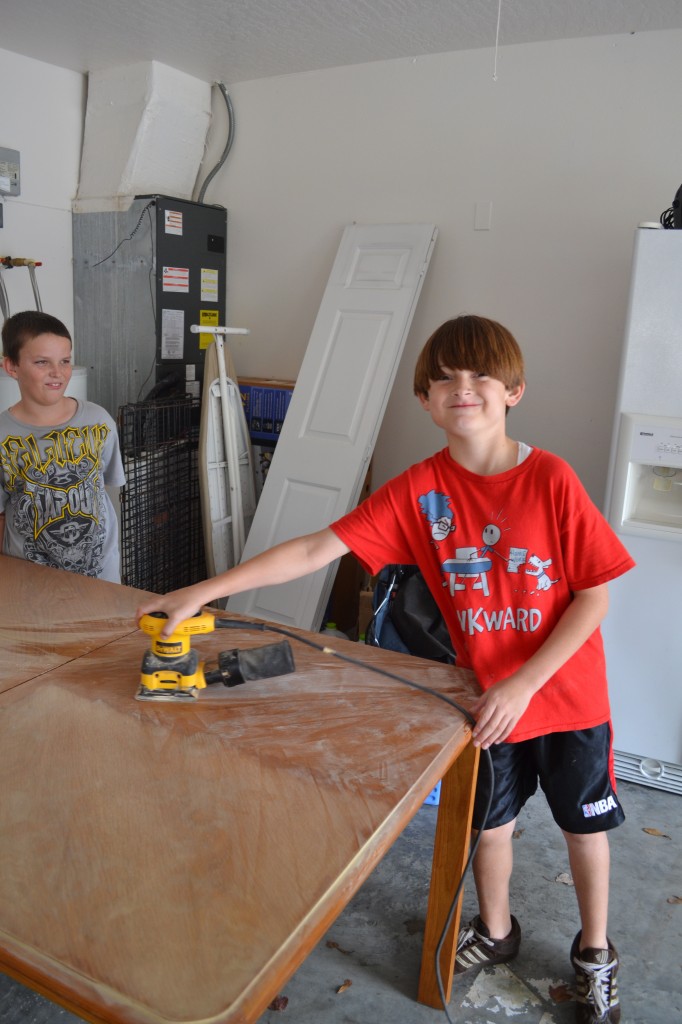
Child labor laws? What child labor laws? Marty’s son and his friend did a great job and followed my instructions perfectly. They might have even had a little fun. Maybe.
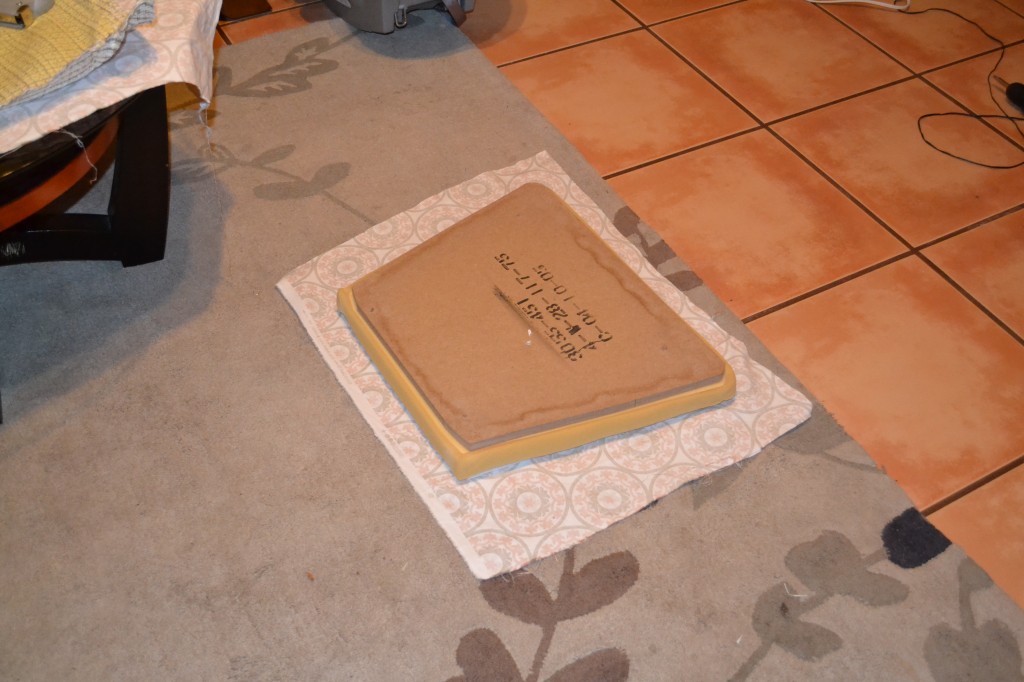
At some point we stopped working to take a trip to Home Depot and also to Joann’s Fabric to pick out some material for the new chair seats while primer dried. The rest of the day involved a LOT of sanding, priming and moving chairs in and out of the cover of the garage as it rained off and on. We finished sanding the table top and got two coats of stain on before bedtime. While relaxing a bit and watching TV in the evening we re-covered a few of the chairs. Not a bad first day.

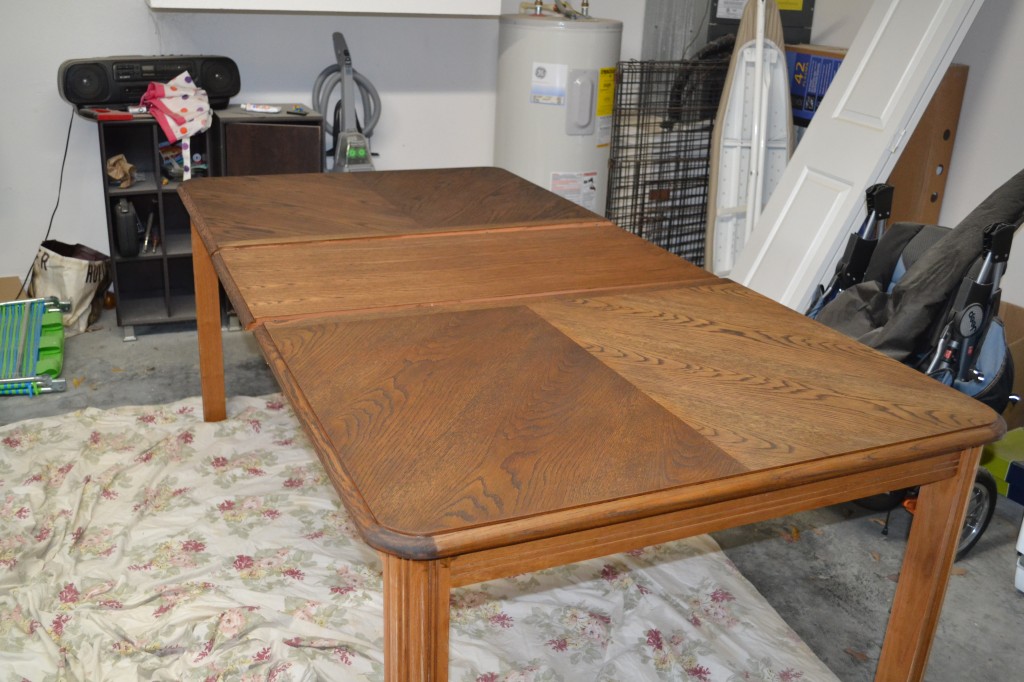
The lighting in the garage made all of the sections look different shades – but they are not!
Sunday morning was a little slower. After a cup of coffee or two (or eight), we ventured back out and managed to get a coat of paint on all of the chairs, which took FOREVER. We also flipped the table over onto a tarp, taped it off around the edges, primed the base, got one coat of paint on it, flipped it back over, and put one coat of polyurethane on the top. It was a lot of hard work, but it was really exciting seeing everything come together!
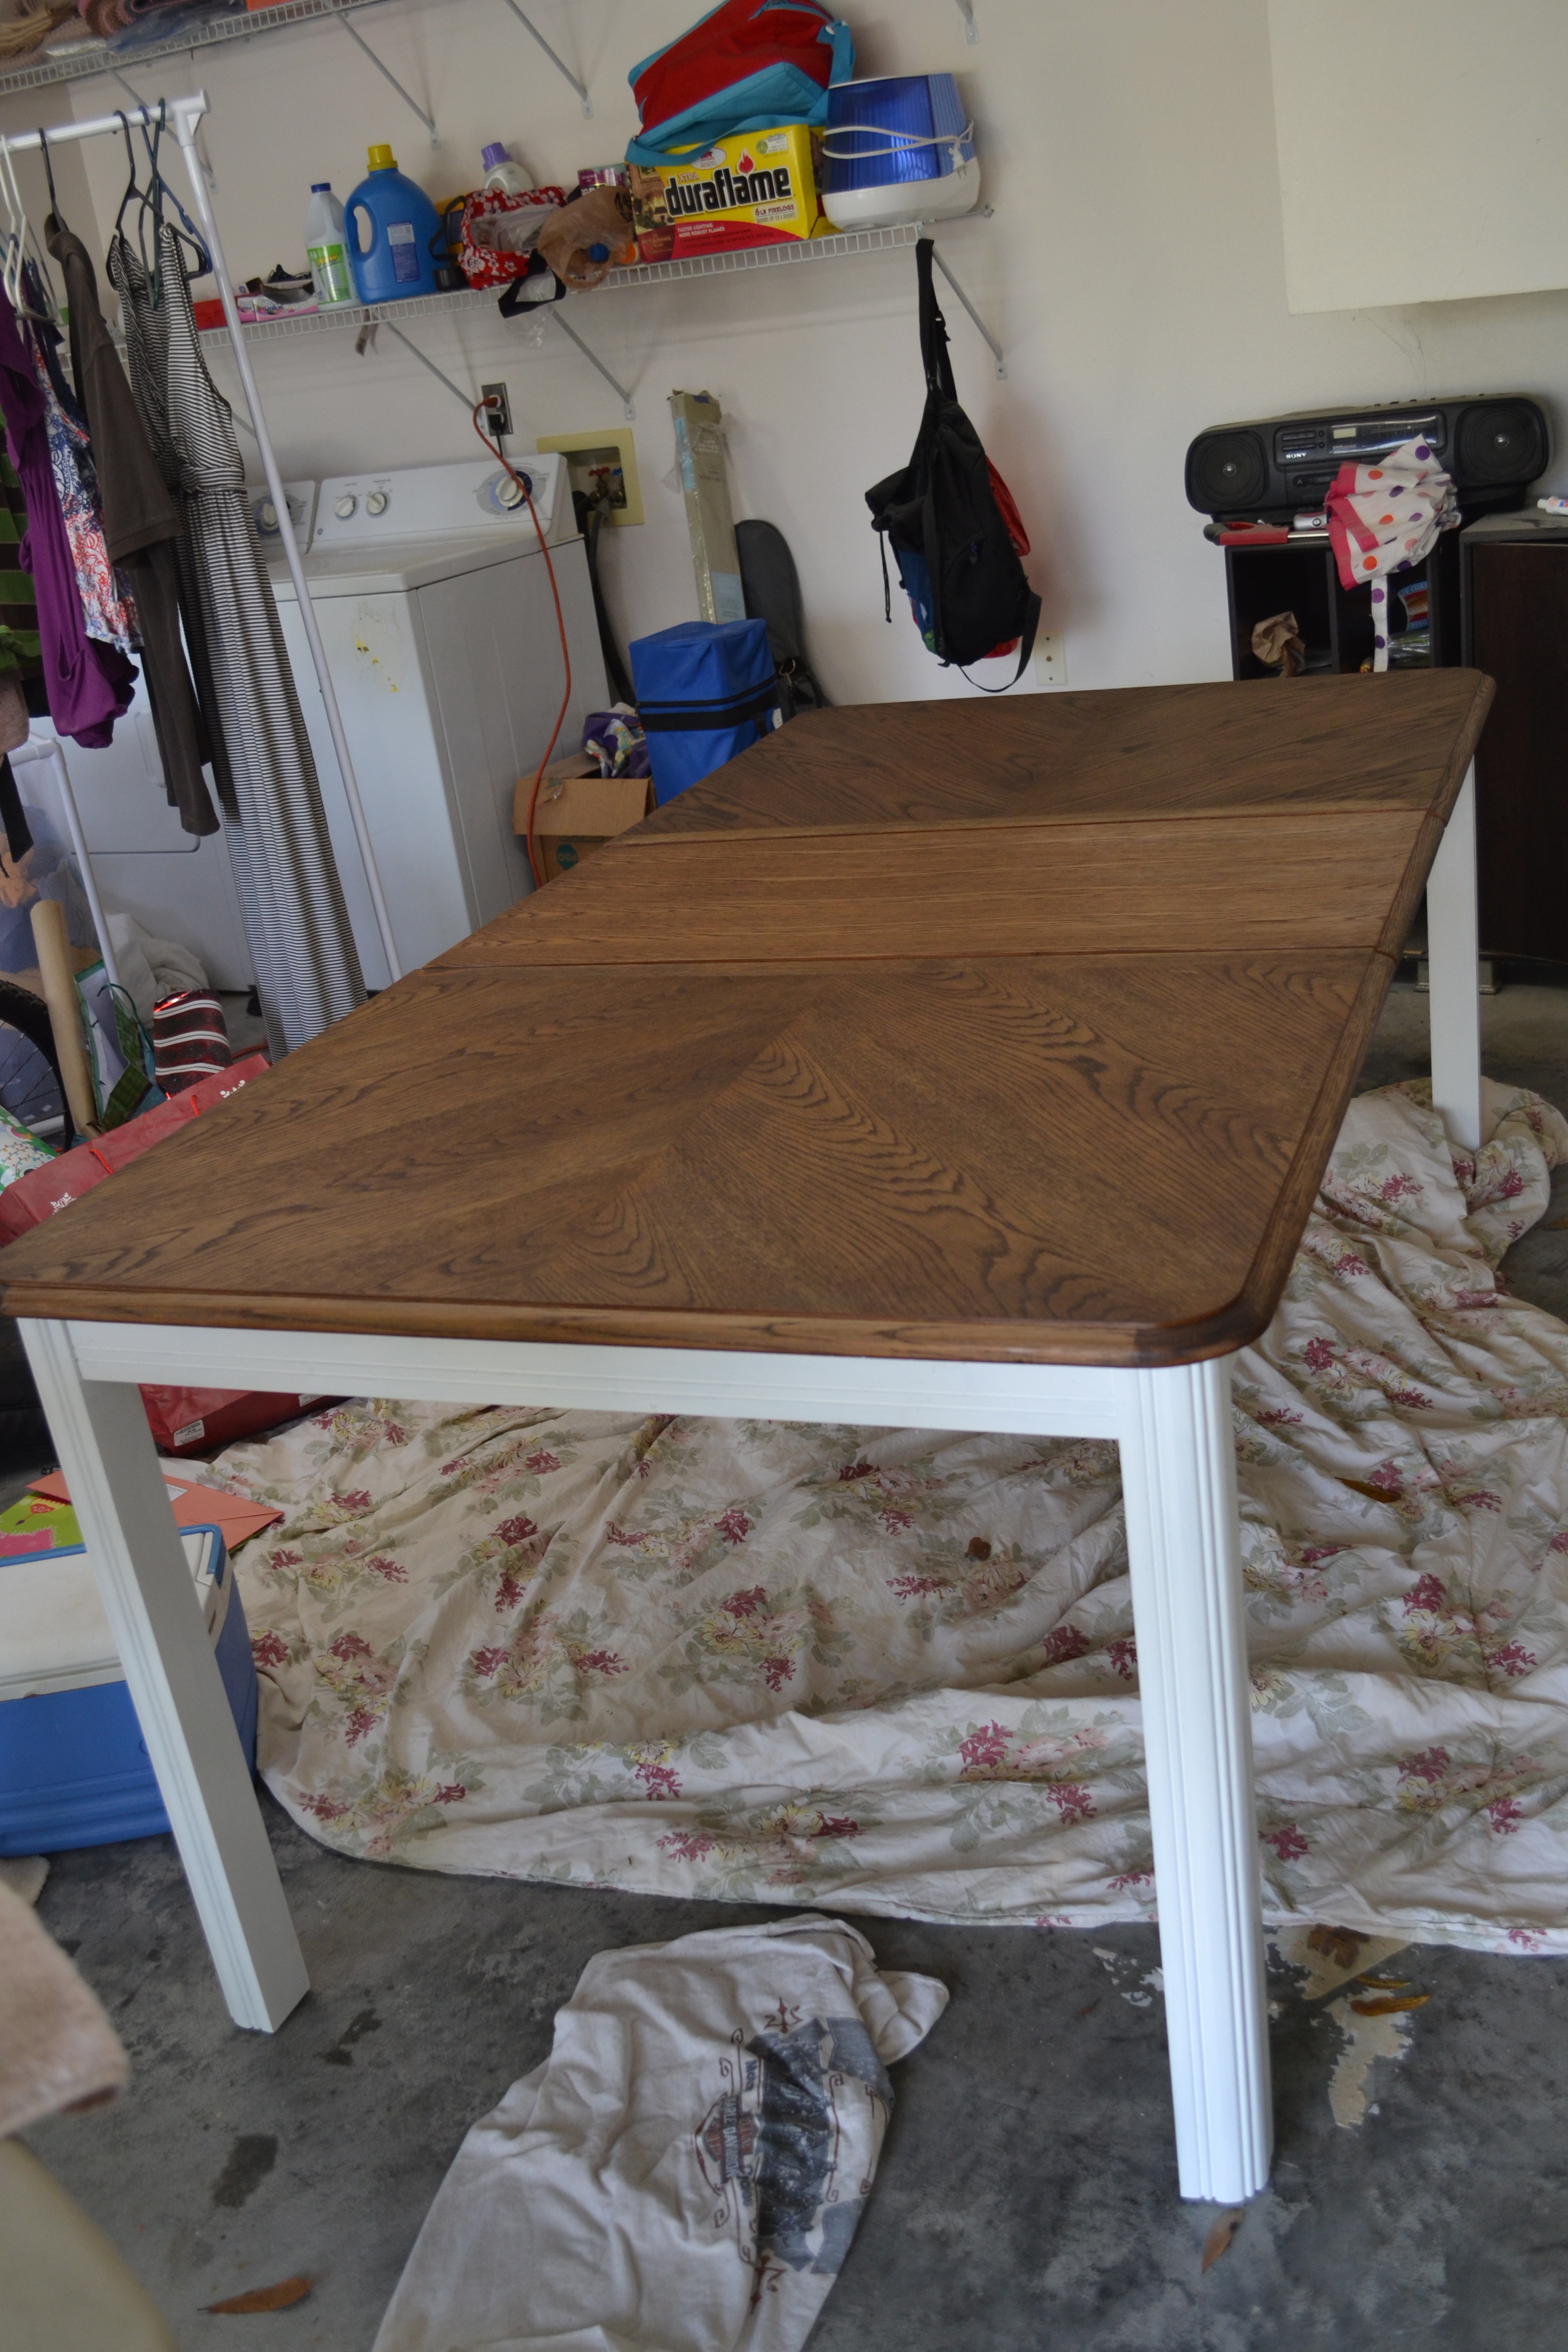
A few regrets: over-eager sanding which went through the veneer in one spot (it took stain pretty well and isn’t too noticeable, but I still feel bad about it – I can’t even blame it on the kids!) and OIL-BASED PAINT. I understand the benefits of oil-based paint. I really do. But it is NOT worth it when you are painting with a brush into a gazillion cracks and crevices. It was like trying to spread bubble gum onto every blade of grass in an acre using toothbrush. Maybe that is an exaggeration – but not much. Plus, clean up is a losing battle with oil-based paint. We threw away the brushes, and I went to work with paint on my legs for days. I have still a few streaks in my hair too, but I figure I will just look like I am aging gracefully until it eventually wears off.
In the late afternoon, we finished re-covering the seats, and then I had to head home. Marty was on her own! She put finishing touches of paint on the chairs, sanded the top of the table and put the second coat of polyurethane on, and re-assembled the chairs. She did a fantastic job! I am impressed that she got it done so quickly, and by Tuesday I had the “ta dah!” photos I had been waiting on.

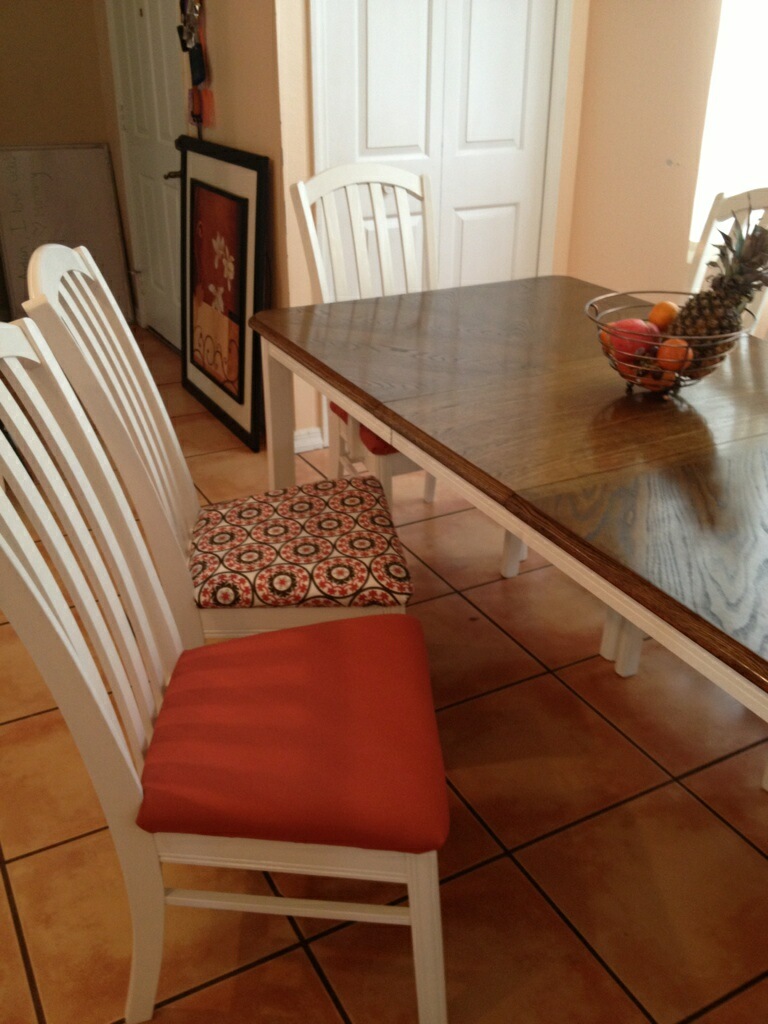
Marty chose to alternate the fabric on the chairs, and although I was skeptical at first, I really love how it turned out. Best of all, she is thrilled with the results and has vowed to stop using her table as a storage and dumping ground. So far so good, right?
I have to end this post with a picture that is oozing with adorable:

Marty’s husband, baby, and the neighbor’s puppy. Cute overload!
I thought this project would make Marty swear off furniture refinishing, but it had the opposite effect. I am slowly converting people, one at a time! No one is safe … who is next?

