Pinbusters – Straighten Hair with Brown Sugar

Have you ever wondered if the stuff people post on Pinterest is true? Well I have, and I test them all so that you don’t have to, ’cause ain’t nobody got time for that.  Click here to check out all of the pins I haven taken on. You might be surprised by some of the results!

Nope, I didn’t stutter mis-type. This pin (click for link) claims that you can straighten your hair with the kitchen’s best kept secret – the brown sugar. The simplicity of the instructions really should give it away. Mix brown sugar with water, spray on hair. Let air dry.

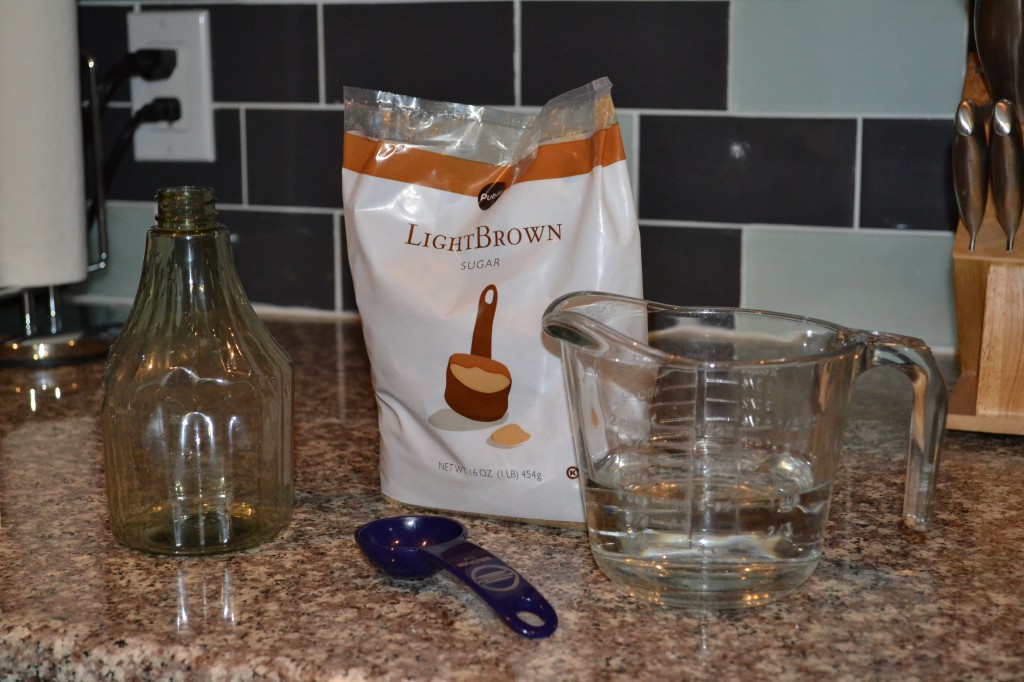
When my niece, Taylor, came to visit with her friend Olivia, I knew this was the perfect opportunity. Taylor has long, gorgeous curly locks. Even Cameron Diaz told her, “I love your hair!” (Yes, that happened, at a minor league baseball game when Cameron was dating A-Rod, and Taylor was stalking, I mean … casually ran into Cameron.) Here are my supplies,

Brown Sugar

my skeptical but willing test subject,

Goldi-curly-locks

Taylor

and the subject’s pre-treatment hair:

Beautiful curly locks.

Beautiful curly locks.

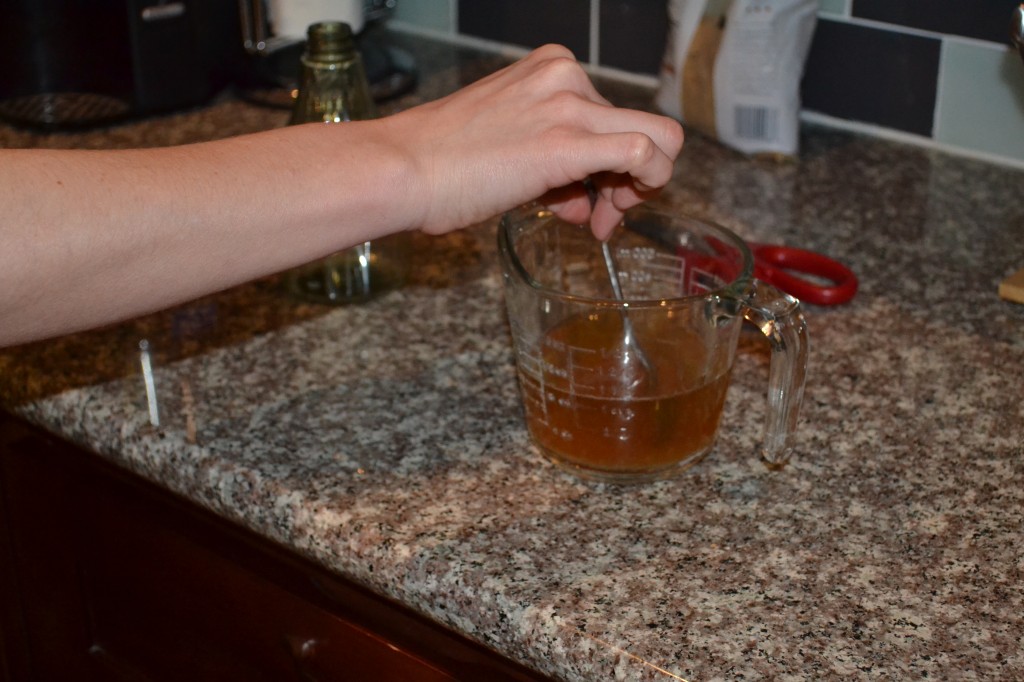
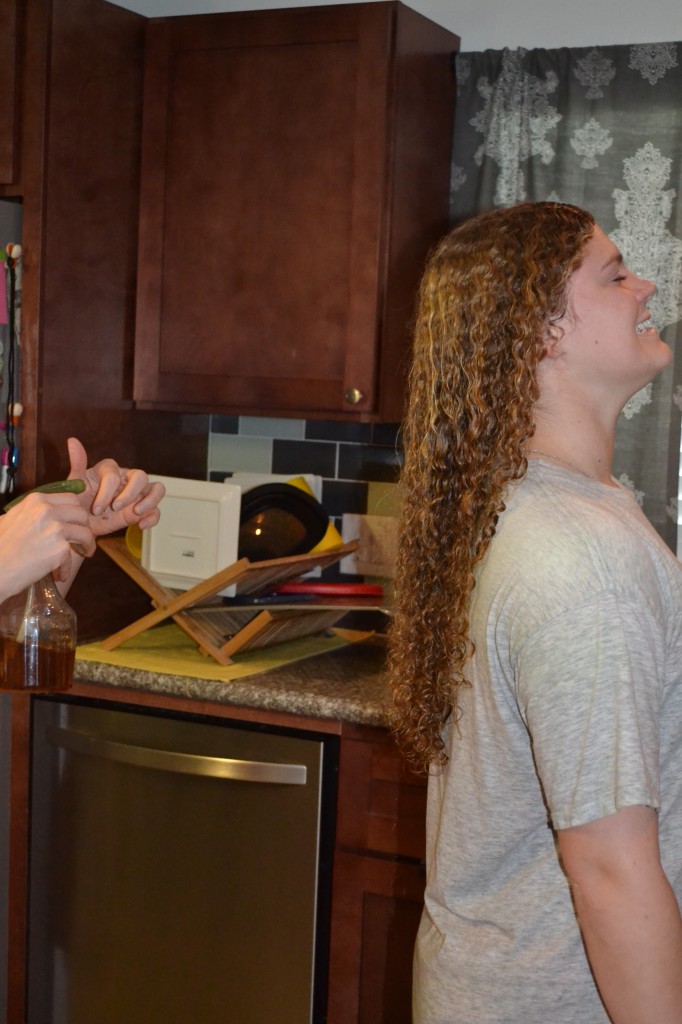
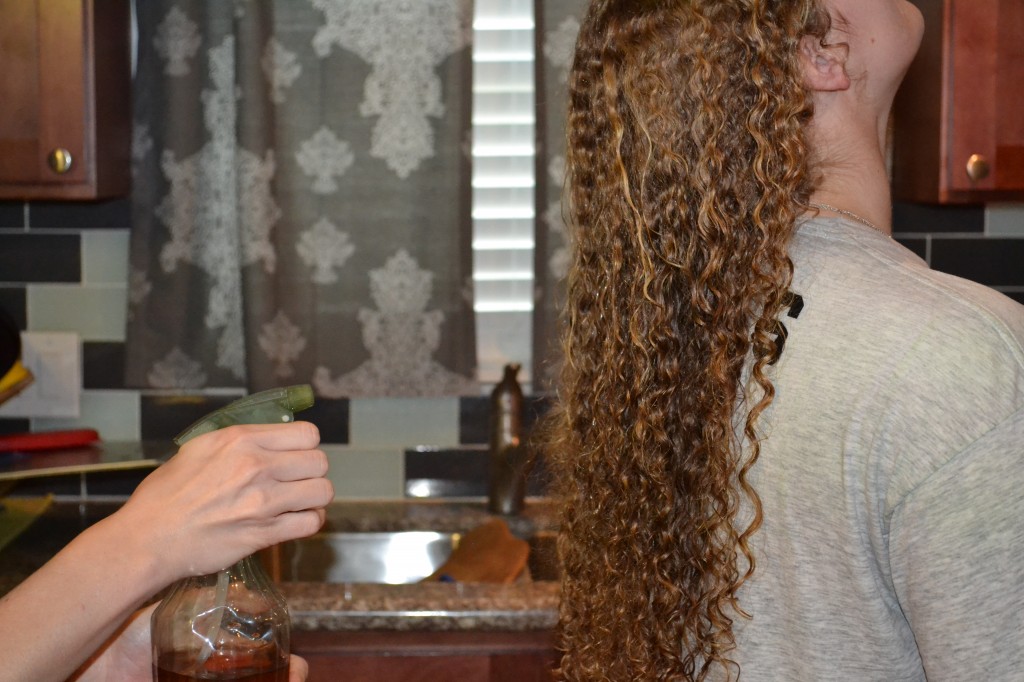
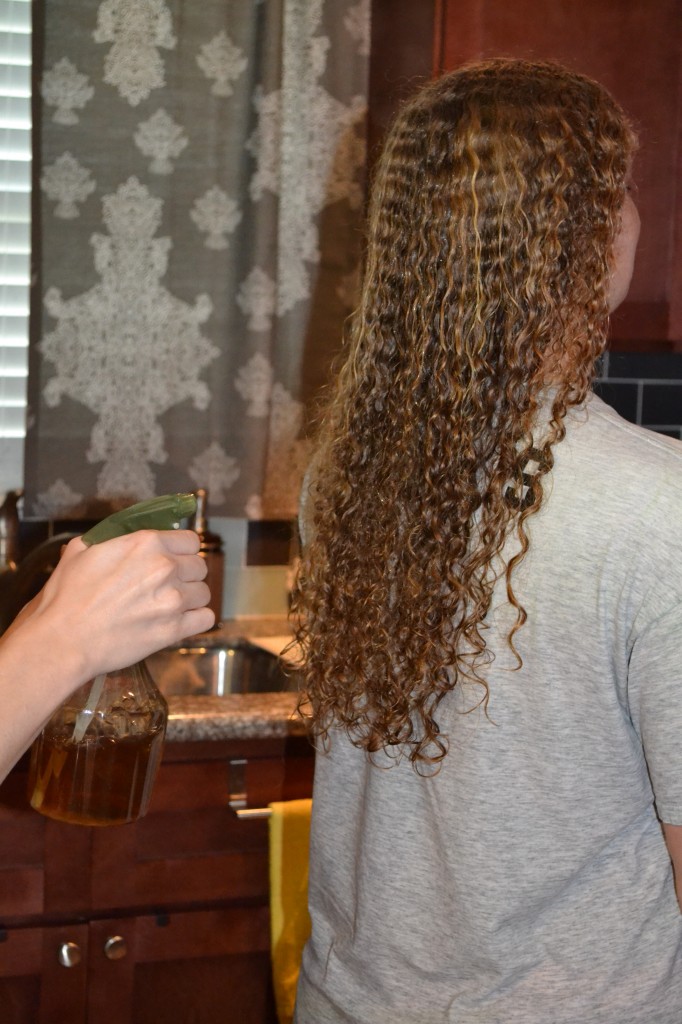
We followed the instructions perfectly. Step One: Mix one cup of water with two tablespoons of brown sugar. Step Two: Spray on hair. Step Three: Let air dry. Step Four: Marvel at your hair’s straightness. Here goes nothin’ …

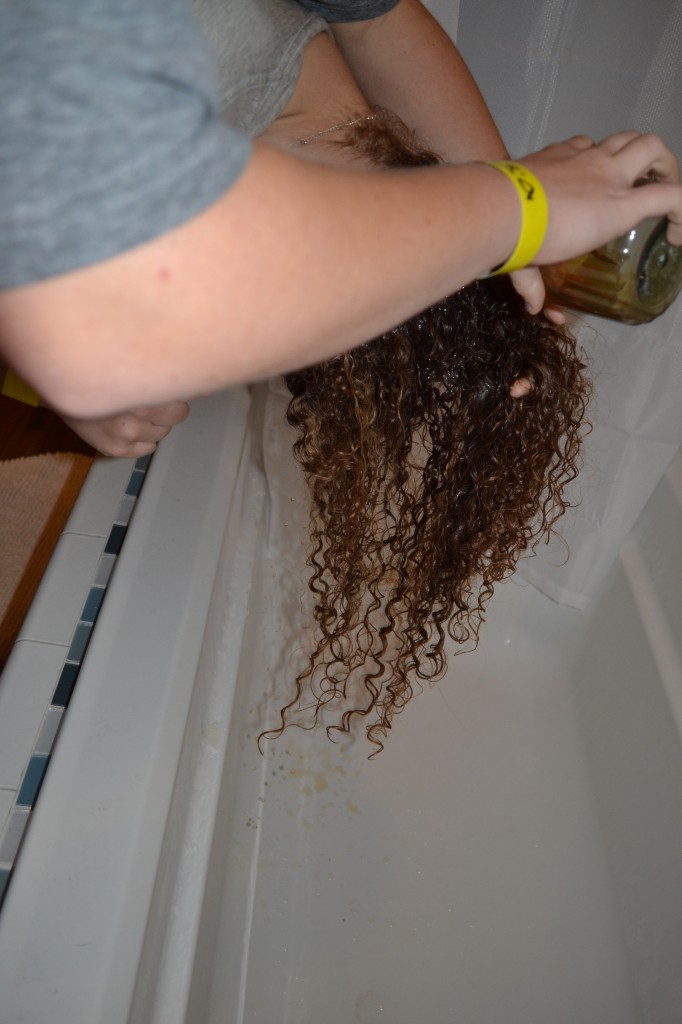
DSC_0021 DSC_0024 DSC_0030 DSC_0028

The sprayer was not quite cooperating, because the sugar did not completely dissolve, and clogged the spray mechanism. Plan B: pour the sugar water all over the hair.

DSC_0033

Here comes the reeeeaaallly exciting part: the waiting. Yep. Mmm hhmmmm. Fun stuff.

<twiddle thumbs>

<whistle>

<play a few games of Super Mario Brothers … die frequently. Use 11 continues>

<make brownies in a mug>

Here is my test subject, unimpressed with her sticky sweet hair:

DSC_0035

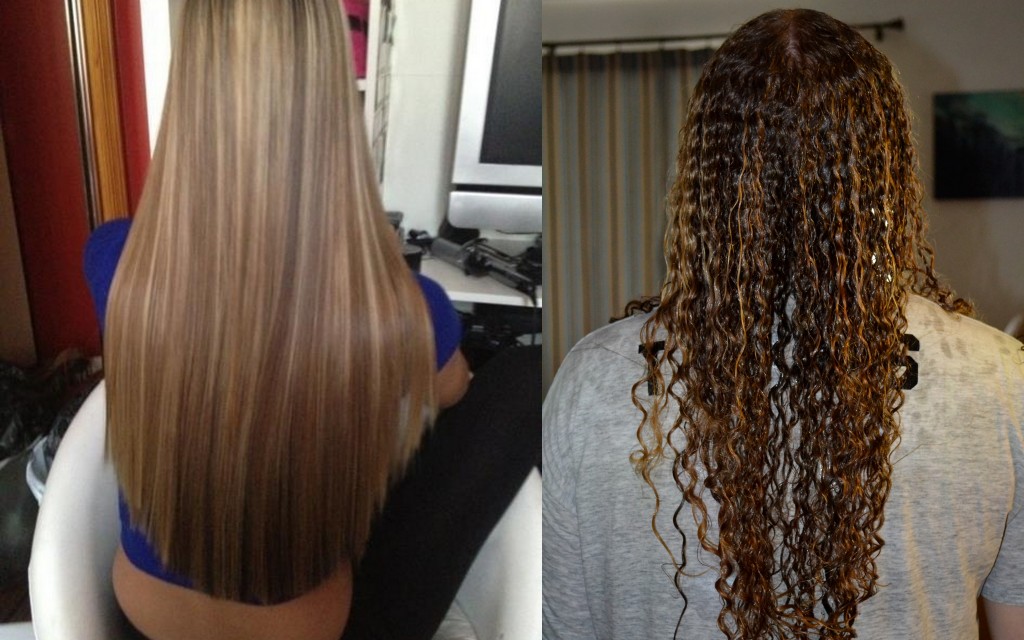
OK, so her hair isn’t completely dry, but [SPOILER ALERT] when it dried, it looked just like this. I took a picture of the back so we could analyze a side-by-side comparison:

Brown Sugar Straighten Hair compare

I know it is confusing, but the picture on the left is from the original pin. Try not to get disoriented or confused, I know the similarity is striking. Brown sugar as a hair straightening tool turned out to be the kitchen’s dirty little secret – that doesn’t work at all. I can’t say I am surprised, I just wonder if people put this crazy stuff on the internet hoping it will get pinned like crazy and drive traffic to their website. That is my best guess.

No teenagers were harmed in this segment of Pinbusters.

Pinbusters – The Magic of Baking Soda

Have you ever wondered if the stuff people post on Pinterest is true? Well I have, and I test them all so that you don’t have to, ’cause ain’t nobody got time for that.  Click here to check out all of the pins I haven taken on. You might be surprised by some of the results!

This post is a two for one. You’re welcome.

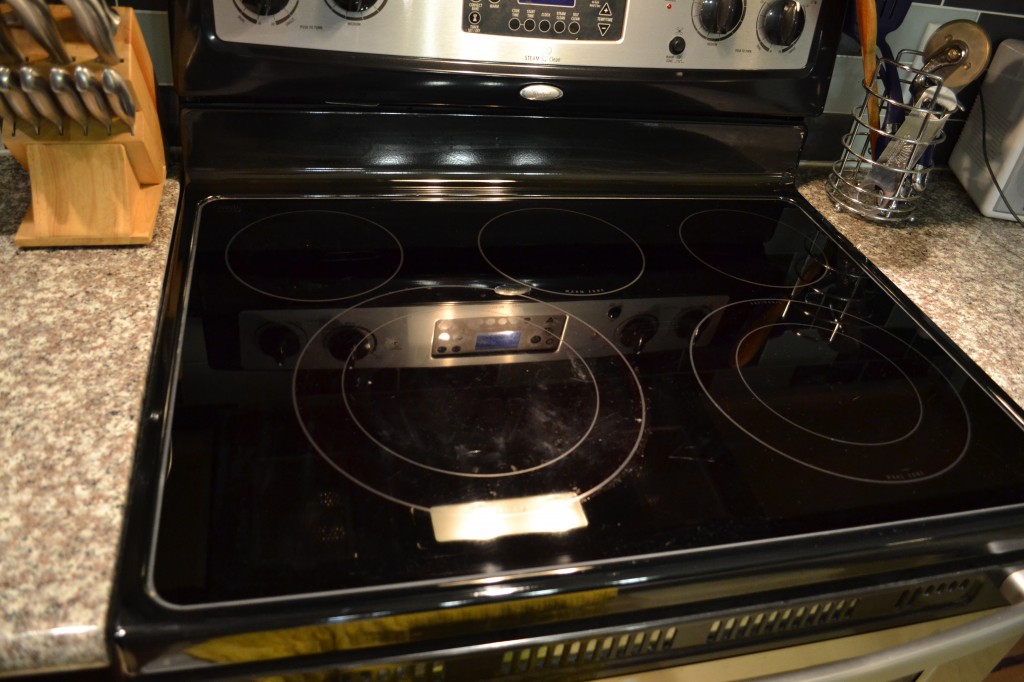
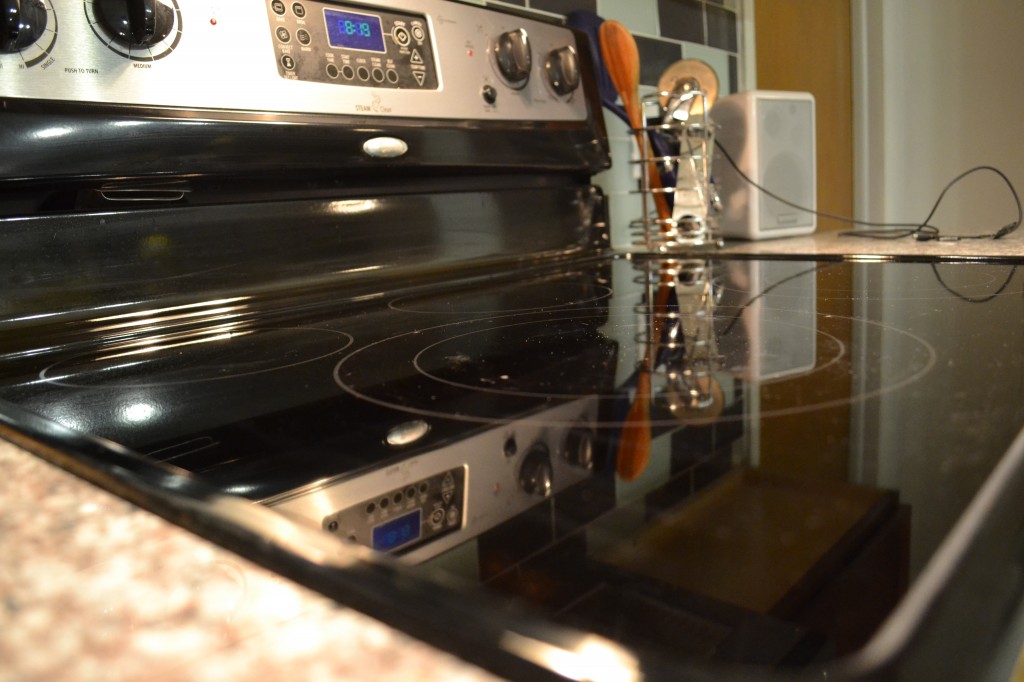
The two pins I tested were cleaning your glass stovetop with baking soda, and cleaning your old, gross pans or cookie sheets with baking soda and peroxide. As luck would have it, I had a disgusting glass stovetop

DSC_0005

DSC_0007

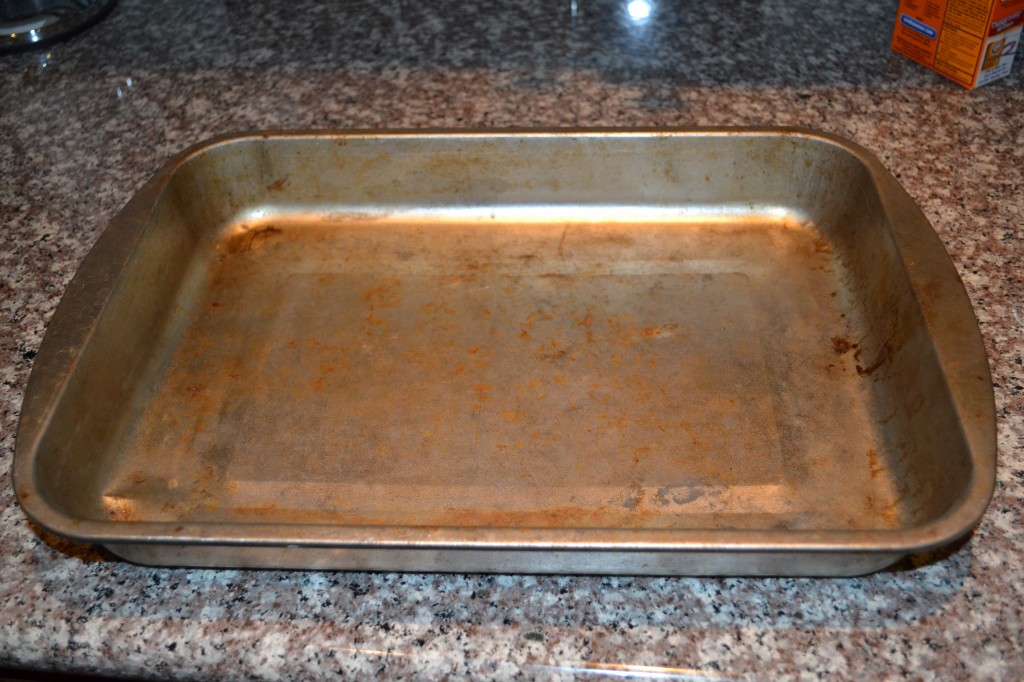
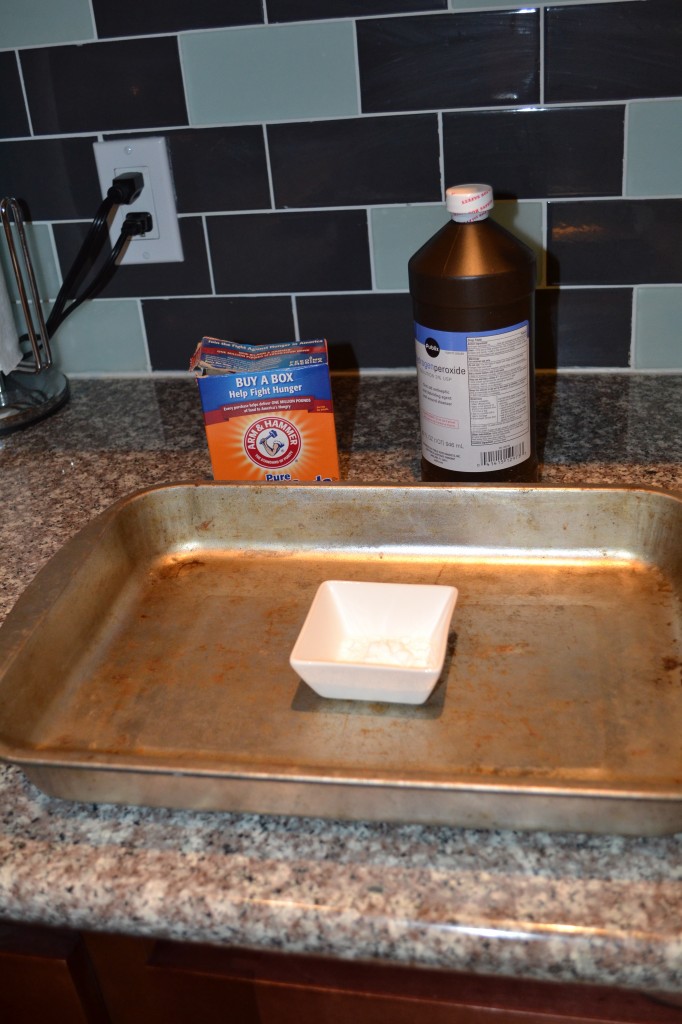
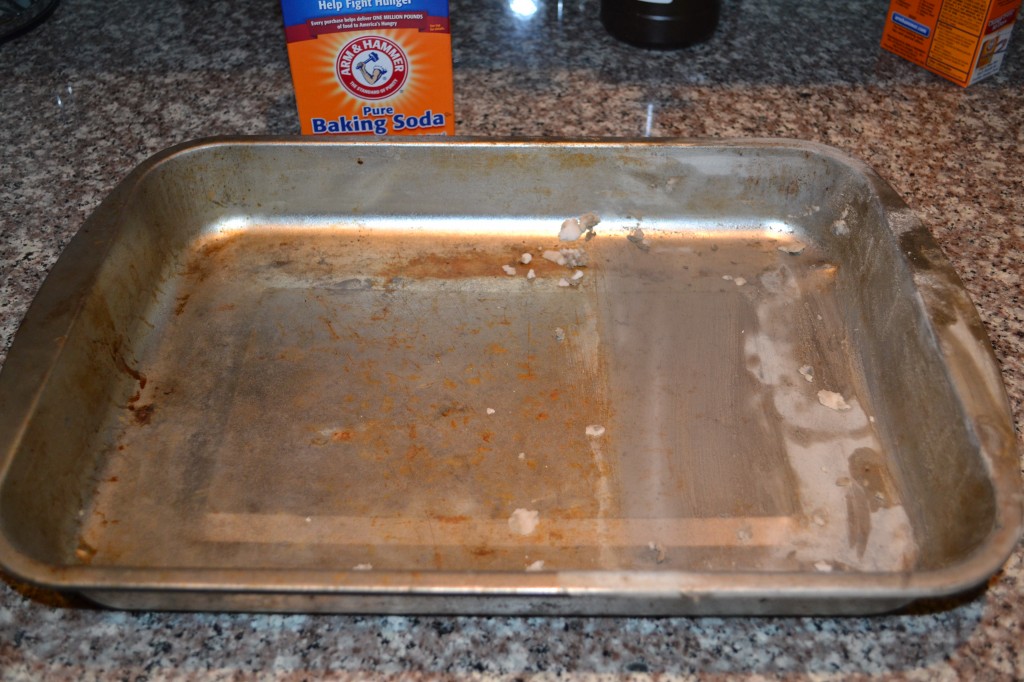
AND an old, gross pan circa 1998.

DSC_0013

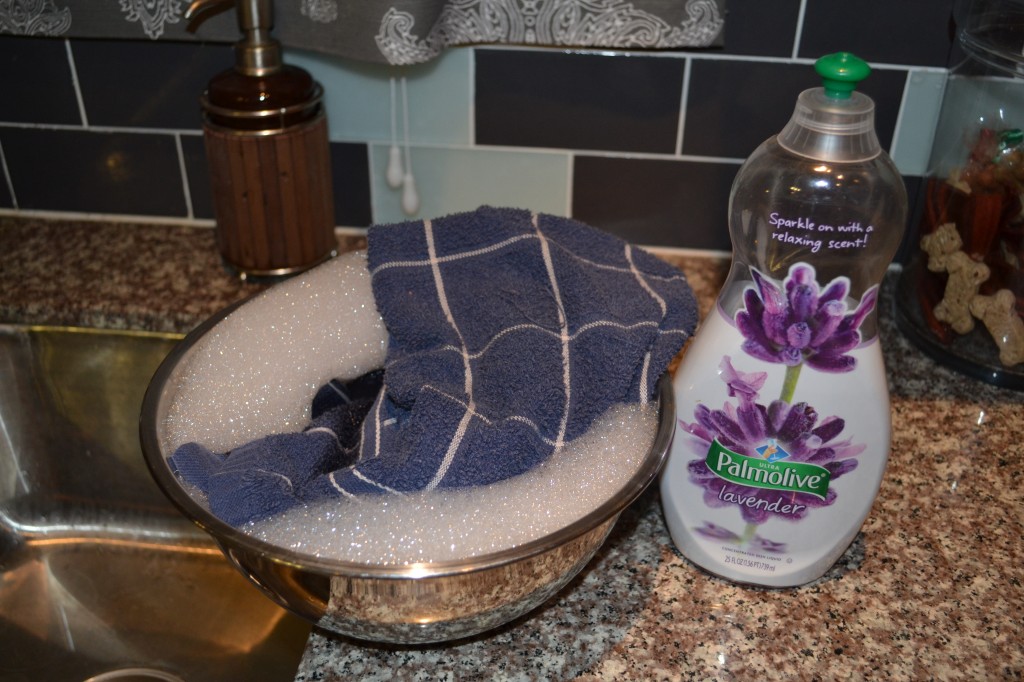
The instructions for the glass cooktop are pretty simple. Soak a cloth (I used a dishtowel) in hot, soapy water.

DSC_0010

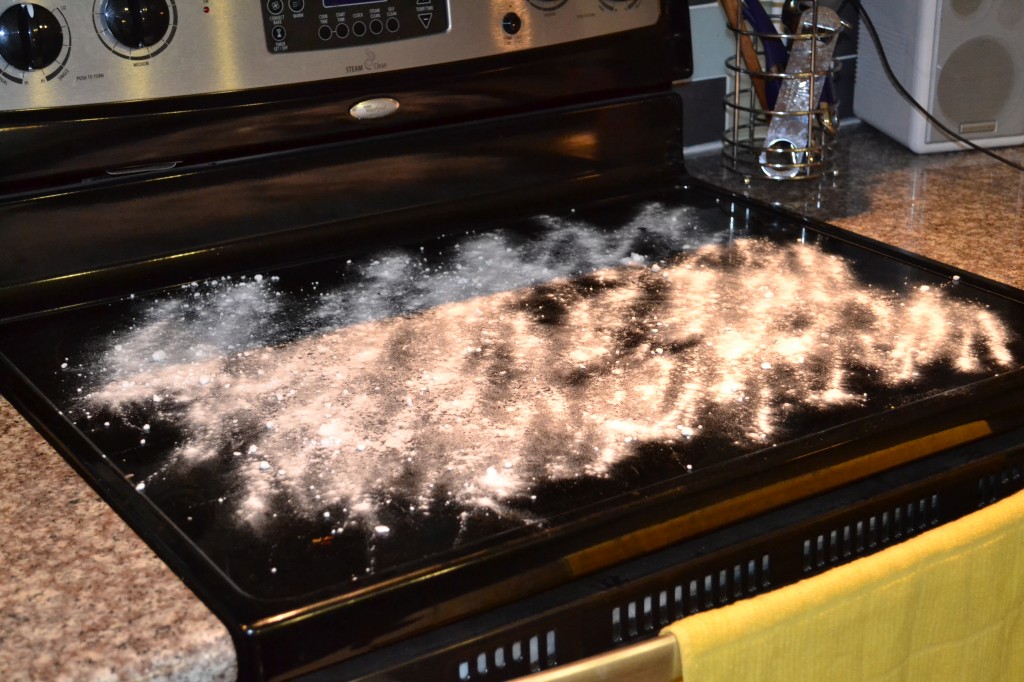
Sprinkle baking soda on your “problem areas,” which for me, was, well …

DSC_0011

Makin’ it rain snow.

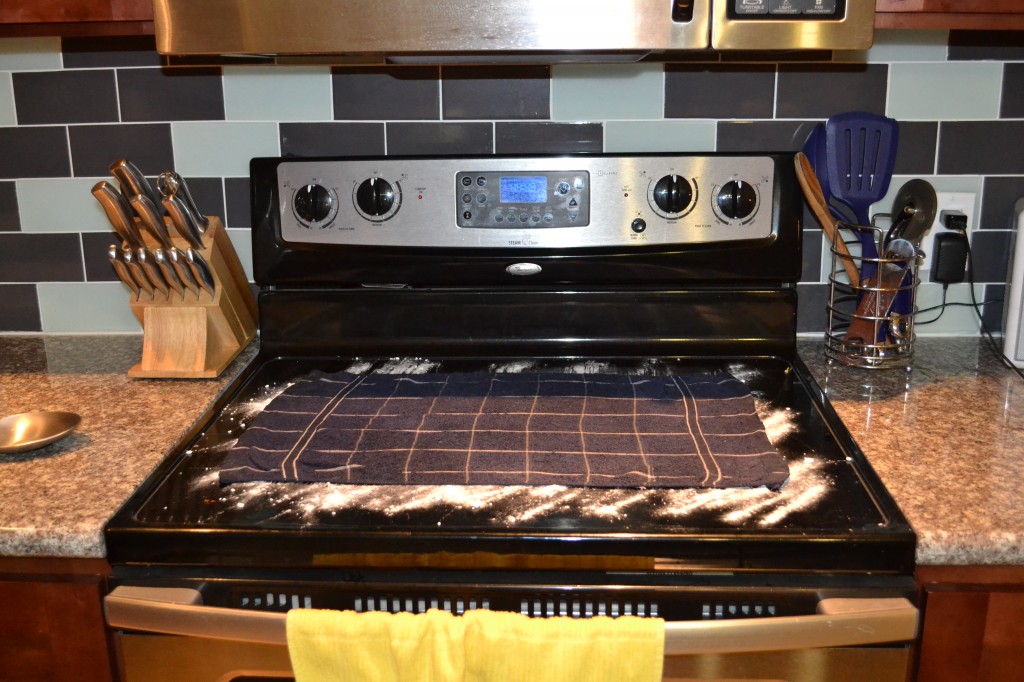
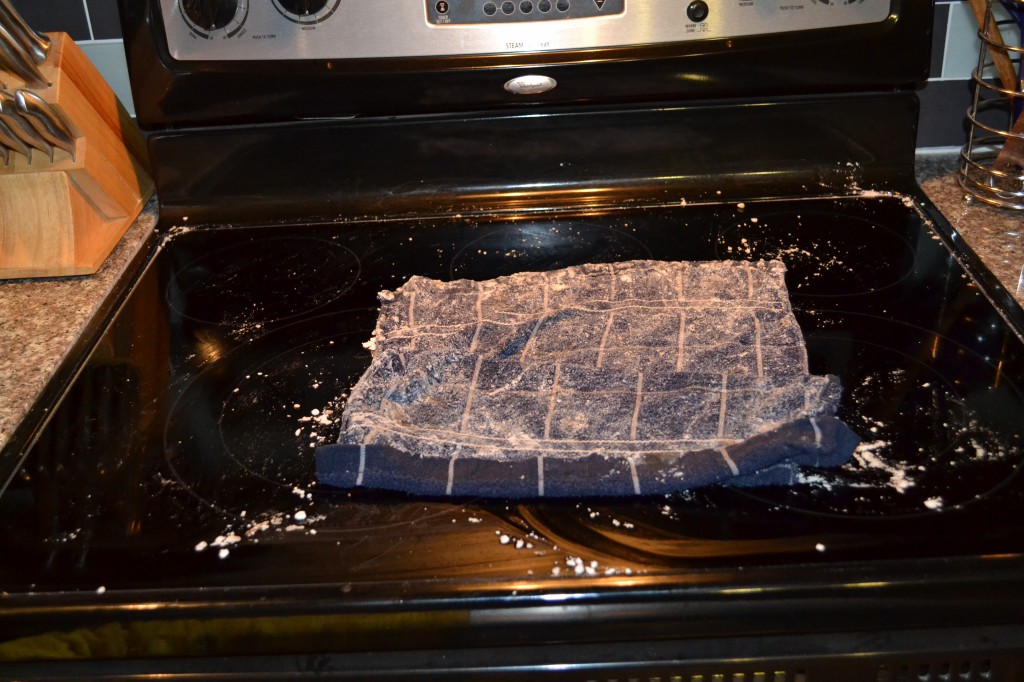
Then you wring out your wet rag, place it on top, and let it sit for awhile.

DSC_0012

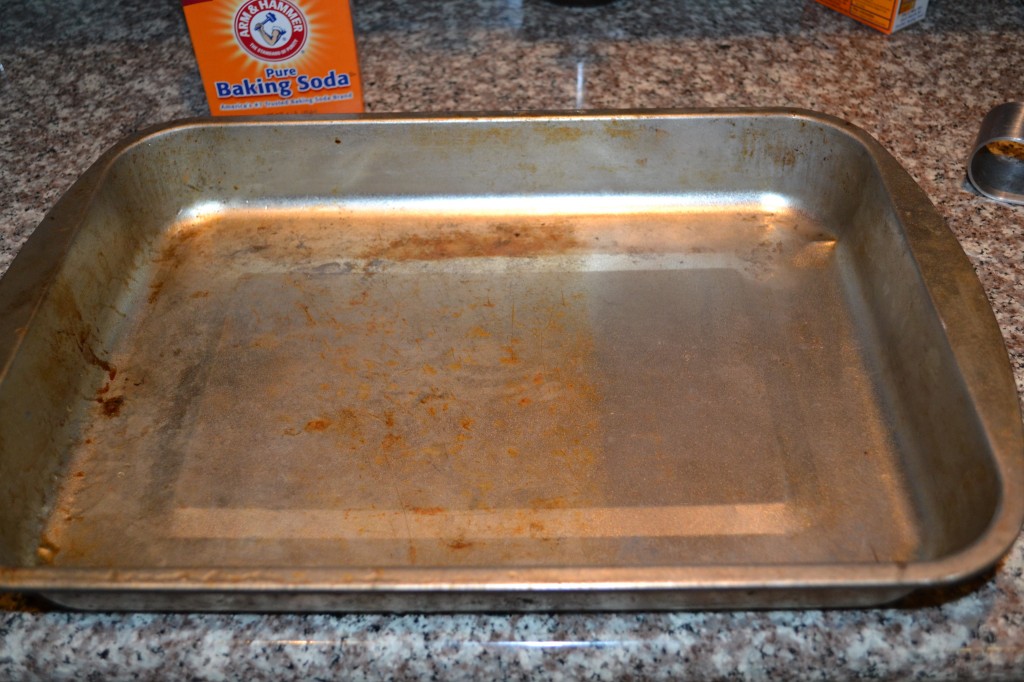
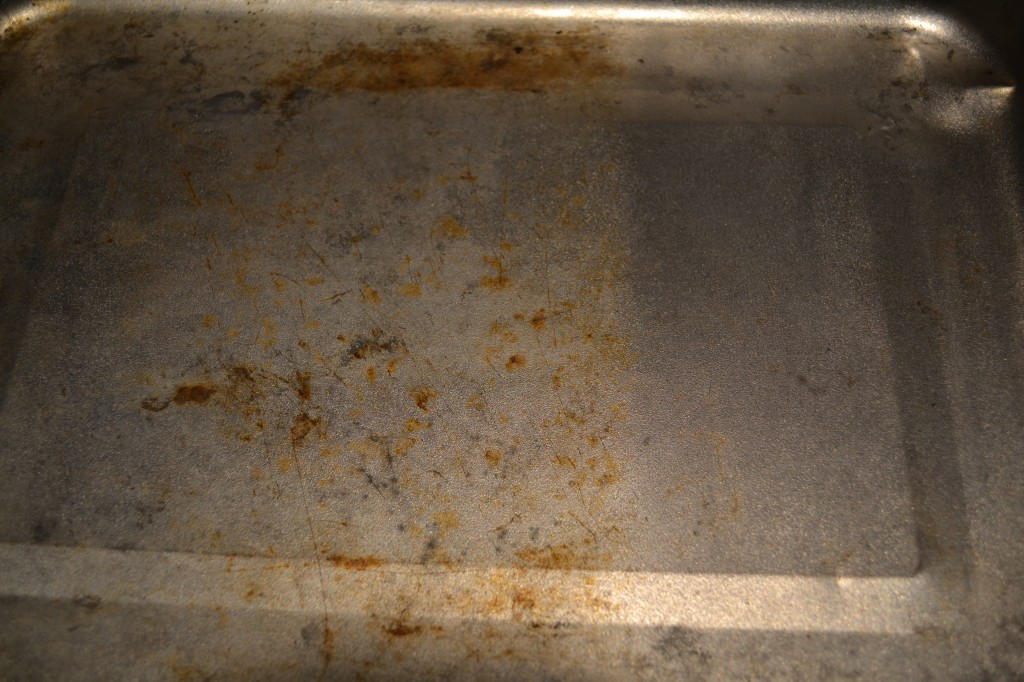
While I waited, I tackled the old pan. I mixed baking soda and peroxide into a paste, and then I started scrubbing. And scrubbing. And scrubbing. It definitely worked, but it required a lot of elbow grease.

DSC_0014 DSC_0015 DSC_0016 DSC_0017

You can see the improvement, but no miracles were performed. Plus I’ll tell you a little secret: I didn’t bother to scrub the rest of the pan. I dried it off and put it away just like that.

By now it was time to address the stovetop. Again, this process required a lot of hard scrubbing too. The baking soda worked well to remove the spots that were really baked on, but it also created hundreds of little balls of baking soda that were time consuming to gather up.

Baking Soda

It worked to clean the glass, though, and I am now the proud owner of this:

Baking Soda Baking Soda DSC_0022

I will say this: I have a product for cleaning the glass stovetop (Cerama Bryte Cooktop Cleaner), and it comes with a little red scrubby thing, and it works equally well. So there’s that.

I wish other people would test out cleaning and home improvement pins … at my house.

Pinbusters – Flaming Fruit

Have you ever wondered if the stuff people post on Pinterest is true? Well I have, and I test them all so that you don’t have to, ’cause ain’t nobody got time for that.  Click here to check out all of the pins I haven taken on. You might be surprised by some of the results!

No, that title is not an insult to any of my gay male friends. You know who you are, and that I love you, and that I would never call you flaming (or fruit!) to your face. Hugs.

This pin tells you how to create a candle of sorts out of citrus fruit. They use a clementine, but I do not discriminate. I ain’t no fruit-ist. My navel orange is just as good as a clementine. Plus it is bigger so less risk of me cutting myself trying to carve a tiny miniature orange. So there.

This is yet another Pinbusters where I am not questioning “if” or “how” but merely “why.” Why would you need to make flaming fruit? Will your guests actually be impressed or start staging an intervention? Can you compost burnt fruit? Will you be able to inhale vitamin C? Can pets be trusted around edible flames? I have no answers, merely questions.

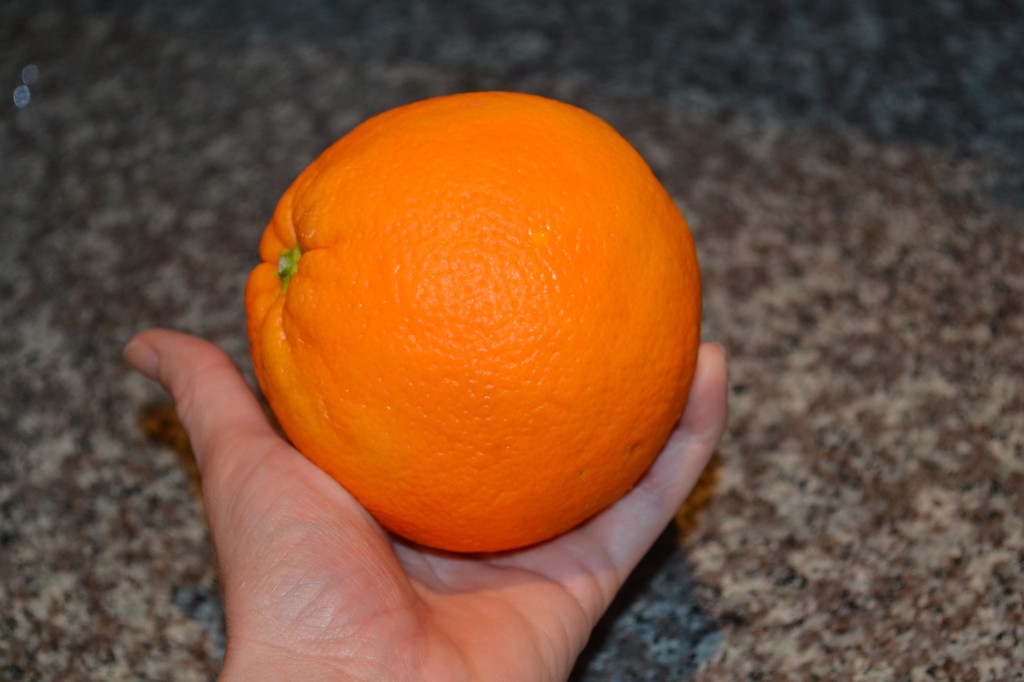
Here is my target: the navel orange.

Pinbusters - Orange

The pin – which is actually a video – shows you how to cut a line around the middle of the orange, not to deep, but just to cut the skin.

Pinbusters - Orange

Then you have to stick your finger in and dig around, separating the orange from the peel so that you can remove the two halves cleanly. This took a bit of time but was not difficult, and then I had this:

Pinbusters - Orange

And this:

DSC_0014

And very sticky hands. I was not concerned with the hole in the top, because the tutorial actually tells you to cut a decorative hole in the top anyways. Ummm, ok. My mangled rind will do just fine. I was also careful to keep the long nib intact (I am refraining from calling it an orange nipple, folks, and that is the definition of class), since that is essentially the wick.

I doused the orange and its nib in extra virgin olive oil, and let is soak for a minute.

DSC_0016

Then the fun begins – lighting it on fire!

Pinbusters - Orange

Pinbusters - Orange

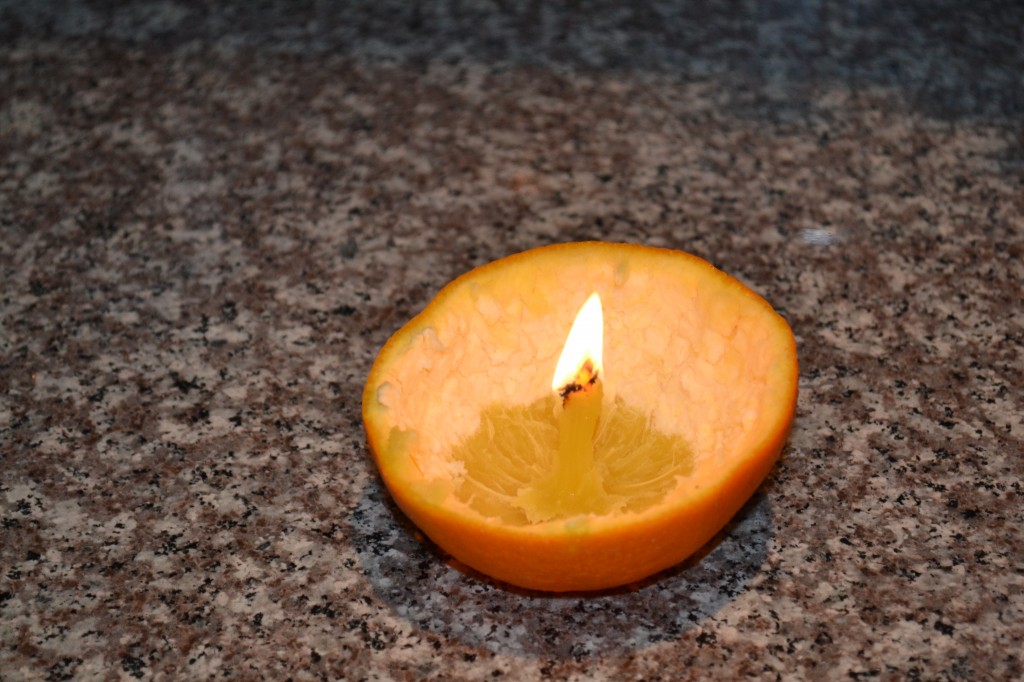
I had to hold the flame to it for a bit to get the nib to actually light on fire (flaming, as opposing to smoldering) but it eventually burned for about 45 seconds.  I re-lit it, and it burned for a little while longer.  I think if extra virgin olive oil wasn’t so expensive, and I wasn’t so cheap frugal, and had used more of it, the flame would stay lit just fine.

Pinbusters - Orange

Pinbusters - Orange

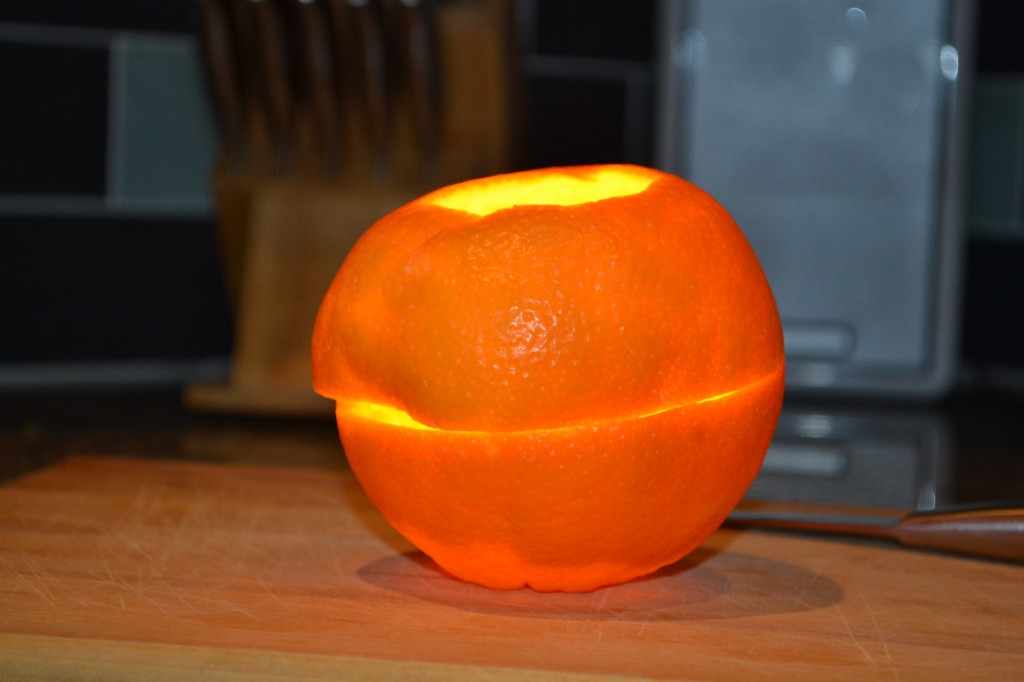
Yep. That is the tiniest faceless Jack-O(range)-Lantern I’ve ever seen. Adorable. I was hoping for a citrus scent to fill my house, but no such luck.

and now what? Do I set these flaming fruits all around the house? Would they float in the pool or topple over and  go out? Why would I spend so much time creating these when I know stores sell perfectly good candles that actually produce a scent (and are proven to float in pools)? I think the only answer is that this guy has more time on his hands than most people and a clementine tree in his backyard that is over-producing fruit.

Flaming fruit. Get you some. Or don’t. Whatever.