DIY Glass Etching

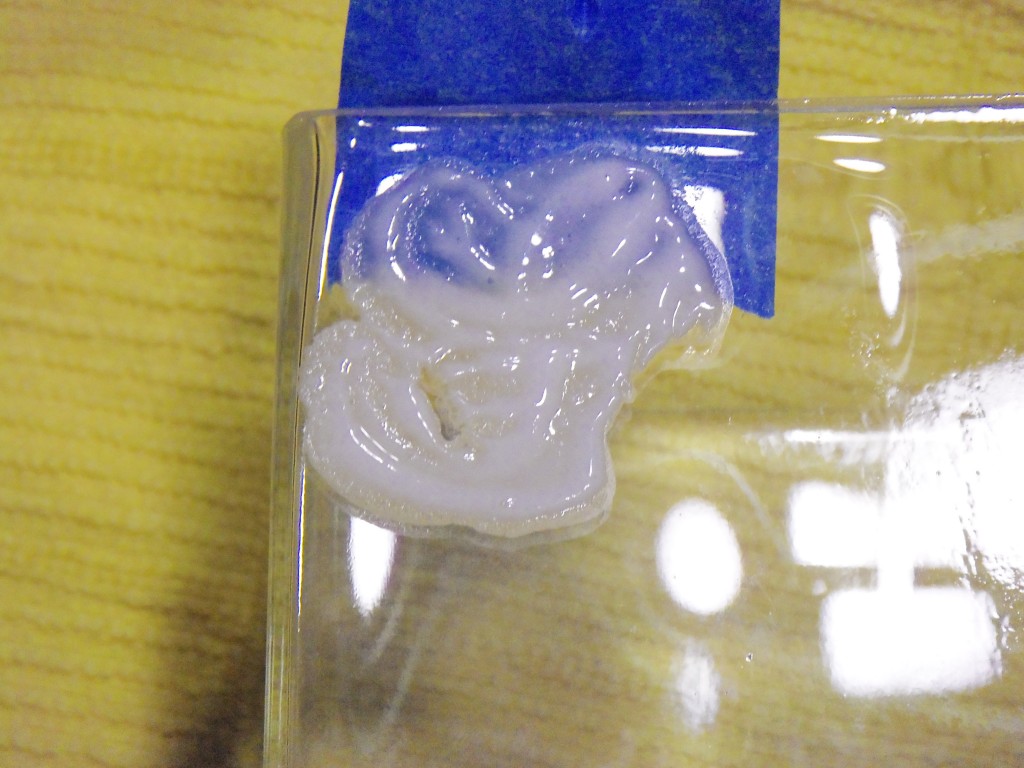
This pin shows you how to etch glass using a product you can find at Michael’s, Amazon, Hobby Lobby, etc. – Armour Etch.  I grabbed an old glass vase and set up shop on the kitchen island. First I tried to tape a stencil onto the glass, but that was a catastrophe:Etch Glass

Etch Glass

Fail number one.

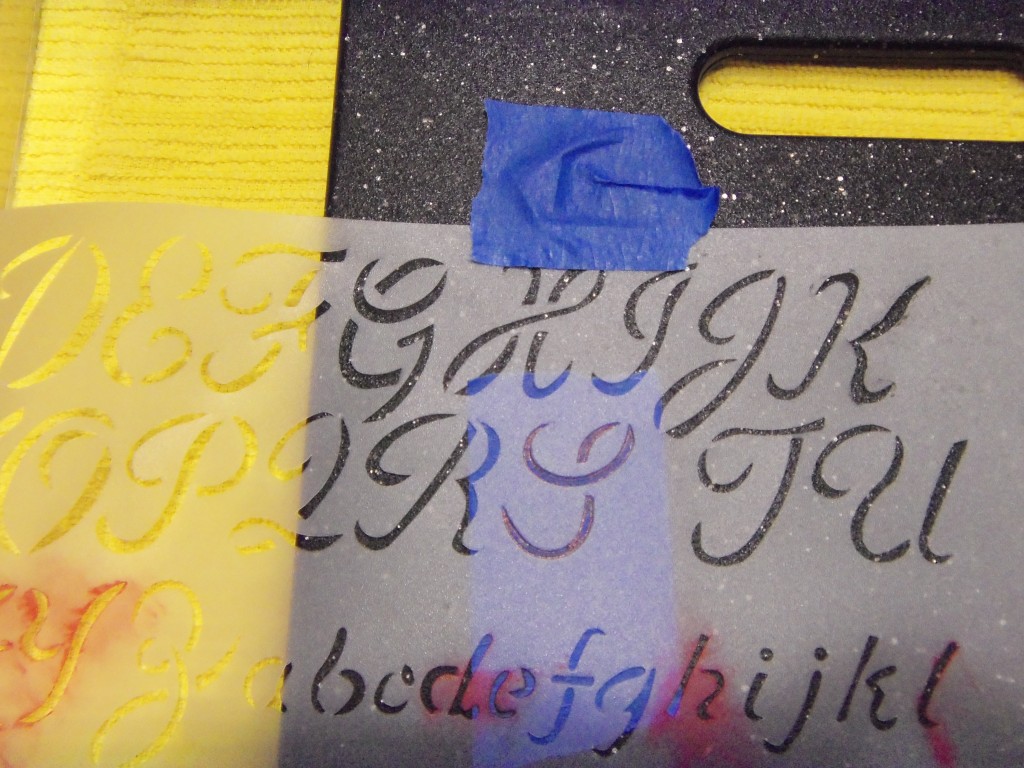
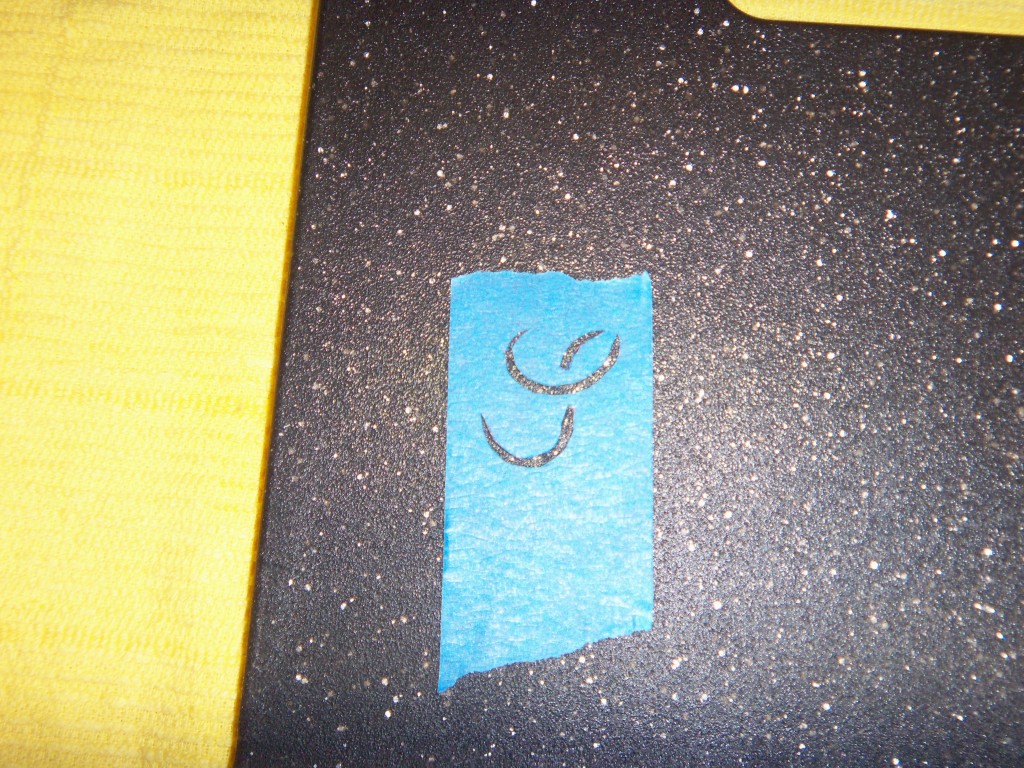
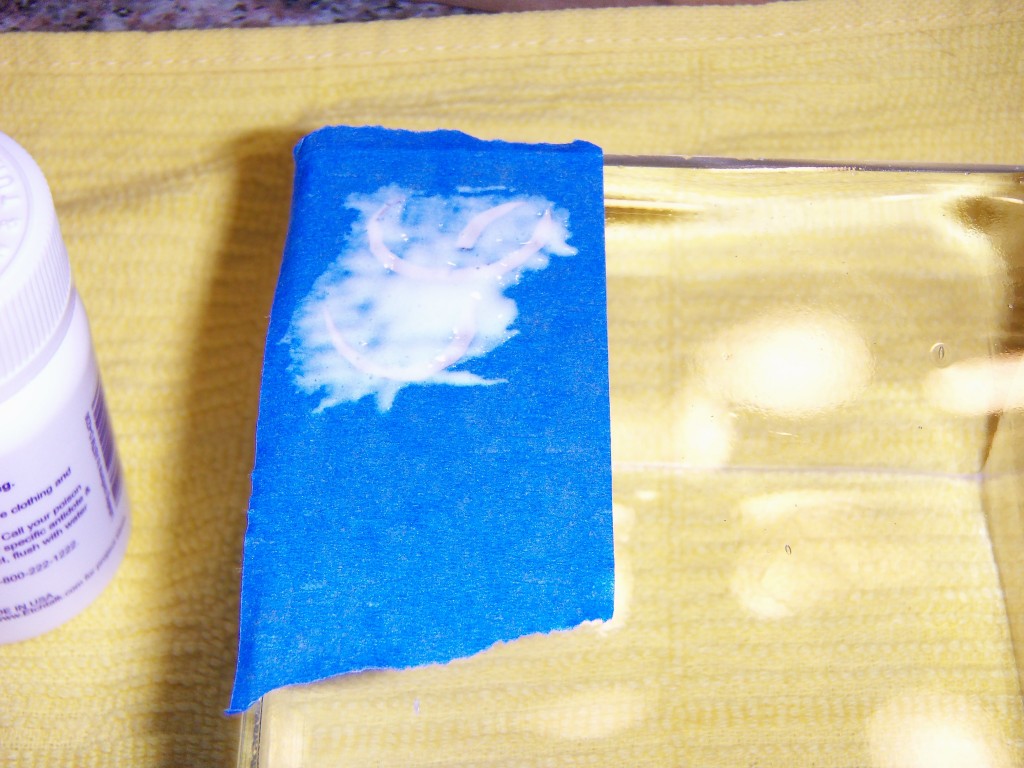
Then I tried putting some painter’s tape on a cutting board, and cutting out the letter.

Etch Glass


Etch Glass

Etch Glass

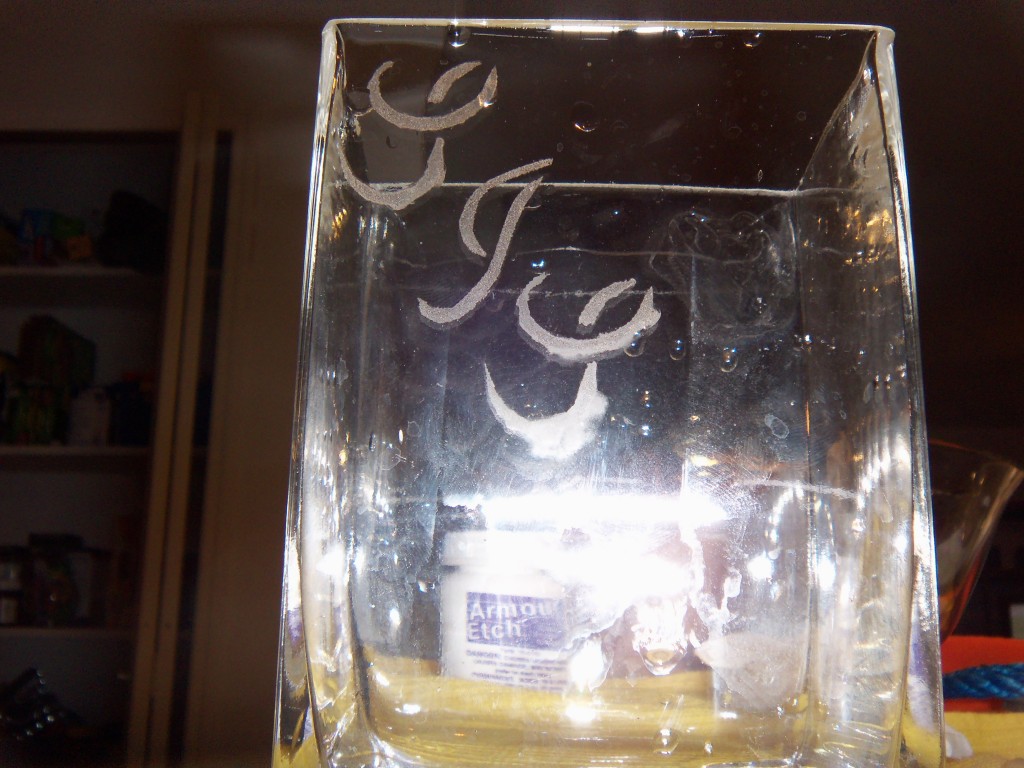
After doing a few letters (trying to spell my sister’s last name then giving up after the ST and doing another S) and rinsing it off, I had this:

Etch Glass

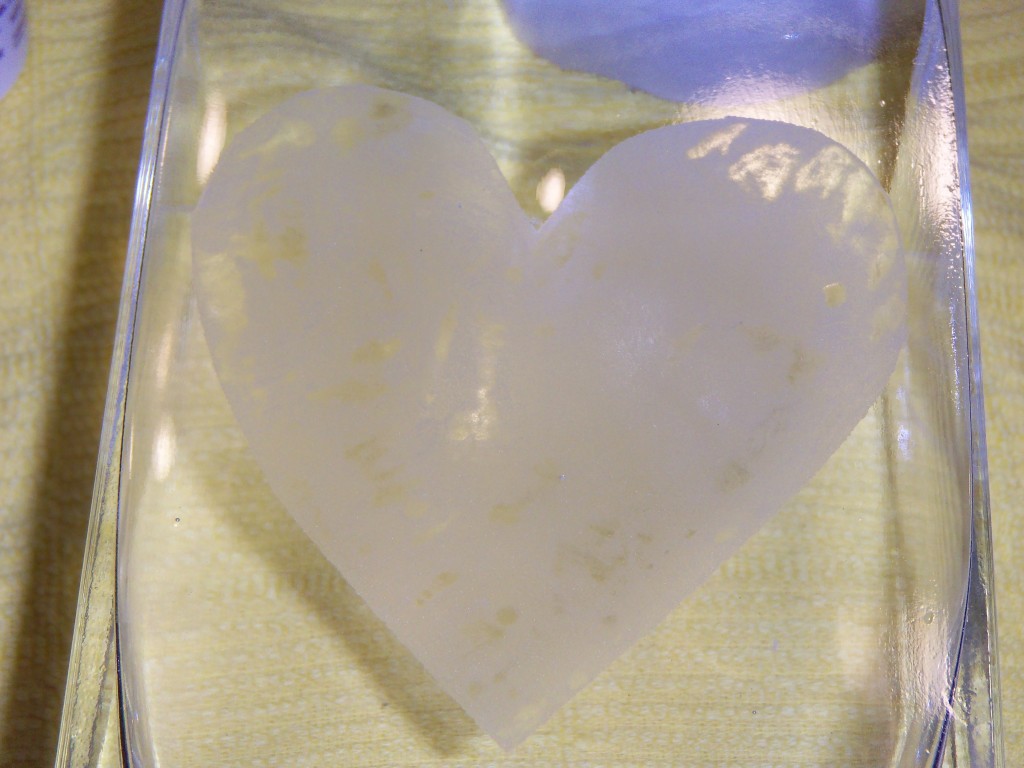
Fail number two. So I flipped it over and tried again. I thought perhaps I would get a better result if I covered a larger surface area. When in doubt, make sh!t up. Yeah.
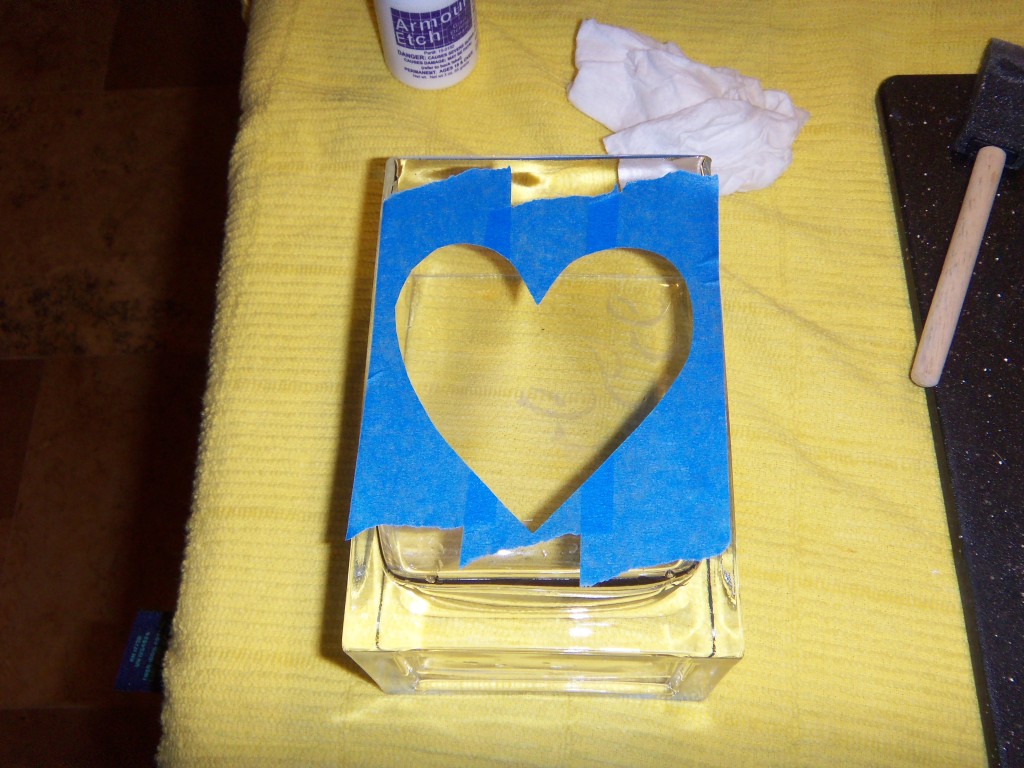
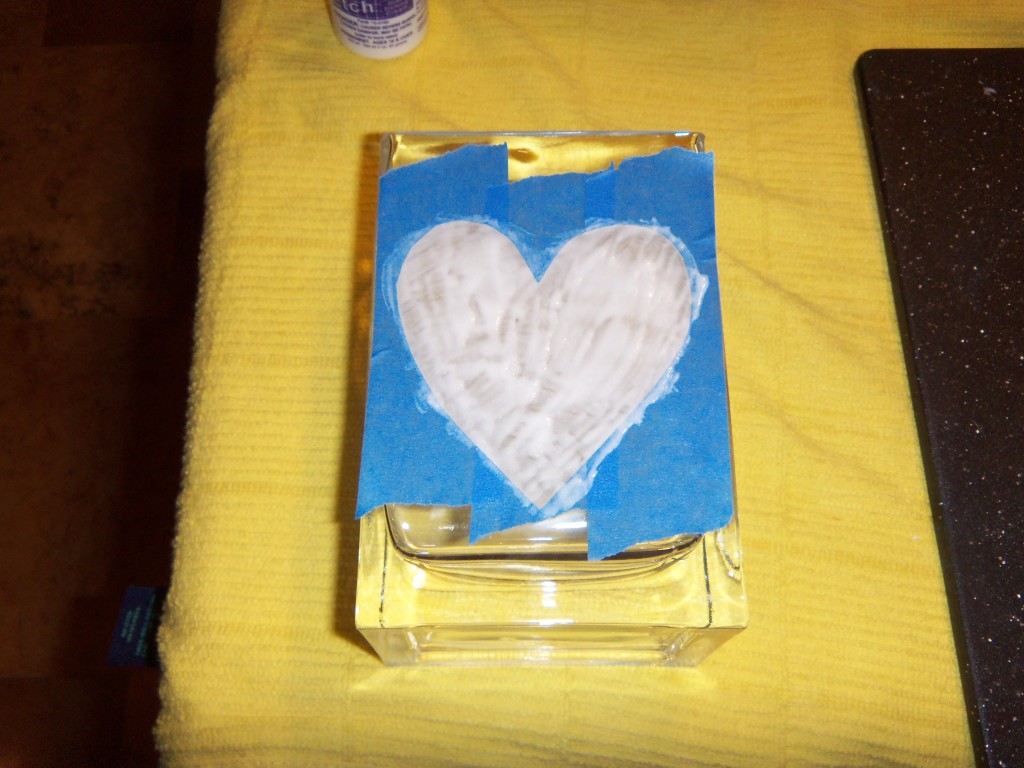
Etch GlassEtch Glass Etch Glass

A resounding “eh.” Less than spectacular. Certainly not something I would give as a gift (sorry, Steph!). Fail number three.

I was about to write this post, and in doing so, I linked to the Armour Etch page. It states that it will NOT work on Pyrex or plastices. Well … duh! Everyone knows that (sarcasm font). Since I have no idea if my cheap vase is Pyrex or plastice (?) I realized it was worthwhile to try a different glass. Enter my “good wine glass” – that I am currently drinking out of (not the one I etched, of course. The wine would have spilled – the horror!).

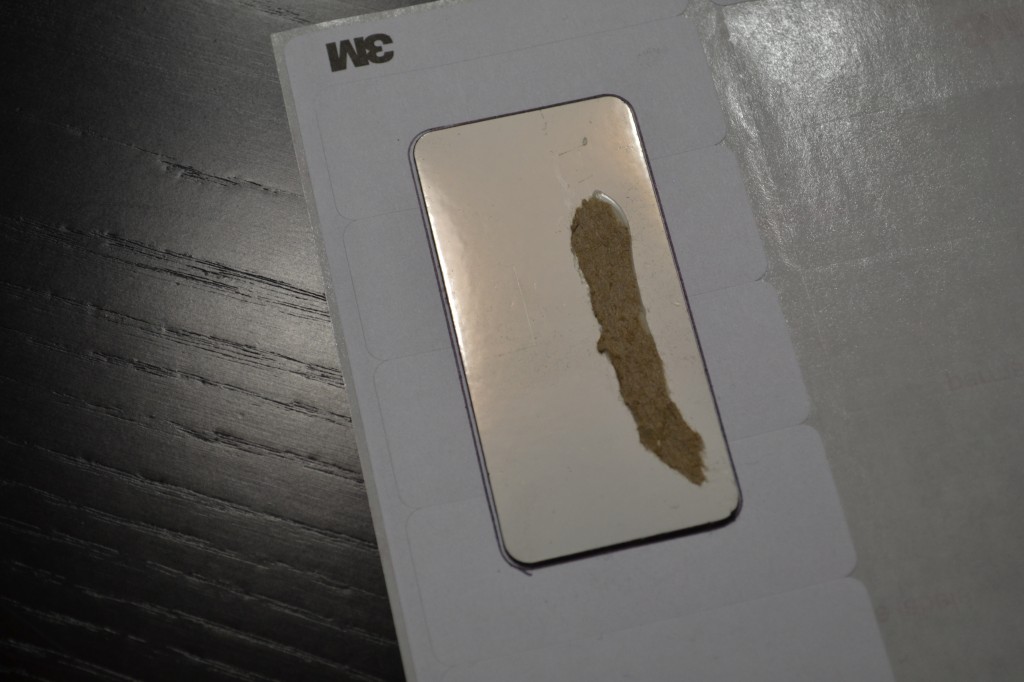
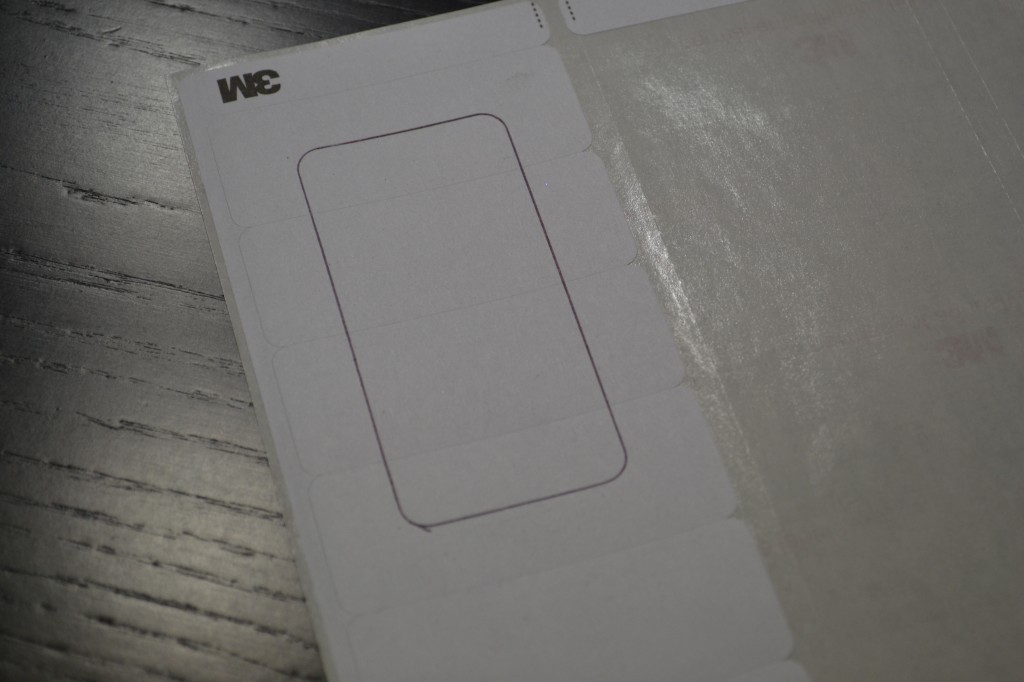
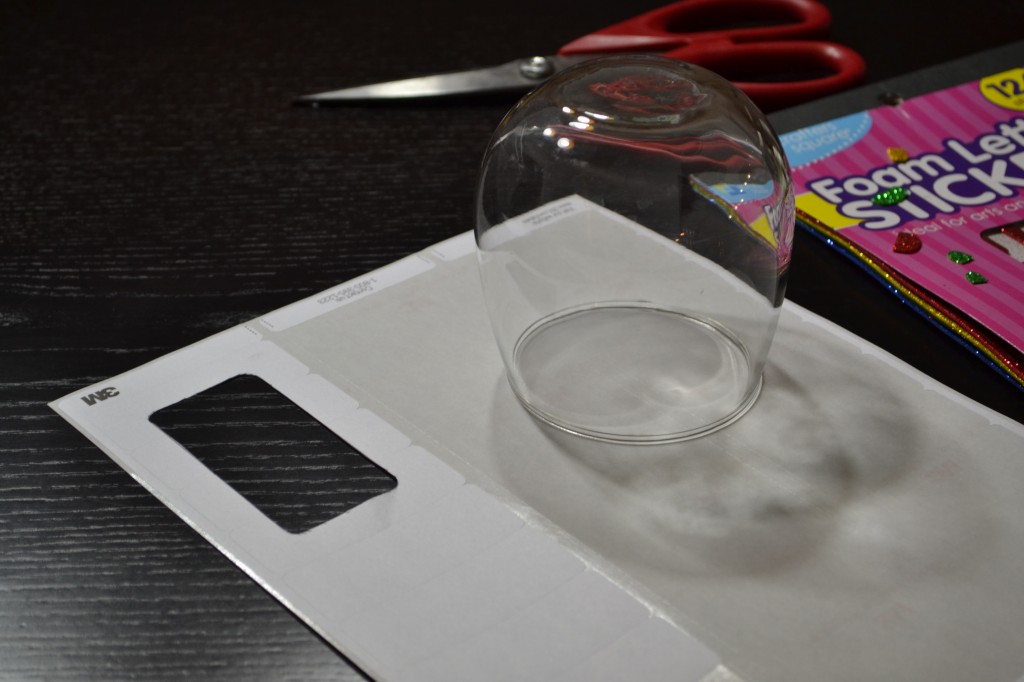
I first needed a large enough sticker to cut a shape out of. I found some address labels and a random item in our “put-all-your-crap-in-this-glass-bowl-by-the-door” treasure trove, and traced its outline.  Please note that all previous pictures in this post were taken with the old camera, and the following pictures were taken with the new camera.  Quite an improvement!

DSC_0230 Etch Glass

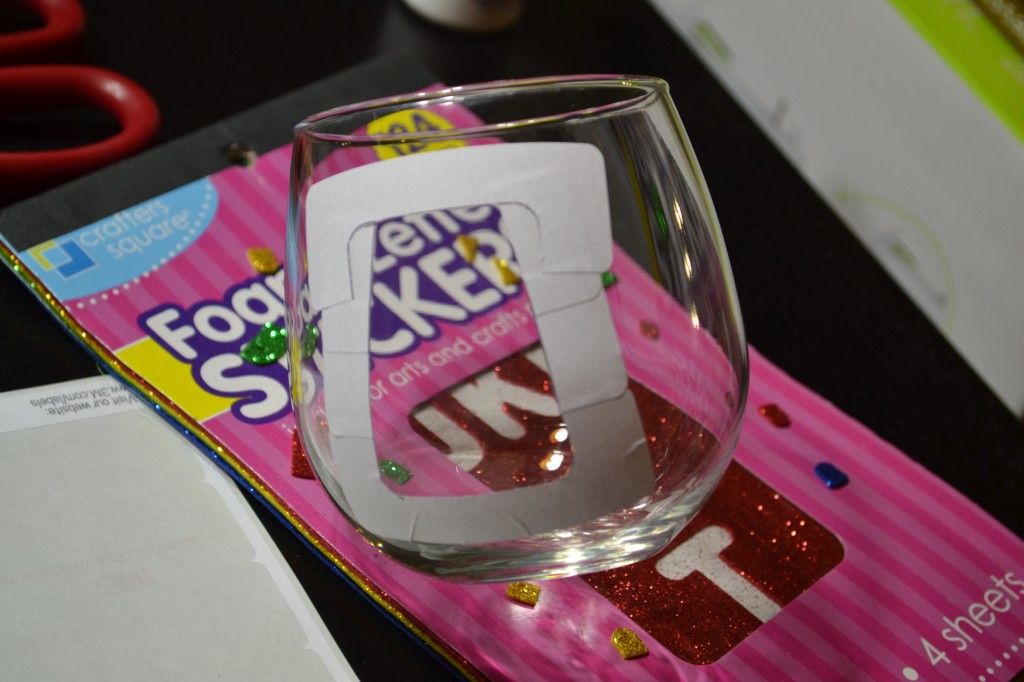
I know what you are thinking – this girl’s got mad tracing skills! (I know, right?!) I stabbed my creation in the middle and cut out the center:

DSC_0233

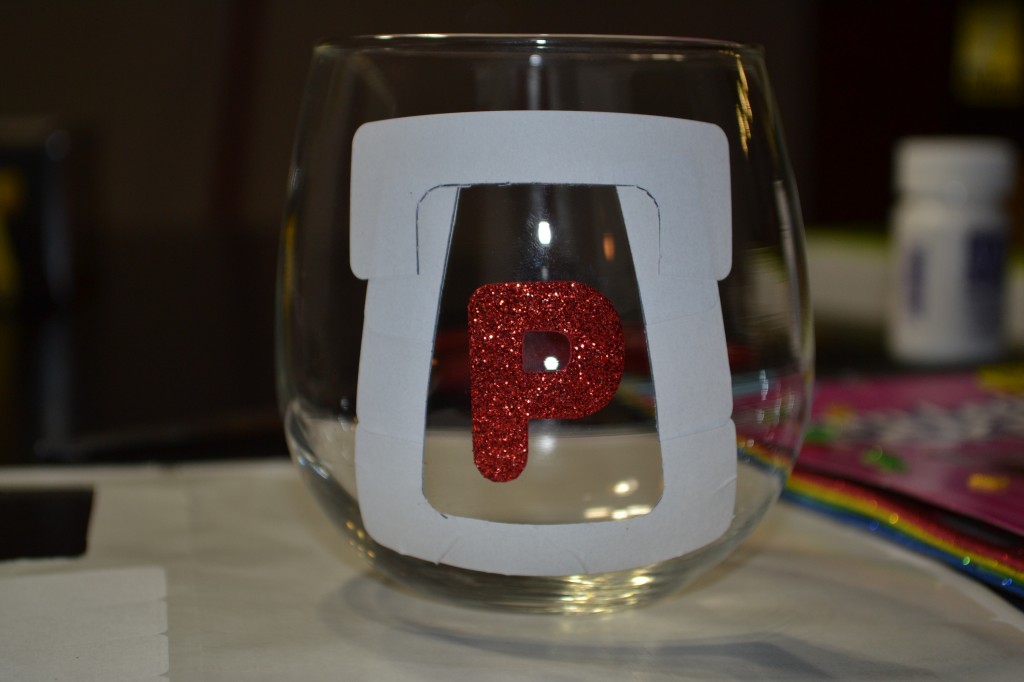
When I went to put it on the glass, I did it in sections, and realized the entire sticker was too large for the glass, and would not go on as a perfect square due to the shape of the glass.  So I improvised, and kinda liked the way it ended up.

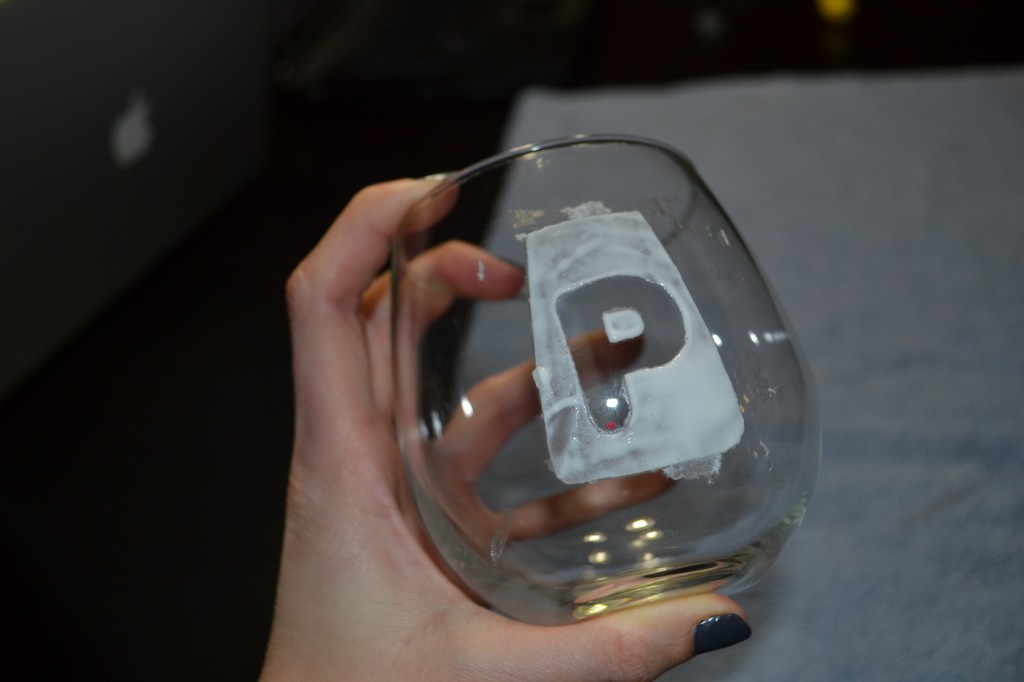
 DSC_0234 DSC_0235 DSC_0236

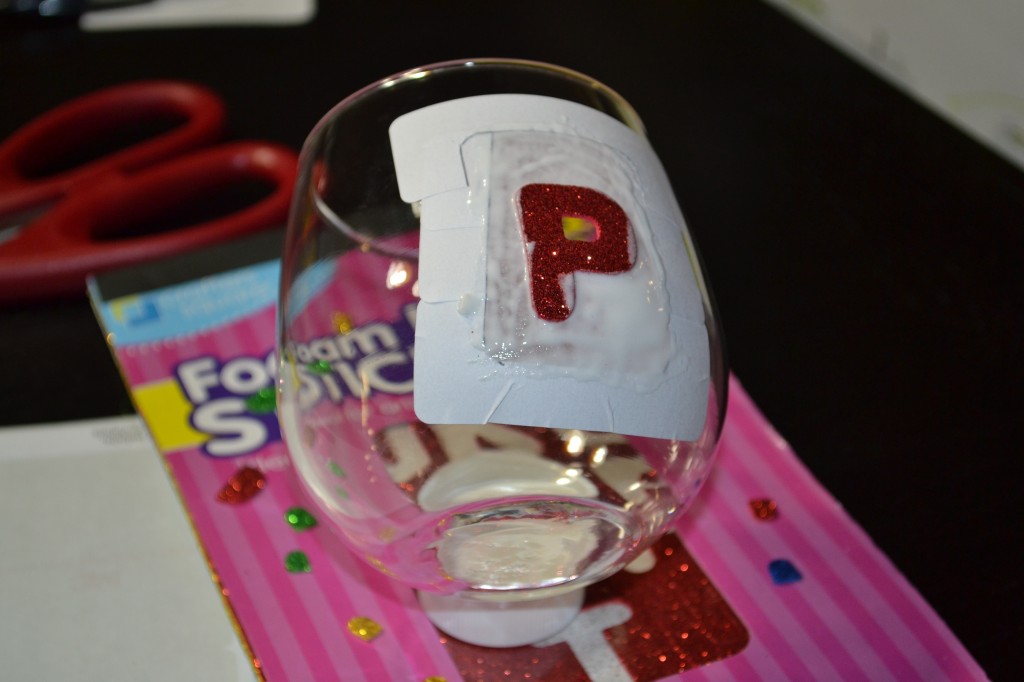
You might notice that I failed to glob the etching cream in the center of the “P.” I did not notice at first, but I suspect it is because I was simultaneously playing a vigorous game of tug-o-war (let’s face, I am a master of multi-tasking! Plus this was a bit of a leg work out. And yes, I am still rocking the Christmas socks):

DSC_0237 DSC_0238 DSC_0245 DSC_0246

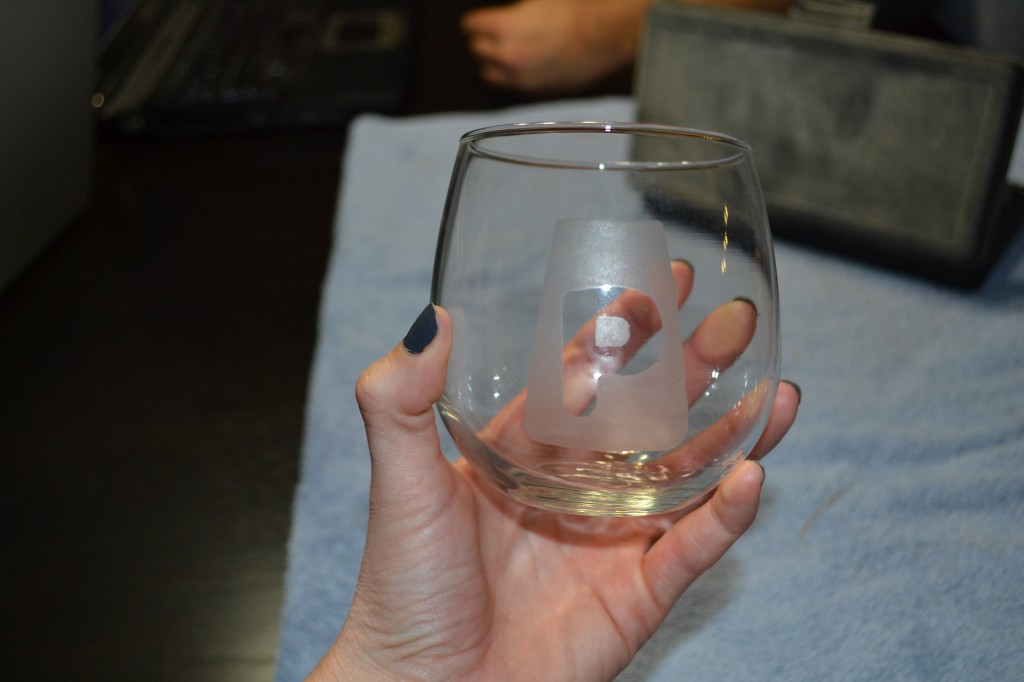
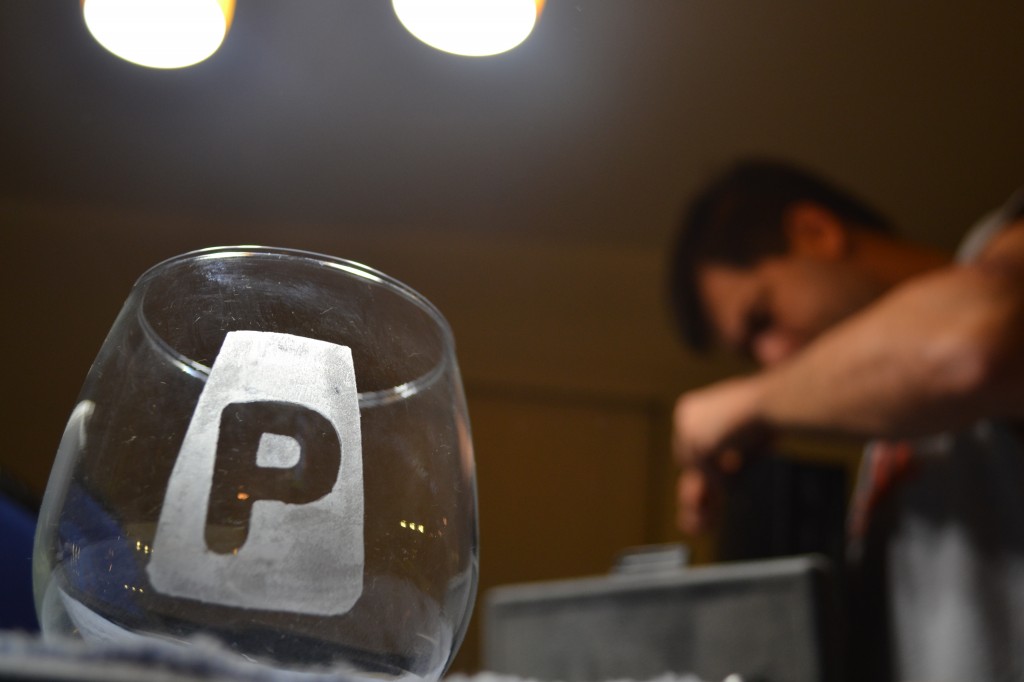
I think it turned out pretty good!!  I love this shot below, because it shows The Boy hard at work in the background. He will be writing a post about that adventure soon.

DSC_0251

Thanks to The Boy for my ability to take much better photos!

Pinbusters – DIY Air Freshener Refills

Have you ever wondered if the stuff people post on Pinterest is true? Well I have, and I test them all so that you don’t have to, ’cause ain’t nobody got time for that.  Click here to check out all of the pins I haven taken on. You might be surprised by some of the results!

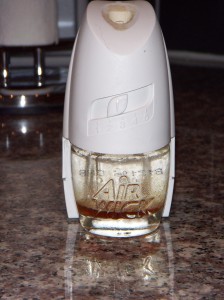
This might be the most straight-forward pin I have ever tested. Noses don’t lie, says The Dog. This pin talks about all of the harmful chemicals in those liquid air freshener refills, calling out no brand in particular. I have a bunch of the Air Wick air fresheners around my house, and I often buy the refills, which aren’t cheap. Therefore, while my motives were fiscal in nature, and I don’t think my face is going to melt off from any of the chemicals, it certainly cannot hurt to eliminate some chemicals from my life. (Click here for a link to the Air Wick ingredients page – propane?! Maybe I should be a little more concerned about these chemicals!) The idea is that you can reuse the little containers by filling them with your own concoction, namely some watered down essential oils.

Did you catch that? I am pretty sure a fourth grader could tell you that water and oil don’t mix. Water and essential oil? I am guessing the same result. Still, though, I wanted to know if I could fragrance my house with it. First obstacle was locating essential oils. I searched online, and found that CVS sells essential oils at a reasonable price, so I went there. Apparently the merchandise offered online is not the same as what is offered in the store. Perhaps your website should inform customers of this, CVS!! After wandering the aisles for 15 minutes, I asked an employee, who provided the sage advice that I should just order it from them online. “But I need it NOW!” I pleaded. The girl clearly did not understand my essential oil crisis, and had no sense of urgency about the matter. I was raised to do the best with what you’ve got, and the “ethnic hair” section of CVS yielded this:

Tea tree (ahem) essential oil.

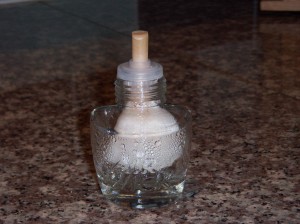
The tutorial tells you to remove the cotton wick which looks very much like a cigarette or a filter or something.  This was harder than it sounds, without destroying the wick at least, because if you tear the thin plastic holding the cotton together, you end up with this:

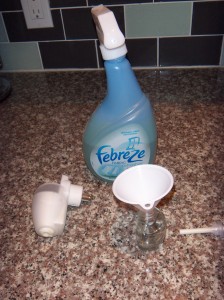
Possibly effective, but hardly reusable. In my infinite wisdom, I decided to pry off the plastic part holding the wick, using my favorite tool – the butter knife. I put some of my “essential” tea tree oil (which does smell very minty) and “mixed” it with water. I put everything back together and plugged it in in the kitchen. In another empty refill container, I said what the heck, and poured in some Febreeze.

At no point in college or law school, when I was honing my funneling skills, did I think it would come to this. I am officially old. I placed the Febreeze-filled one in the bathroom.

Results? Nothing. If I got my sniffer up really close I could smell a faint scent, but after a few days I could smell nothing. I didn’t really feel comfortable that I had conducted a true scientific experiment, though, for obvious reasons. Therefore, I finally located some real essential oil (at Michael’s, of all places, but of course it is in the store and not available online) which specifically says it is for fragrance purposes.  I put some of my cinnamon essential oil into a holder, “mixed” it with water, and had this:

The olfactory results were … well … underwhelming. I left it in for a few days and could smell absolutely nothing. In a final last ditch effort to get some results, I filled the entire container with nothing but essential oil. The final result can best be described as “eh” with a shrug. I could smell it, but WAY less than my actual Air Wick refills. Also, from a cost effective standpoint, the essential oils are more expensive if you use an entire bottle to fill the container, so unless your goal is merely to fragrance your home without exposure to the chemicals, this doesn’t make sense.

Finally, I consulted my field guide for all things … well, just all things – Wikipedia. Oh yeah, things are going along just fine until you get to the Dangers section. In fact, skip ahead to it. Apparently everything on earth is designed to kill us, in one way or another. I would like for my tombstone to read, “Her house smelled really good all the time,” so I will continue to buy my chemical-laden refills. And life goes on.  (Note: The Boy was completely and utterly blissfully unaware that any scent-periment was going on at our house.)

Pinbusters – Tinted Mason Jars

Have you ever wondered if the stuff people post on Pinterest is true? Well I have, and I test them all so that you don’t have to, ’cause ain’t nobody got time for that.  Click here to check out all of the pins I haven taken on. You might be surprised by some of the results!

I am not sure what the practical purpose of this pin is, other than decorating, which I am allergic to. However, in the spirit of busting pins (it doesn’t sound so elegant when phrased that way), I am going to give it my all.

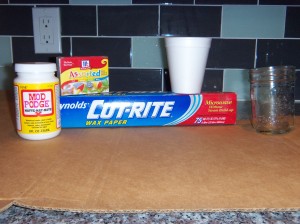
Supplies needed: Mason jars, Mod Podge, food coloring, wax paper, cookie sheet, oven, and ramekins. (Okay, seriously, can’t we just say “little bowls”? I am not sure why this blogger feels the need to use such a ridiculous word.)

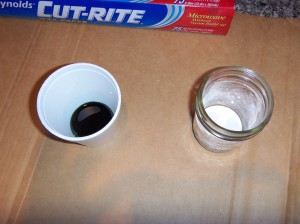
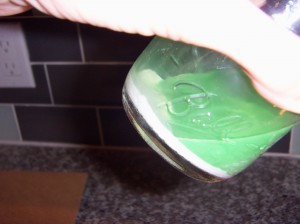
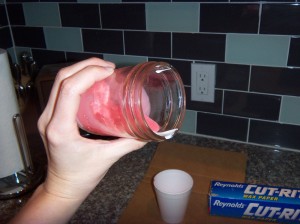
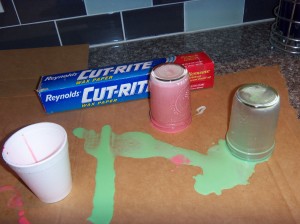
Please note my very fancy styrofoam little bowl ramekin. I followed the instructions perfectly, except with the first jar (green) I believe I used a terrible water to food coloring ratio. The liquid inside my Mason jar was way to soupy and sloshy.

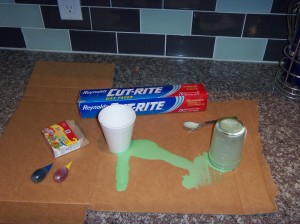
I did manage to get all surfaces covered and set it to dry (and thank goodness our granite is sealed and didn’t stain green!).

I did a second jar (red) to see if I could get a better result. I used way more food coloring and less water, and it was slightly better. I could roll it around a little better and get the sides coated.

I let them dry for about 30 minutes, then I put them in the oven on the warm setting. (Did you know your oven has a warm setting? I didn’t. I also just discovered the broil feature, though, so I guess I have a lot to learn about ovens.)

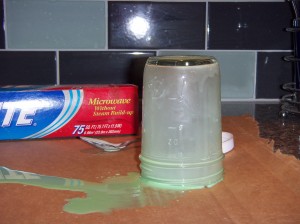
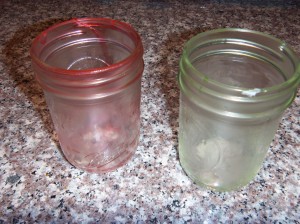
They did not turn out great, and do not look as good as the pictures in the original post, but I really think this is feasible. I think I should have turned them right-side up for the baking, because they really stuck to the wax paper. I also would just add food coloring straight to the Mod Podge, and skip mixing with water, to get a darker tint. Finally, I have no idea what the effect of using “matte” Mod Podge versus “glossy,” but I can’t imagine it is much. Point is, with some practice, and a dose of patience, I could get my jars to look like the ones in the original pin. You know, if I wanted to.

This pin is plausible!! Happy Black Friday, everyone. I hope you have a blast throwing elbows in WalMart to save $30 on a flat screen!