Flawless Victory

Bless you ReStore.  Bless you very much.  You have provided us with hours of entertainment, and several key purchases in our attempt to renovate our home.  We have tried to keep the karma flowing by donating any extra supplies that we have after a big job.  Or a small job.

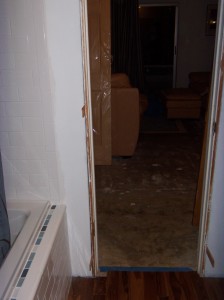
SPEAKING of small jobs – let’s talk about the newly renovated bathroom.  You have read much and seen much of the work we’ve done.  However, one issue remains: the bathroom door opens into the living room.  When there’s just one person in the house, no big deal.  When it is The Girl and I in the house, still not much of a big deal.  When there is company, over-night guests, or a glow-stick, light-switch, rave going on in the house, the door presents an issue.

The door is hollow, and without getting unnecessarily graphic, a hollow door does not do a very good job at keeping sounds or odors in.  Clearly the concern here is being forced to listen to someone splash about in the tub, or having to smell someone’s aromatic candles being burned.  Ahem.

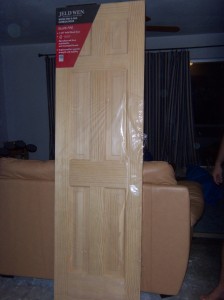
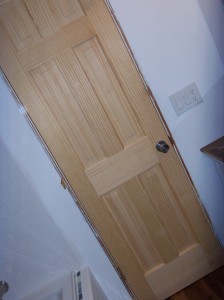
So, The Girl and I did a little Saturday morning shopping at the ReStore.  We managed to find a 24 inch wide, paneled, solid core door that was still in the factory wrapping for TEN DOLLARS.  You may be asking yourself, “self, is that a good deal?”

For comparison, here is the same door, advertised at Home Depot.  (Update:  the link to the exact same door stopped working, as I guess they discontinued it, so it is now linked to a comparable composite pre-primed door, which is actually cheaper than the unprimed slab!)

Before anyone could move our door to a more expensive part of the ReStore, we grabbed it and sprinted to the cash register.  Ok, fine – we had the store employee schlep it over to the register, while we browsed through the store for another twenty minutes.  Whichever story you enjoyed more, the point is we had ourselves a sweet door, and a perfect home for it.  On the other hand, The Girl and I were both nervous about trying to hang a door because we had heard horror stories about trying to trim a solid core door to the right size, and getting it to hang straight and level.

Step 1: remove old and busted.  Tools required: One screwdriver, one hammer, one The Girl (not included).

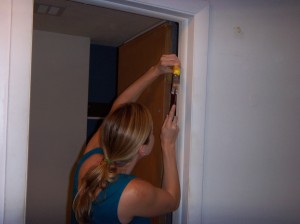
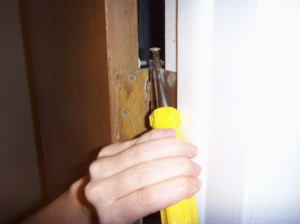
The first step was pretty simple.  No major issues, no power tools necessary, just pop the pins from the bottom of the hinge (I used a hammer and a nail to do it), and then remove the door.  Then unscrew the old hinge from the door frame.

Step 2: make sure the door frame is square.  Tools required: wood shims, level.

Fortunately, our door frame was more or less square.  We needed a little bit of shim work to make it right, but most frames should be in better shape than ours was.

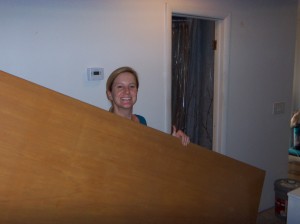
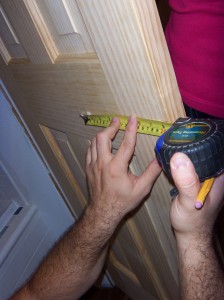
Step 3: fit the door and measure for the new hardware.  Tools required: arms and a pencil.

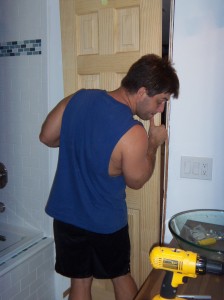
Can you spot The Boy?

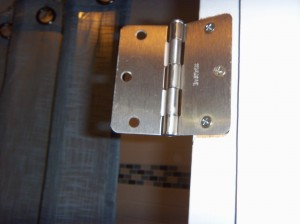
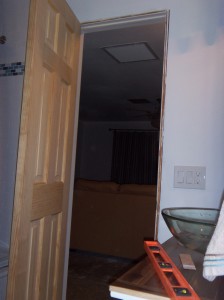
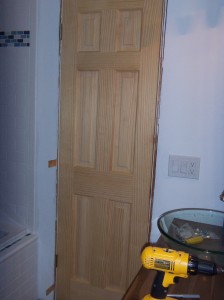
We started by fitting the door from the bathroom side, and putting the new hinges into place.

Then we lifted the door, still in the frame, so that the top of the door fit how we wanted at the top of the frame.  We made marks on the door where the hinges needed to be attached, and then took the door back out of the frame.  Then we opened the hinges to 90 degrees so we could screw the hinges to the door.  We lifted the door back up so that the lines that we just drew lined up with the hinges, pre-drilled the holes for the screws to keep the door from splintering, and attached the hinges to the door.  (This whole process required four hands, thus no pictures.)  Then it was time for the moment of truth – closing the door.  Imagine our surprise when the door closed, smoothly, and lined up perfectly with the door frame.  It’s not supposed to work like this.  It NEVER works like this.

Step 4: drill the hole for the door knob and the door latch.  Tools required: 2″ hole saw, 1″ wood drilling bit, power drill, and power router.

Scary part.  So far, we hadn’t actually altered the door.  Anything that went wrong up until this point was pretty fixable.  Now we would be putting holes in things.  Putting holes in things is easy – fun even.  It’s much more difficult to do it in a precise manner, knowing that if you mess it up then the door is ruined.  Pretty sure I was mumbling Queen’s “Under Pressure” while I gathered all the tools for this step.

Side note: in most jobs we tackle around the house there is some measuring and mathification.  I’m pretty good at math.  I like to do long division in my head during boring car trips – no joke. But, despite my best efforts, I’m not a calculator.  And measuring isn’t necessarily my strong point.  I do it, and I get it right most of the time, but I have much more fun cutting stuff and screwing stuff together and sanding stuff, so I tend to spend less time and energy focusing on the measuring.

So, there I was, measuring and mathificating in my head:  “The old hole was only 1 3/4 inches wide, and the right edge of the hole was 1 inch away from the edge of the door, so if my new hole is 2 inches wide, then the center of the new hole should be 1 7/8 inches from the door frame.  But if the OTHER train leaves the station ten minutes later going twice as fast, when will they meet?”

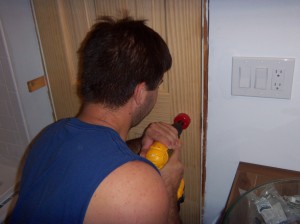
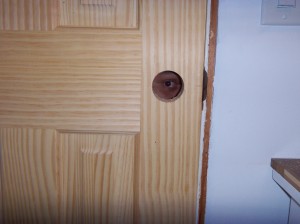
I took two Aleve and started over.  Ten minutes later, I was sitting on the ground inside the bathroom with The Girl intently staring over my shoulder as I drilled the 2 inch hole into our very pretty and very square door, praying that I wasn’t screwing it up.

When I was finished, we had this:

Can you spot The Boy?

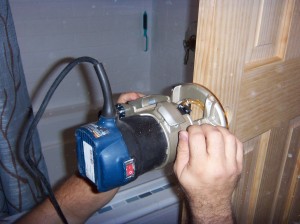
Then, I had to use the router to cut out a section for the latch plate.  The latch plate has to be recessed into the side of the door for it to work properly.  I have regularly told The Girl that the router is PROBABLY the most dangerous power tool we have because it’s a spinning blade, without a safety shield of any kind, and it’s hand-held.  That being said, we set the depth of the bit by using the old door as a frame of reference, then I sat down with the door between my knees and very slowly cut out the recess for the latch plate.

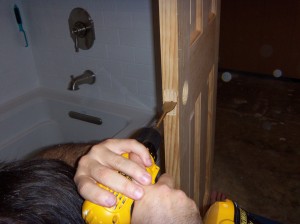
The last step was to use the 1 inch wood-boring bit to drill sideways through the door until I hit the other hole that was cut for the door knob.  The only concern here is to make sure that you drill as straight as possible because there isn’t much room for error on either side of the door.  If you start drilling at an angle, there is a good chance you will come out of the side of the door, or that the hardware won’t line up with the door knob.  In our case, I managed to drill the hole in a relatively straight line through the side of the door.  The planets may never align so perfectly again.

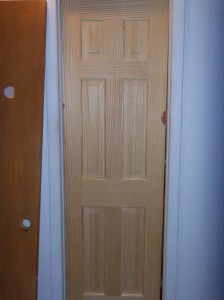
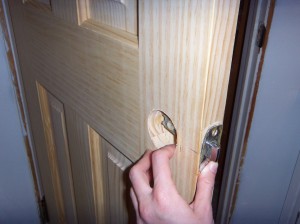
Here’s the door with the knob and the latch assembled and installed:

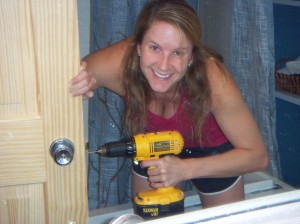
It’s pretty dang pretty, and it is almost perfectly level, and it closes AND opens.  Here is The Girl pre-drilling holes for the latch plate screws:

Unfortunately, those folks in the living room area will no longer get the benefit of hearing bath splashes, or smelling the burning candles coming from the bathroom, but The Girl assures me this is a good thing.

FANtastic!

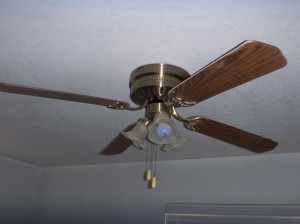
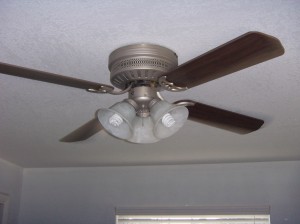
The ceiling fans in all of the bedrooms leave a little something to be desired.  They function, but are noisy and ugly, and they are getting a makeover, one by one.  Here is what I started with in the guest bedroom:

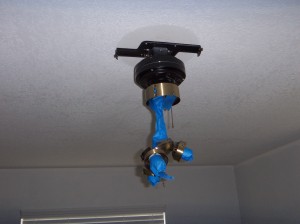
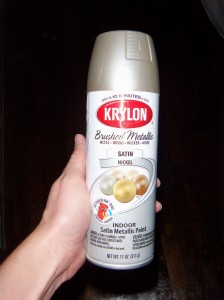
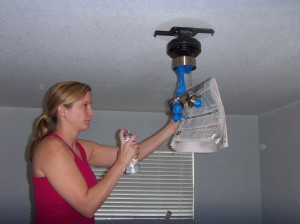
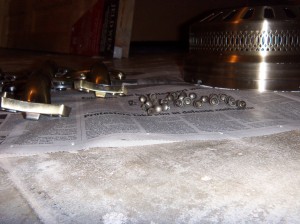
Blech.  Old, ugly, and creaky.  I started by removing the glass bulb covers, and disassembling the fan as much as possible, cleaning everything as I went.  I used blue tape to cover everything I did not want to get spray paint on (wires, sockets, etc.), and then I attacked it with Krylon Brushed Metallic spray paint in satin nickel.

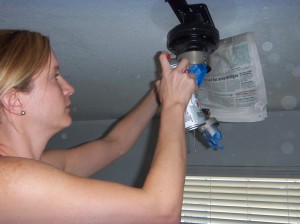
We had moved the bed to the center of the room and covered it with plastic to prep for painting the walls, so everything was protected, and the bed was perfect to stand on.  I held up newspaper behind my spray stream to catch as much excess as possible.

The trick is to give it several light coats, with drying time in between.  If you spray too much at once it will run and drip.  I suffer from lack of patience, so this is hard for me, but with lots of trial and error and dripping spray paint, I have realized this is necessary and resigned myself to this method.  It works.

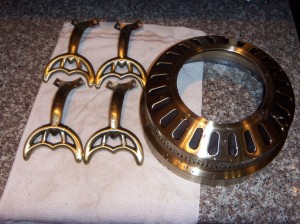
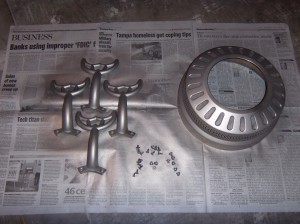
I gave the same treatment to the pieces I had taken off:

This second shot is to show you that I also spray painted all of the screws, and I did this by setting all of them on their sides facing one direction.  It is slightly time-consuming, but then you can spray them all at once.

Once everything was dried, I put it all back together.  I discovered that the reverse side of the fan blades were a much darker brown, and I did not have to spray paint them at all, but simply attached them with the other side facing down.  I am not sure if most fan blades are reversible, or if I just got lucky, but it was a happy surprise.

Other than spray paint, the only thing I purchased for this project was new bulb covers. I saw ones I liked at Home Depot, but for $8 each, I didn’t buy them.  I wanted this makeover to be as cheap as possible, and this price deeply offended me, so I decided to shop around.

We went to our local Habitat for Humanity ReStore to browse one morning.  I absolutely love this place.  They take donations from individuals, businesses, builders, etc., and sell building supplies very cheap.  The proceeds go towards building Habitat homes.  I have been to many ReStores in Florida, learned that they are all very different, and discovered that we are lucky to have such a large, clean, and organized one with very helpful employees so close to us.  While shopping there, I found the EXACT SAME bulb covers for $4.00 each.  Once we got them to the register, they rang up at $2.00 each.  $2.00 each!!  I got all three for less than the price of one at Home Depot.  Score!

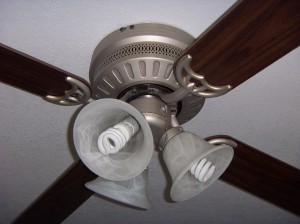
Here is the fan transformation, with the “before” picture for comparison:

Another great consequence of taking the fan apart, and putting it back together, is that everything got tightened up, and it is very quiet again.  No more old, creaking fan.  To my friends and family who have slept in this room, and probably will again:  you are welcome!!

Gratuitous close up, because I love this fan so much now:

Total cost:  $6.00 (for the new bulb covers.  I already had the spray paint, and used maybe 1/3 of it for this project, but if you have to purchase some, it is $6-7 a can).

Diamond Drill Bits: A Girl’s Best Friend!

I adore pendant lights.  All colors, sizes, wattage, shapes, and finishes.  I “window shop” for them on the internet frequently.  Someone must tell me, though, why they are so dang expensive!  Maybe I am just poor, or cheap (ahem – frugal), but I could not bring myself to spend $200 on one measly little light, despite my obsession.

I was browsing at a thrift store one day (which I regularly do for no reason), and saw a beautiful multi-colored glass bowl.  It caught my eye from across the store.  I wasn’t quite sure what I would do with it, so I carried it around the store with me.  I put it down a few times, but only got a few feet away before I ran back and grabbed it and held it tightly, for fear someone else would snatch it up. For the low, low price of $4, I decided to buy the bowl now, and figure the rest out later. You can probably figure out where this is going.

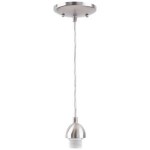
I knew that Home Depot sold pendant light kits, but they are mix and match deals, where you choose the finish of your hardware and some variation of a glass cover.  I, however, bought just the hardware, in brushed nickel.  I am SUCH a rebel.

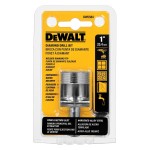
Herein lies the problem.  The threaded bottom of the hardware is about an inch in diameter, and there is a separate piece that screws on to hold the glass in place.  I had to put a 1 inch hole in the bottom of my new bowl, which required a fancy new diamond drill bit.  My level of excitement over a new drill bit, on a scale from comatose to hyperventilating, was somewhere around flapping my arms in a happy dance when this baby arrived in the mail:

I learned that the “legend” on the right side of the packaging indicates what materials the drill will go through.  There are all kinds of bits for all kinds of materials, such as wood, glass, tile, brick, cement, etc.  This one has the symbols for tile and glass, and shows dripping water at the bottom right, which tells you to keep the material wet while you drill, so that it doesn’t overheat.

I put the bowl upside down in the utility sink in the garage, put the tap on a very slow drip (I was basically water boarding my fancy new bowl), and started drilling.  It is exceedingly difficult to get the hole started, because the bit slips around on the surface of the glass. With some decent pressure, and determination, I finally started making some headway.  It. Took. For. Ever.  My hand cramped.  My neck hurt.  I contracted tennis elbow.  I developed an appetite.  I took several breaks.  But I persisted.  Finally, gloriously, and unexpectedly, I broke through.  Eureka!!!  I was so excited because The Boy had been a naysayer, was amused when the new drill bit arrived in the mail, and I purposely tackled this challenge while he was not home.  And I succeeded!!

I sprinted inside with my now hole-ridden bowl, ripped the packaging off of the pendant hardware, and tried the bowl on for size.

It didn’t fit.

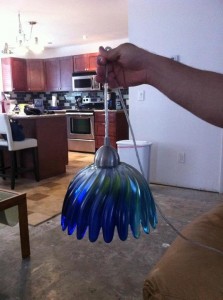
Oh, the frustration.  After I gathered myself, I realized that the hole was just slightly not large enough.  I went back into the garage, still very glad The Boy had not returned, and used the drill bit at an angle to slowly make the hole a little bit bigger.  It took a solid ten minutes, and sounded like nails on a chalkboard, but it worked.  I triumphantly slid the bowl over the threaded end, and screwed on the piece that held the glass in place.  The Boy was most impressed when he came home to this beauty:

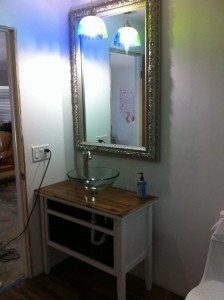
She has been hanging out in the new bathroom ever since:

Total cost:  $18.97 (if you do not include the cost of the drill bit, which I am not, since it is a permanent resident of my toolbox now).  You can’t beat that price!  I am currently on the hunt for two large glass urns to make hanging pendant lights for the master bath we will soon be demolishing.  I’ll be sure to update you when they have been located!