When in Doubt, Wainscot

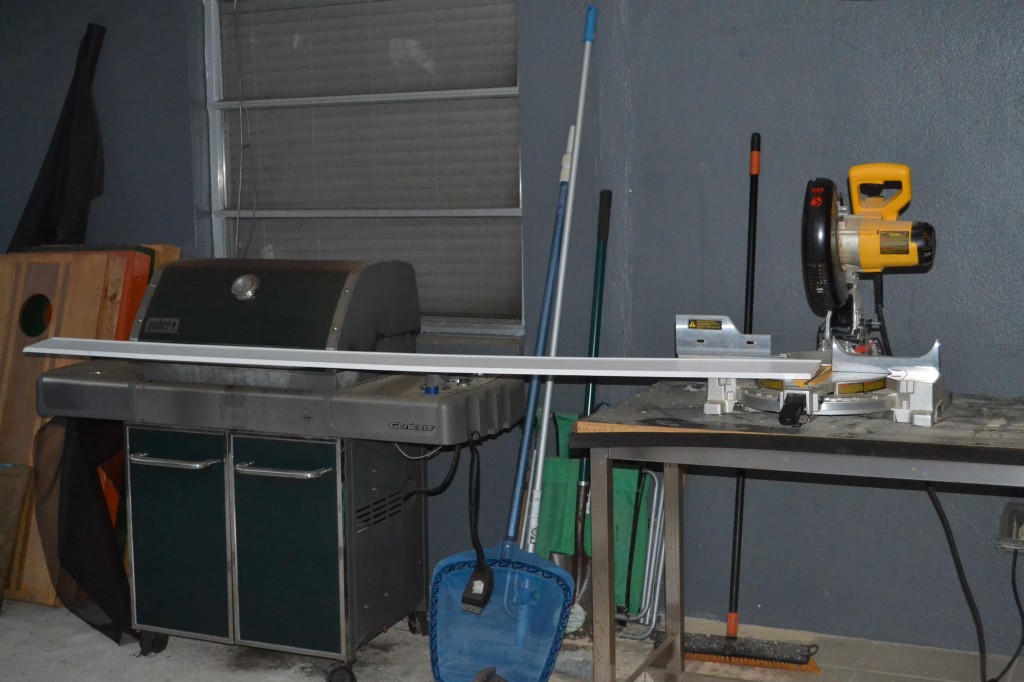
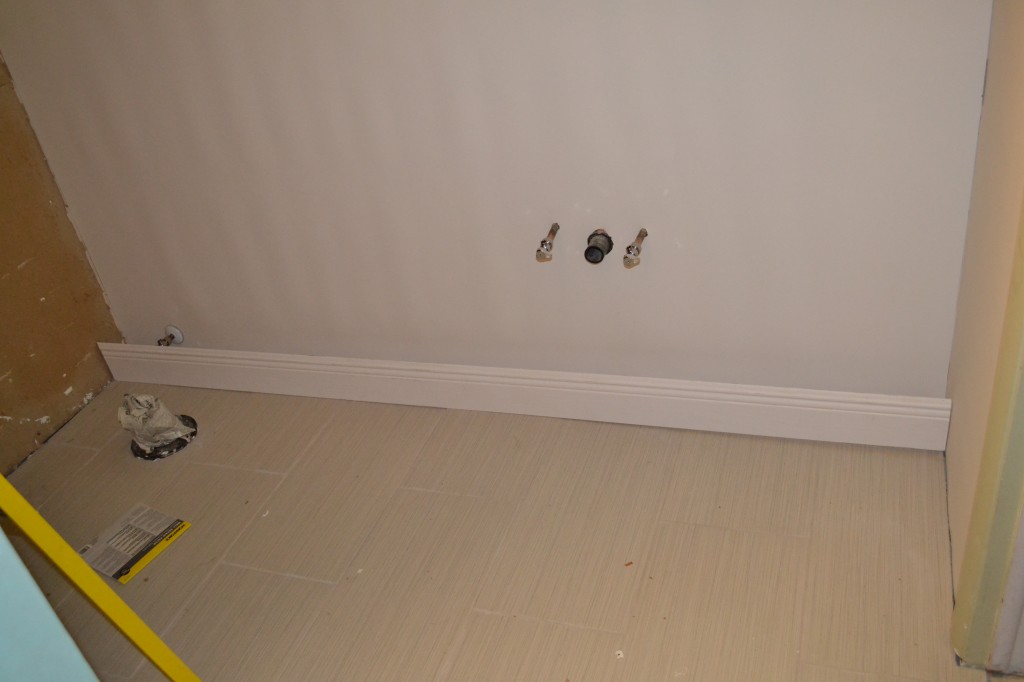
I am sure plenty of people were wondering what the heck we were doing adhering plastic sheets to our bathroom walls. The idea was to avoid having to rip out and replace all of the drywall, or worse, skim coating the entire thing (I can’t even fathom doing this, given my hatred of taping, mudding, sanding, and generally anything drywall-related). To class it up, though, we added some simple wainscoting using pre-primed MDF boards and lattice. The first step was installing the baseboards, and we had a piece left over from the other bathroom renovation. Cutting a 12 foot long piece of trim alone proved to be quite a challenge, but I am the queen of improvising and being really freaking stubborn. Enter my assistant, the grill.
Our workshop a/k/a back porch a/k/a grilling area

Our workshop a/k/a back porch a/k/a grilling area

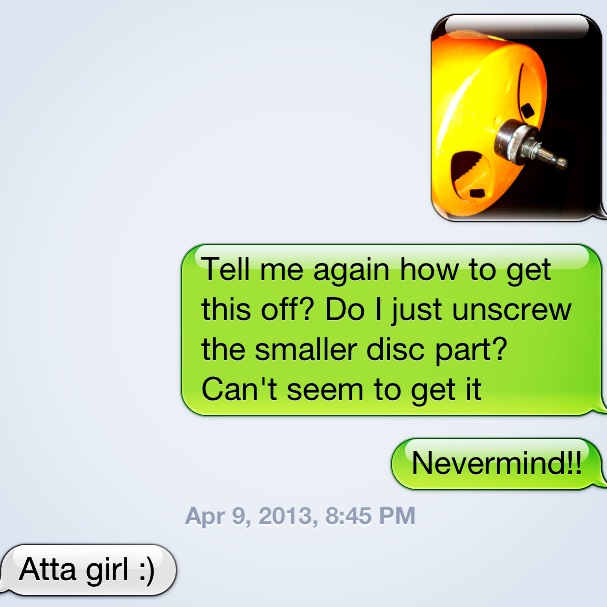
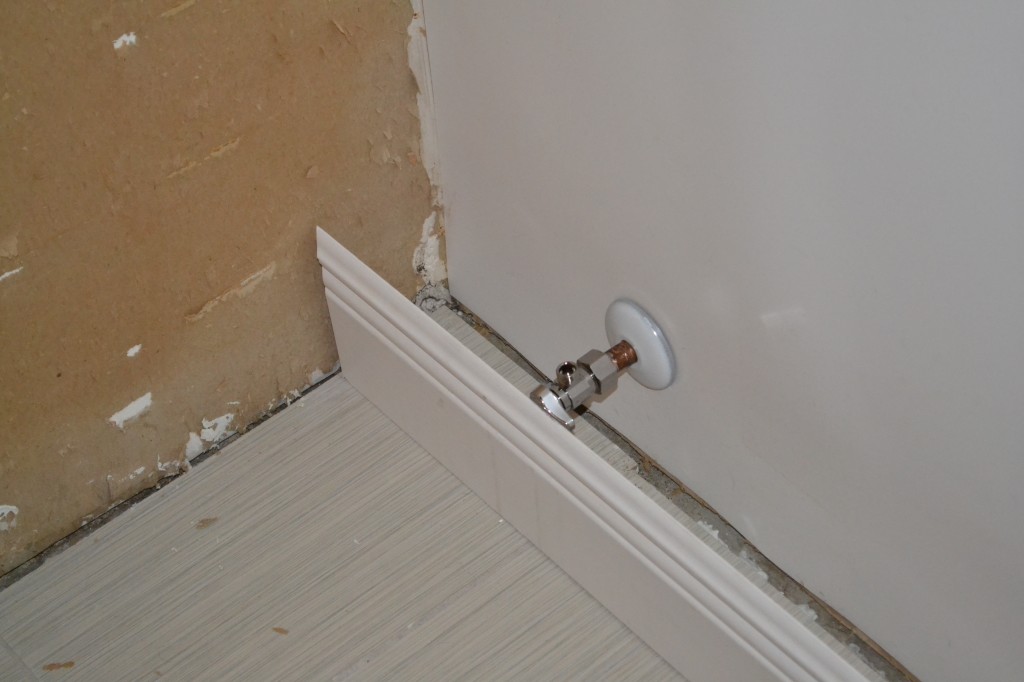
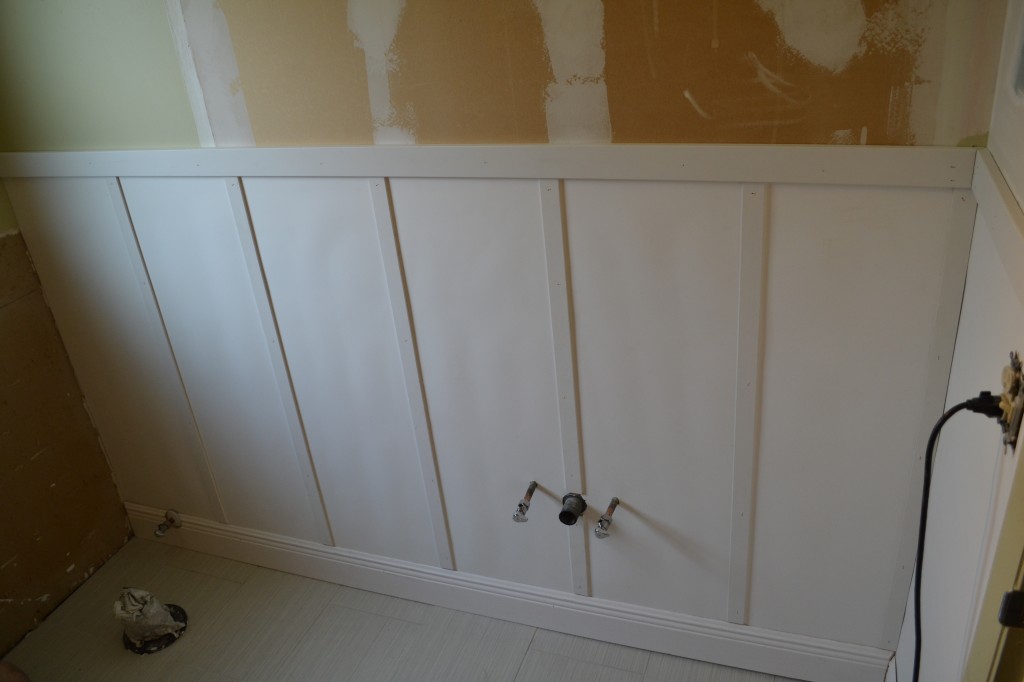
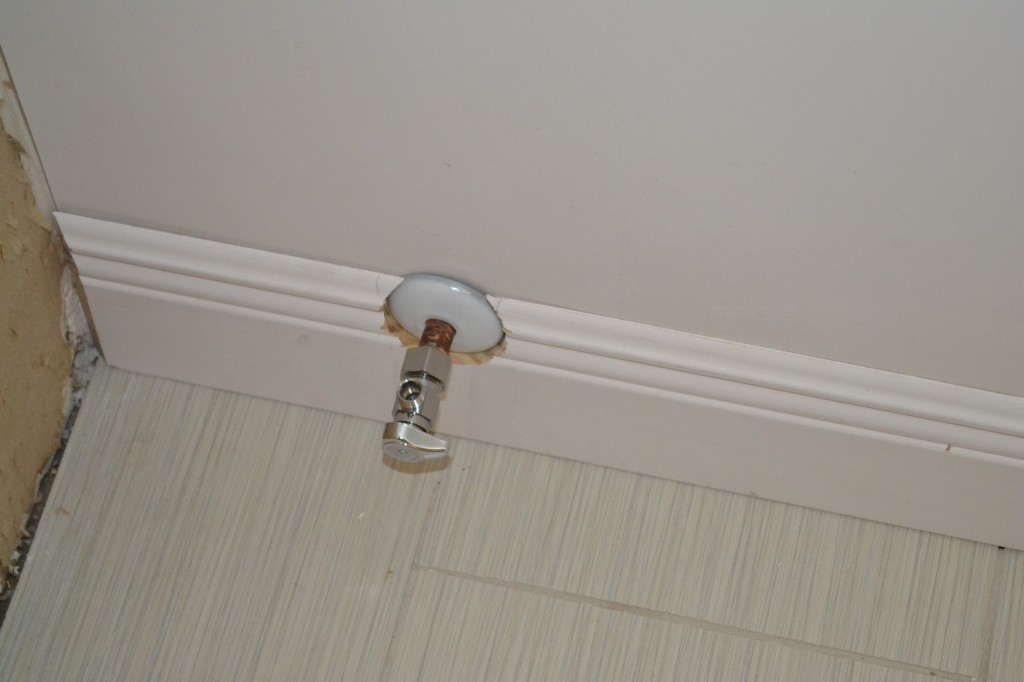
Master BathroomI had to figure out what to do with the toilet valve you see on the far left, because we cut the board in half at this point in the other bathroom, cut a notch out of one side, pieced it together, and it turned out like crap. I am sure it is invisible to any visitor’s naked eye (literally, since they are likely getting out of the shower), but I see it. Every. Single. Weekday. And twice on weekends. Therefore, I devised a scheme to cut a hole to size and slide it over. The problem is that I could not figure out how to release the hole saw holder-thing (yes, the technical term) from a different size hole saw, so I could put it on the size I needed and make my cut. I thought I was doing it right, but it wouldn’t budge.

Text

That text to The Boy went unanswered for, oh, I don’t know, about 48 seconds, and in that time I got some locking pliers, and made that hole saw holder-thing my b!*ch. Then I eyeballed where my cut was in relation to the top of the baseboard, held my breath, and hoped for the best.

Master Bathroom

Eyeballing.

The best.

The best.

I nailed it. (As in, I got it right. Then I actually nailed it.)

After the baseboard went in, I measured, cut, and nailed in the top rail. I waited for The Boy’s assistance with this, because it was quite difficult to hold, level, and nail a 9 foot long board to a wall.

DSC_0063

DSC_0067

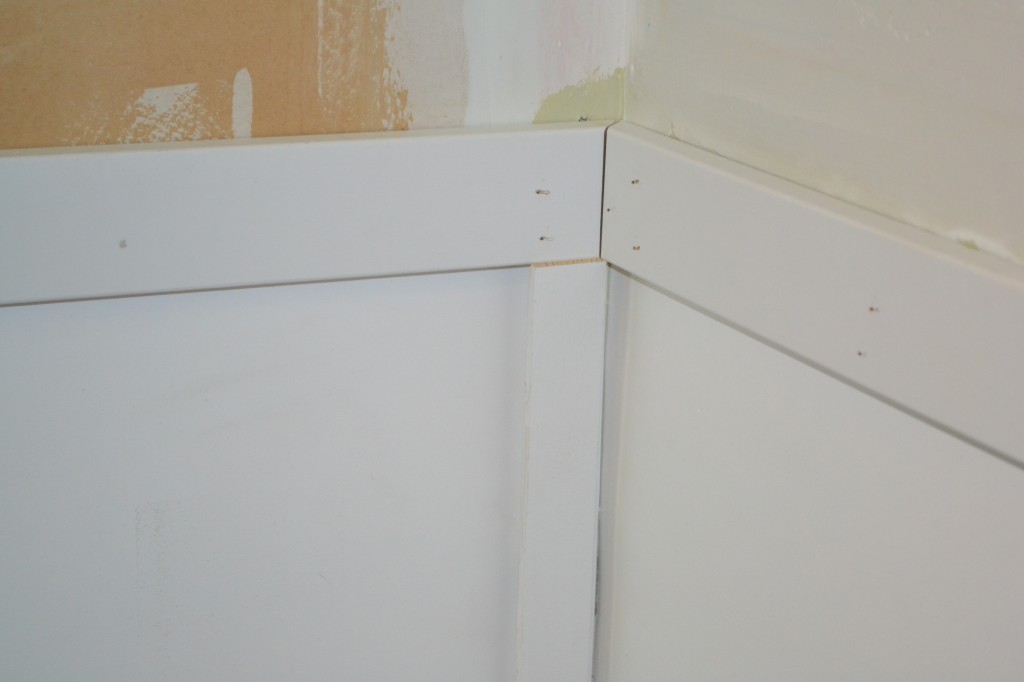
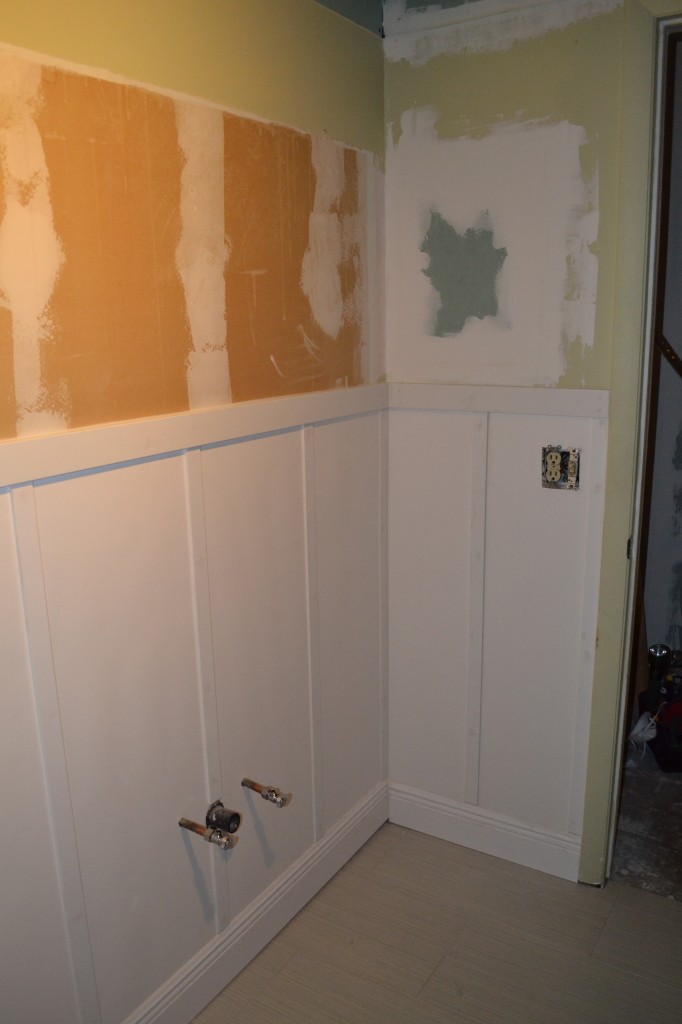
We are going to do the wall covering and wainscoting on the far wall too (the one with the window) but we need to wait until we have tiled the shower. However, I desperately wanted a second toilet again, so we did the wainscoting on the other two walls so we could make that happen. The lattice was easy – just measure, cut, and nail into place. It was a little thicker than the top of the baseboard, so I cut them all at a 45 degree angle at the bottom. It looks great caulked:
Master Bathroom

Everything still needs a coat of paint, but so far, I love it. I know the baseboard is up a little too high at the end (you can see the gap at the floor), but it is a compromise we had to make that will be completely covered by the vanity.

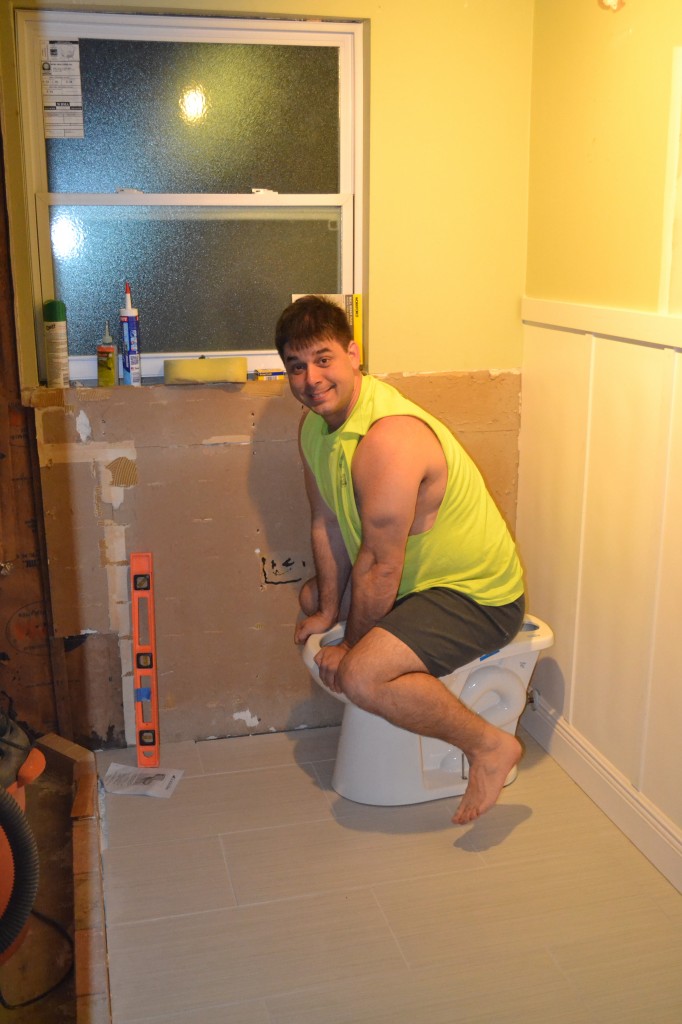
Then came my least favorite part, installing the turtle. It is not a difficult thing, but the wax ring is gross, and I just like to forget that I had anything to do with the install. Here is The Boy pushing the turtle down to get a good seal with the wax ring:

Master Bathroom

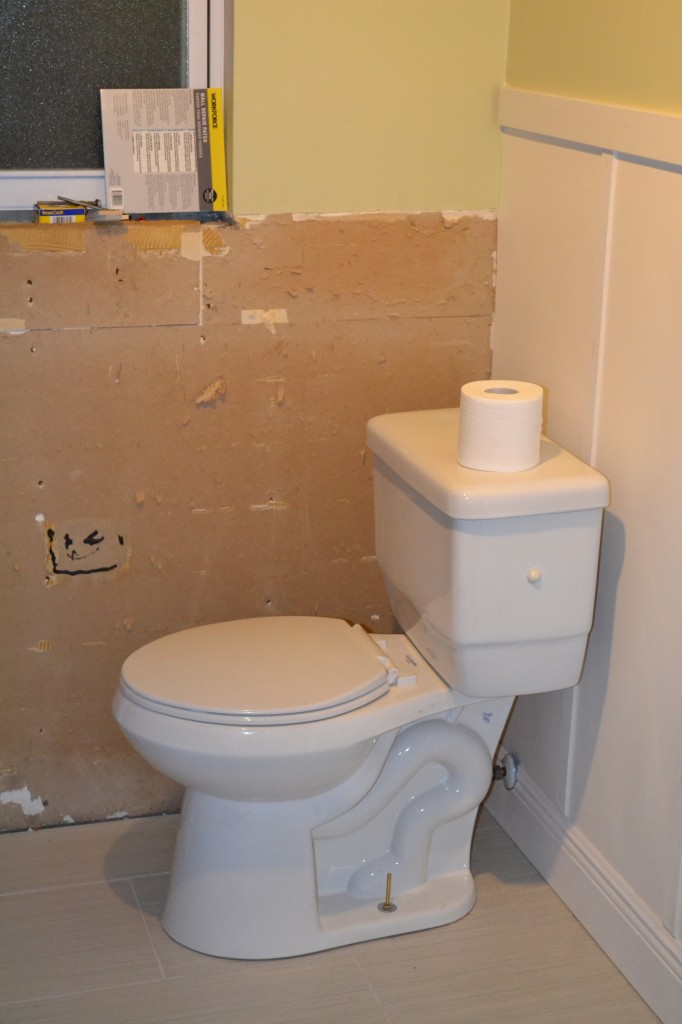
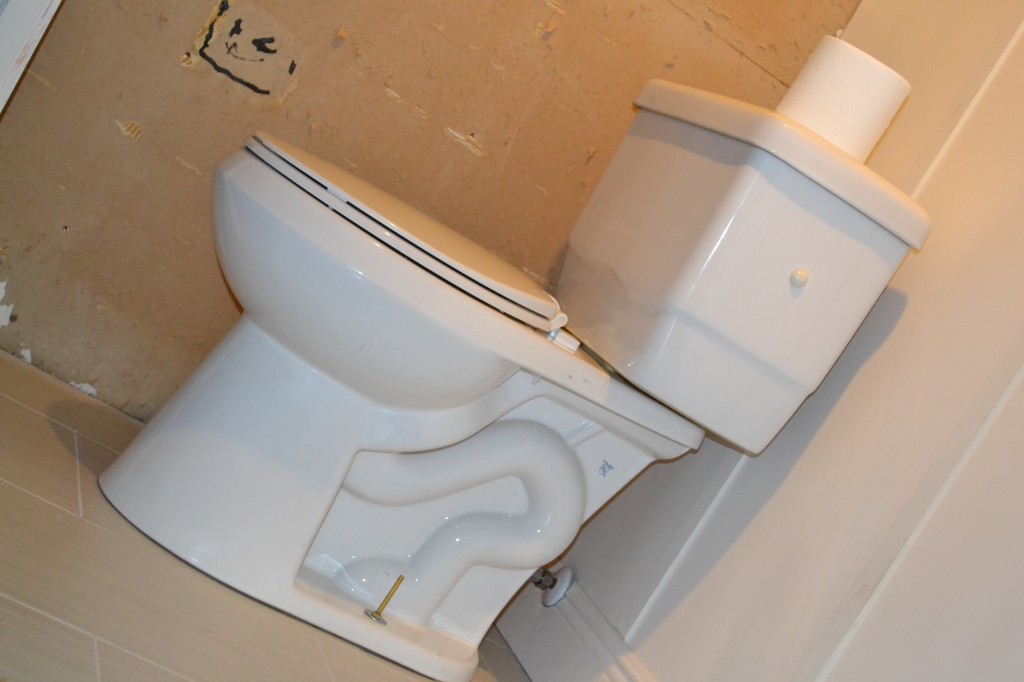
Then we put the tank on, attached the water hose, turned the water on, found a slight leak, turned the water off, tightened a few things, and it was easy sailing from there.

Master Bathroom Master Bathroom

I keep forgetting we have a toilet in there. Probably because there is still no door on the closet or the bathroom, so there is zero expectation of privacy. In an emergency, though, there are options. I love options.

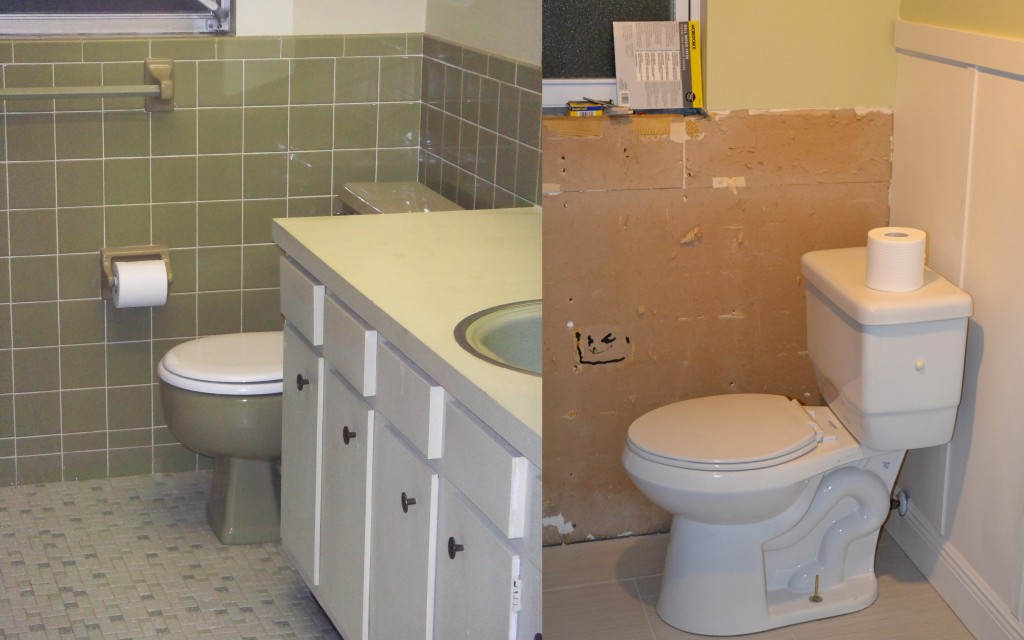
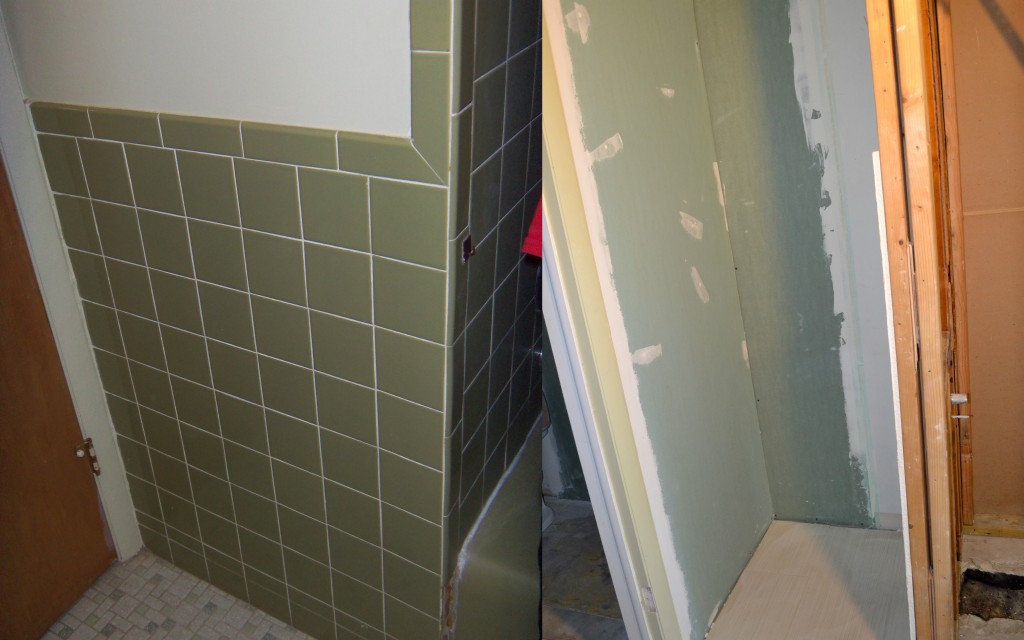
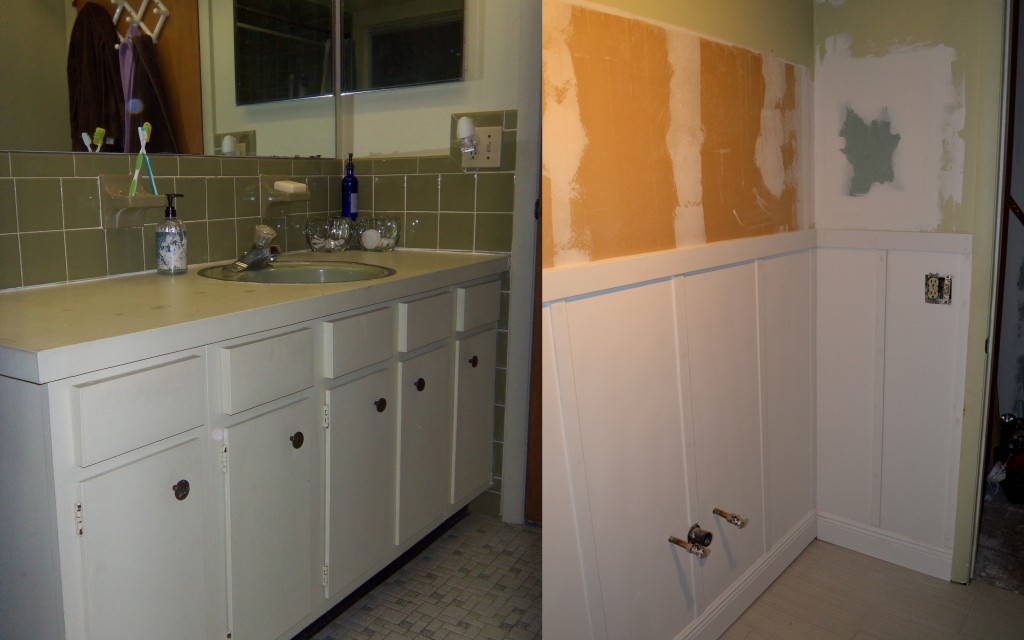
Let’s take a stroll down memory lane with a few before and during side-by-side comparisons:

Master Master2 Master3

What do you think? An improvement?
The NeverEnding (Bathroom) Story

Remember this bathroom?

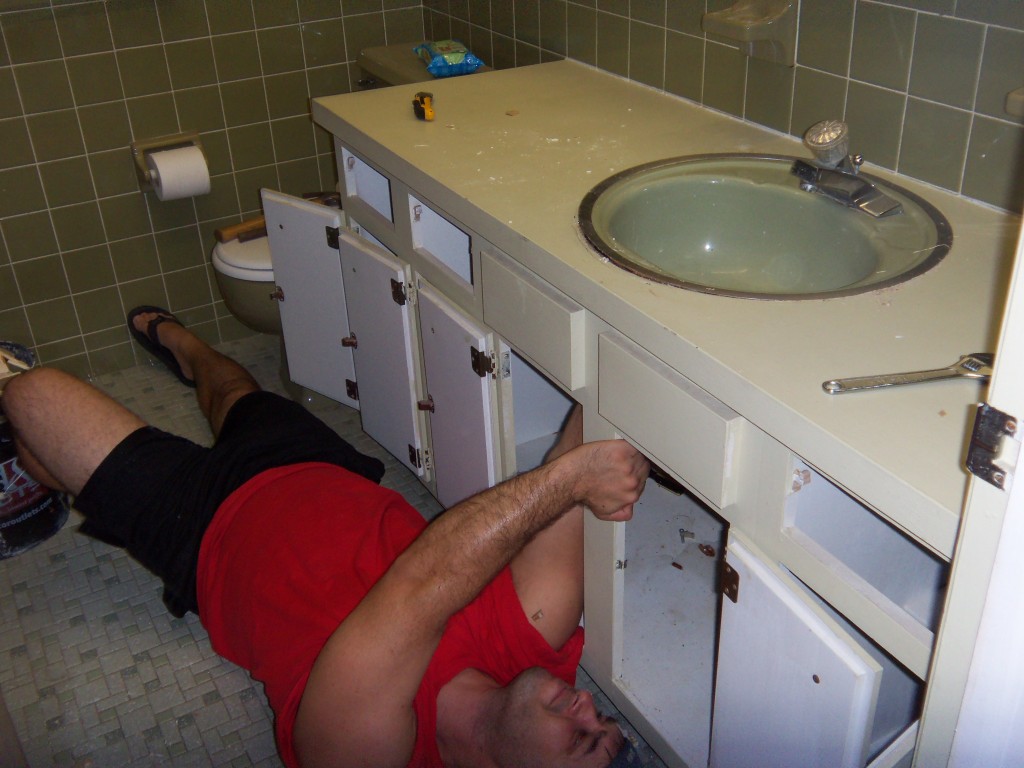
Master Bathroom Demo

I miss it. Well, not the whole thing, just the green toilet. It worked, and was the second toilet in the house. The good news is that we are soooo close to being a two toilet household again! (Cue the collective cheer – I am sure everyone is so excited for us!)

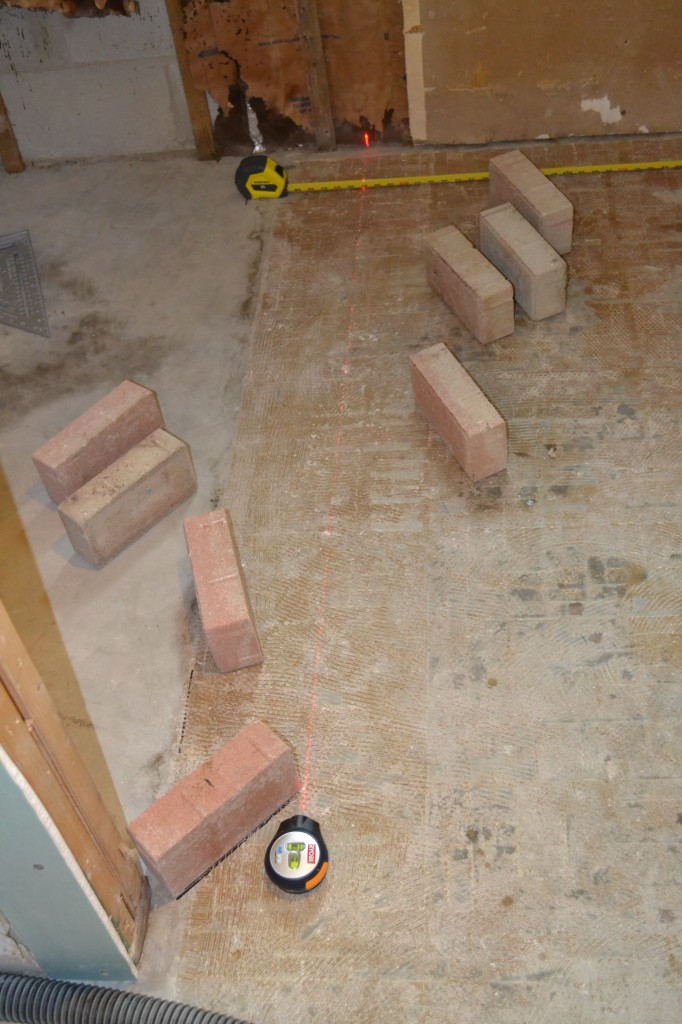
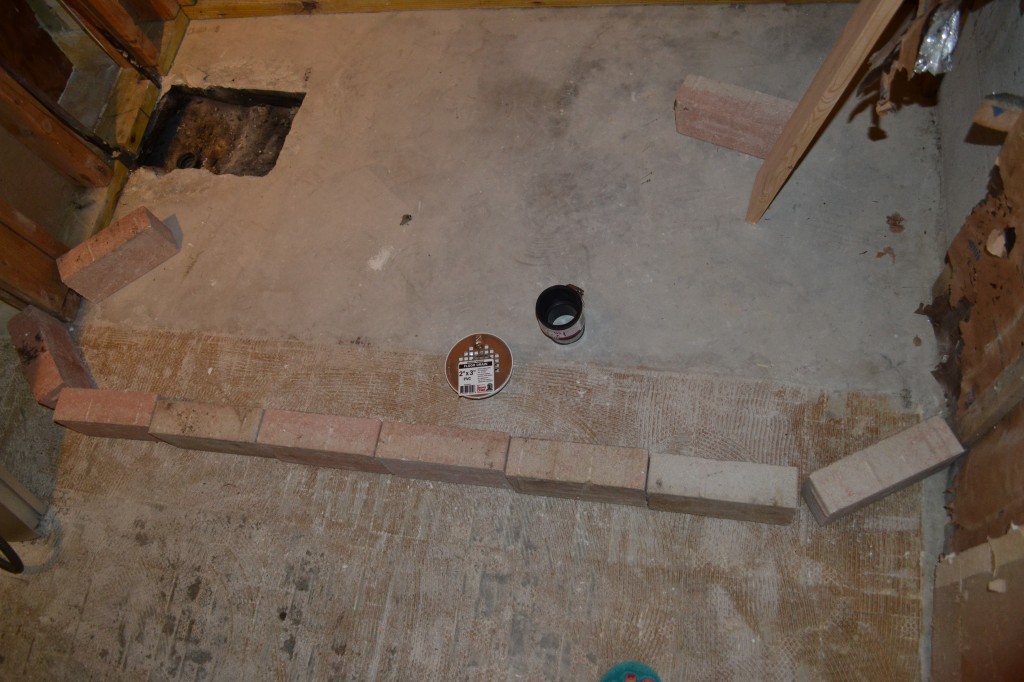
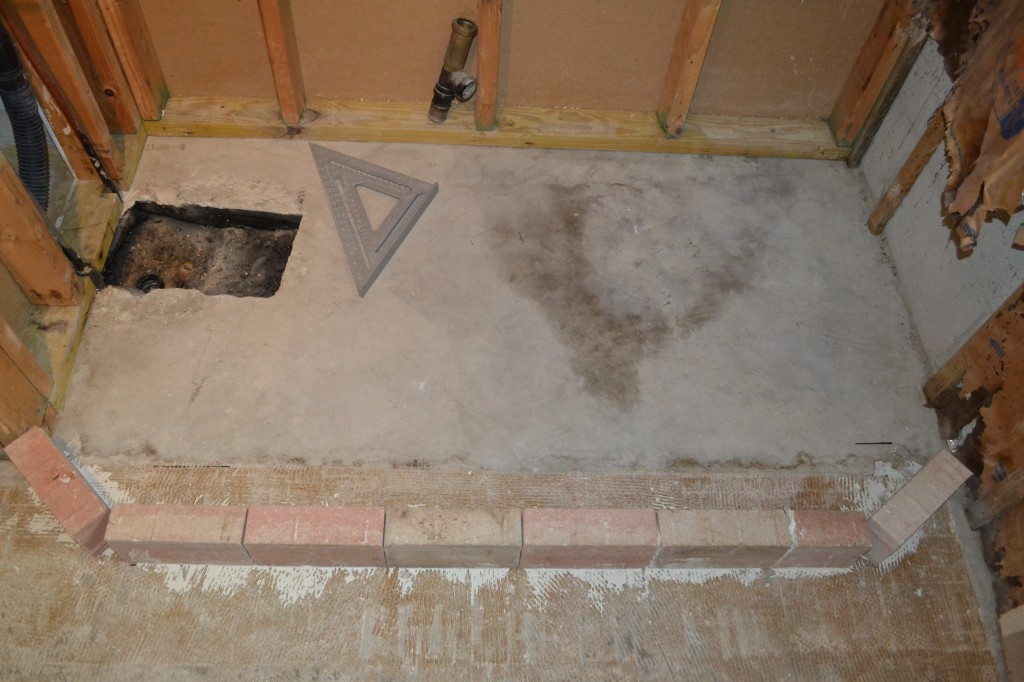
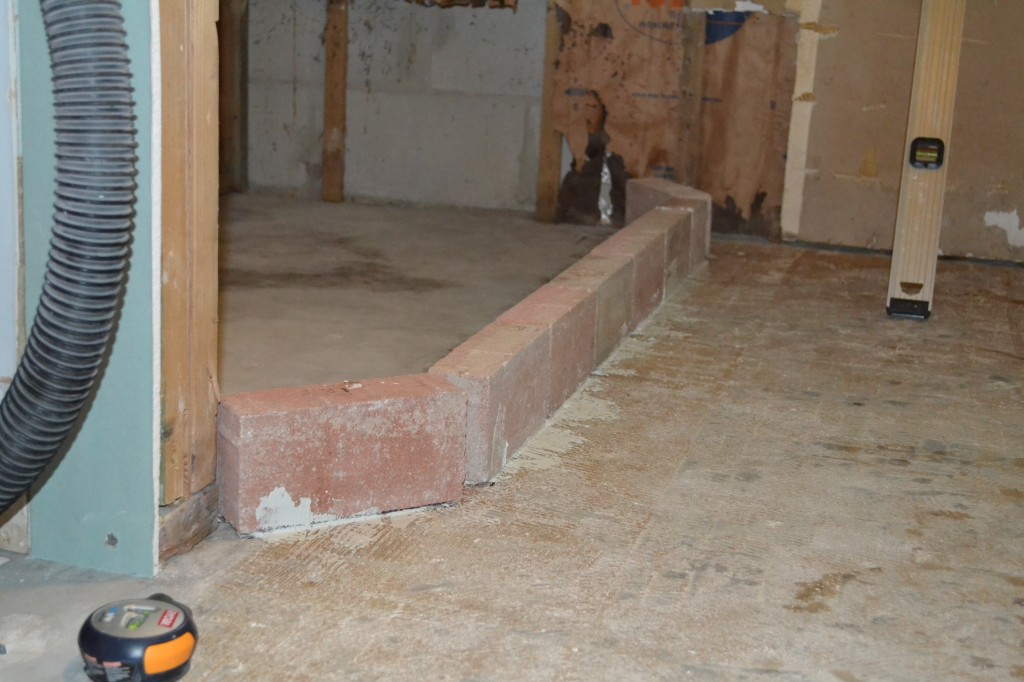
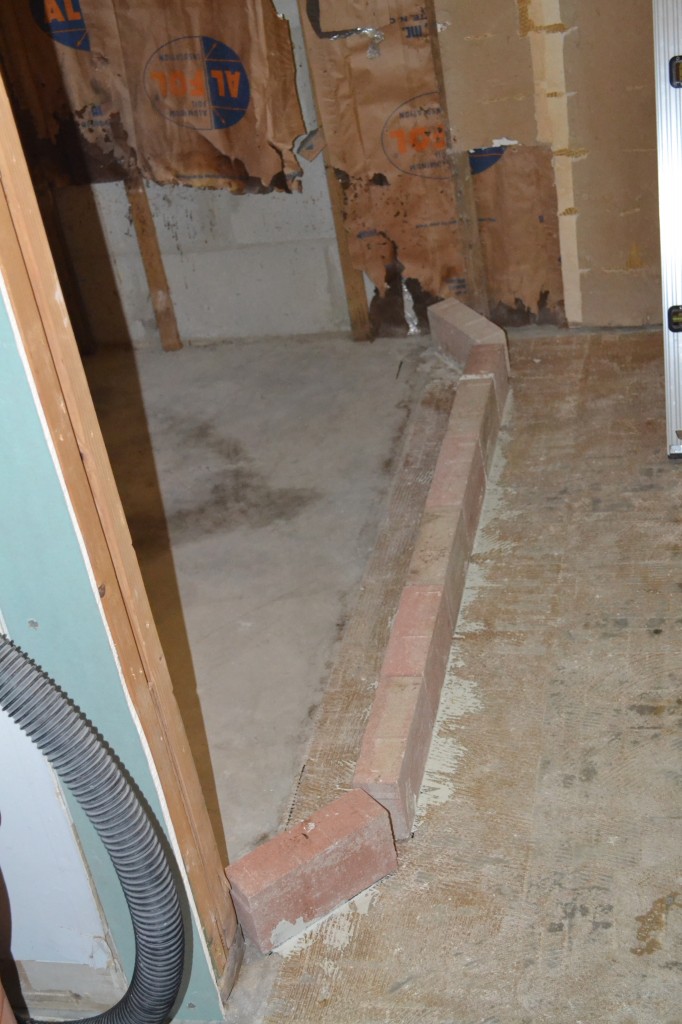
We have made some key purchases and some serious progress. First, we built a curb for our shower, which has a slightly larger footprint than the tub:

Master Shower Master Shower

You might be wondering why we used bricks instead of 2×4’s. If you have a plywood subfloor, 2×4’s are just fine and dandy. However, with a cement subfloor, the cement absorbs moisture from the ground below and can cause wooden 2×4’s to swell. Although our subfloor stays pretty dry, we went the safe route and used bricks, which we just happen to have an excess of. We use them to line the bottom of the fence so The Dog doesn’t dig into the neighbors yard to play with their pooch. And yes, that has happened on multiple occasions, thus the bricks and expensive doggy daycare. A girl just needs a friend sometimes, right?
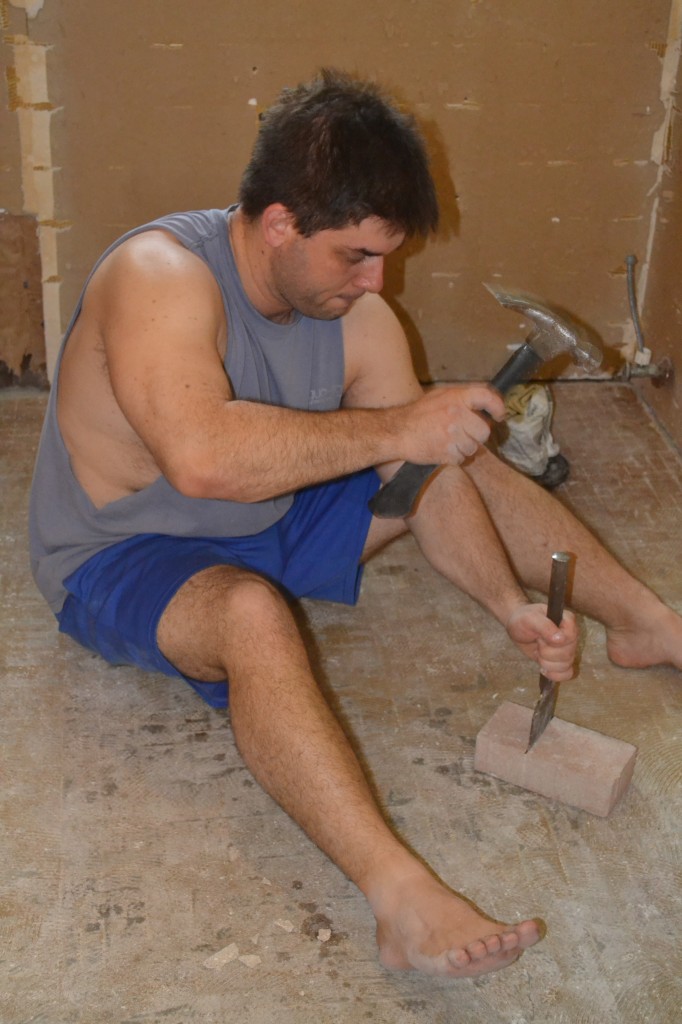
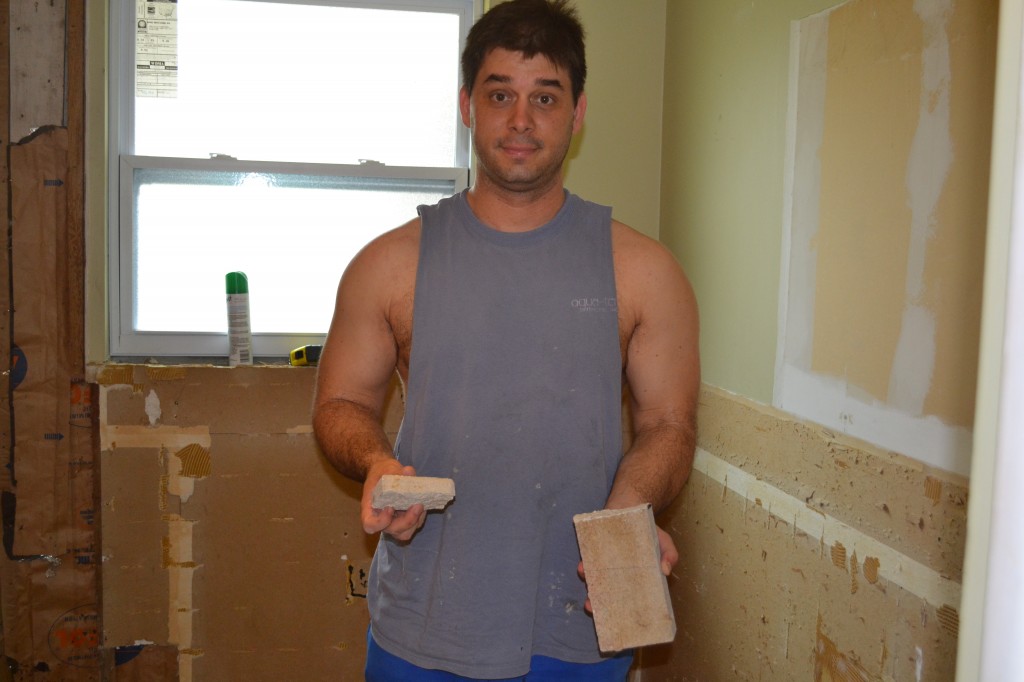
The actual arrangement of the bricks required us to cut one, which we debated how to do. Finally, The Boy tried an old-fashioned method – whacking it.

Master Shower Master Shower

Much to my amazement, it worked (on the second try)! Then we used thinset to secure them in place. The nice thing about these bricks is that they have very subtle ridges, which cause them to have a very slight slope towards the shower, and will prevent water from pooling.

Master Shower Master Shower Master Shower

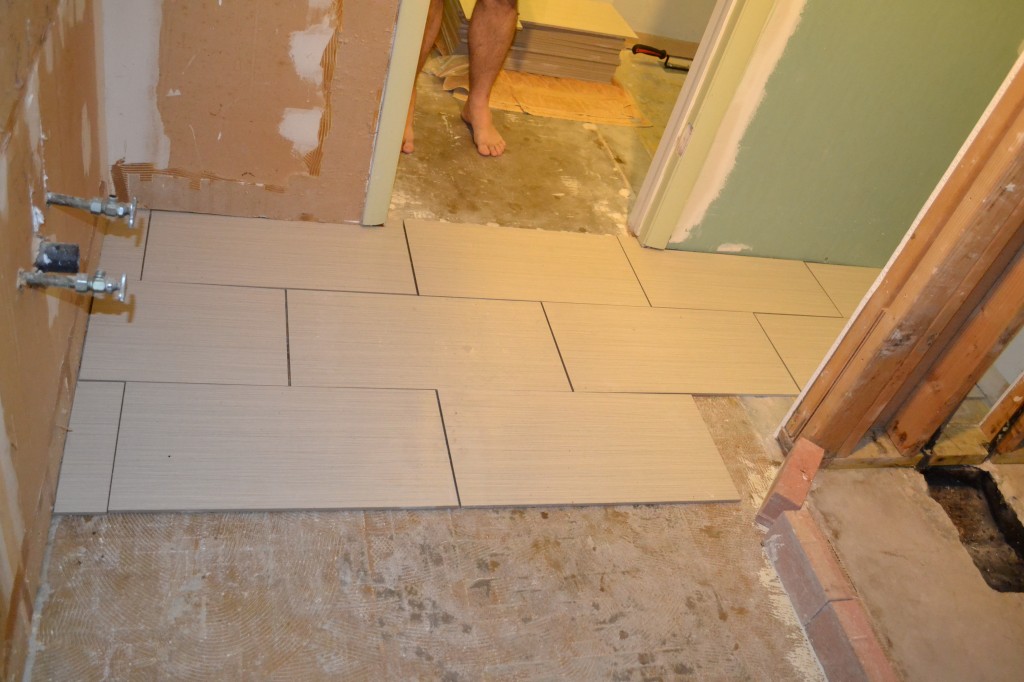
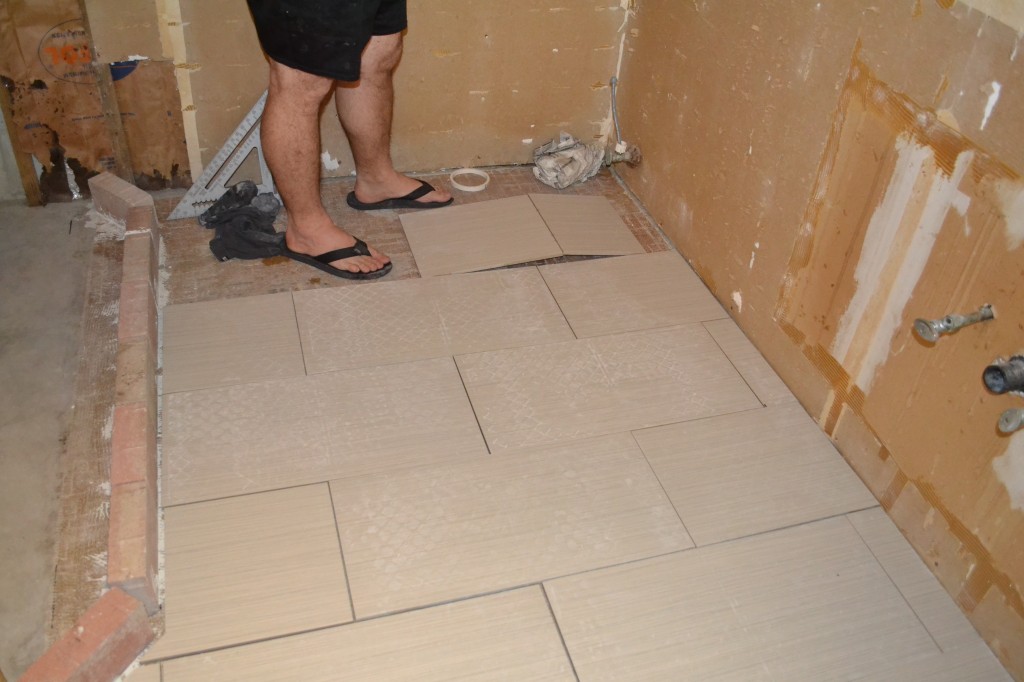
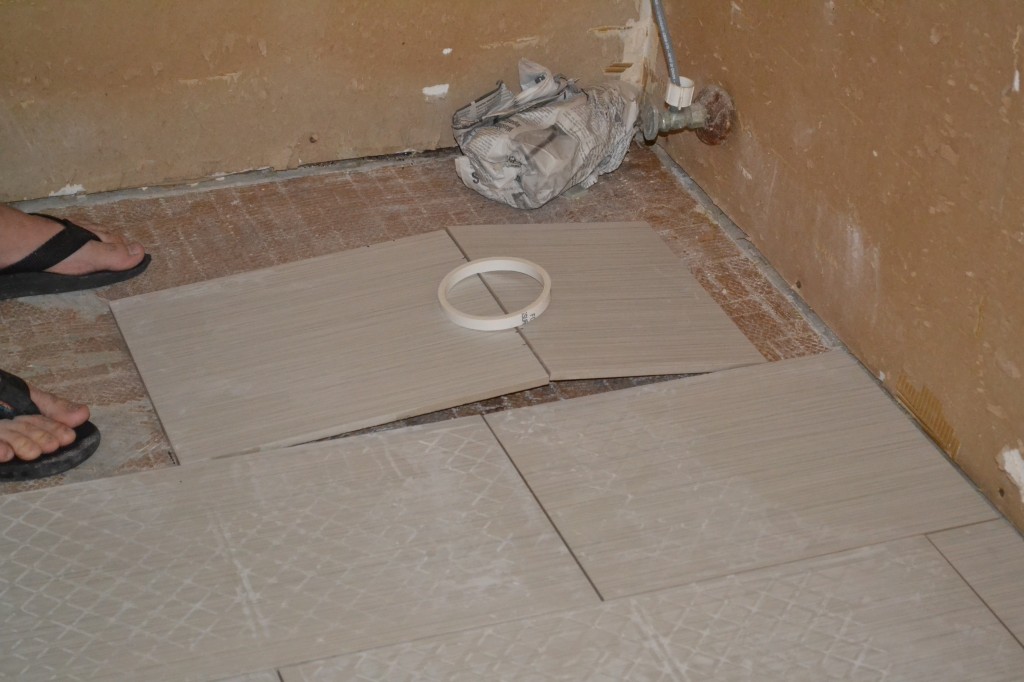
Once the shower curb was in place, we could tile. First we dry fit everything, and made our cuts.

Master Bathroom

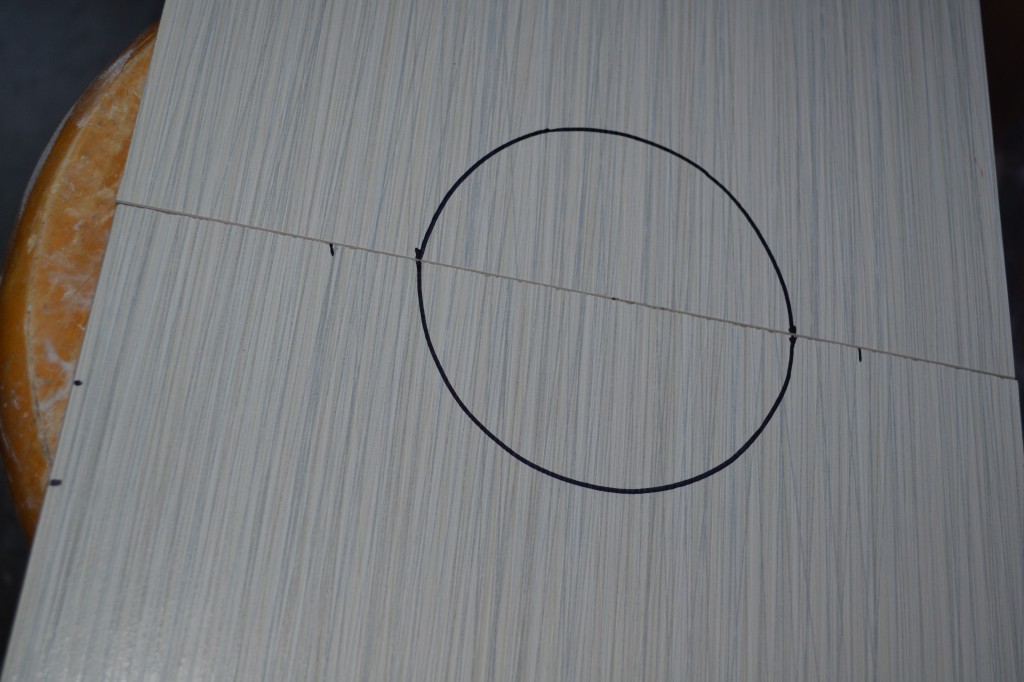
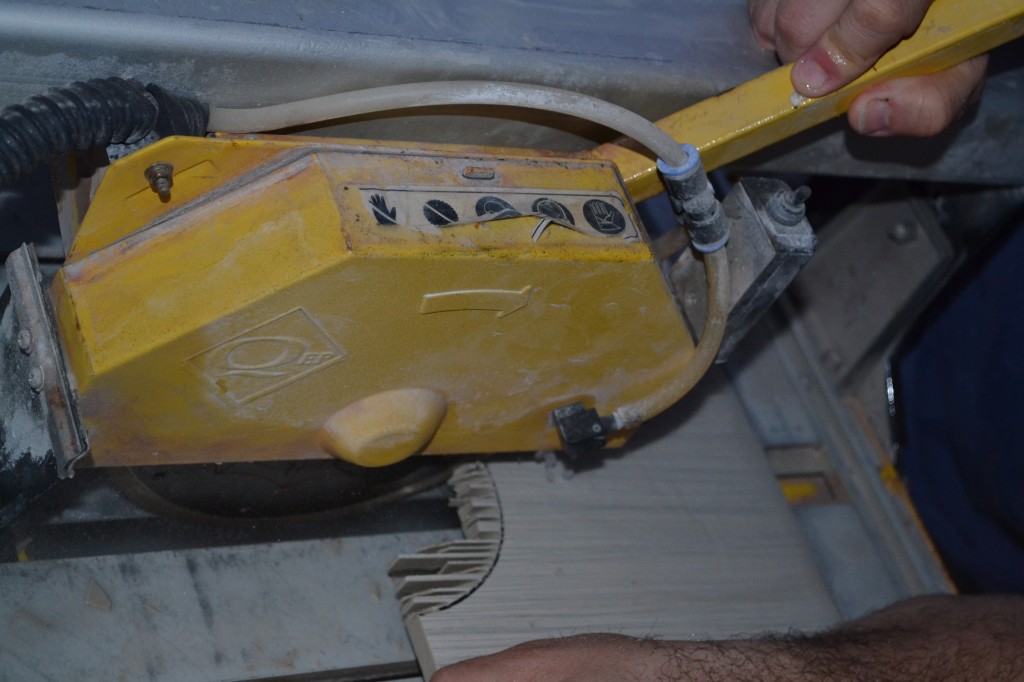
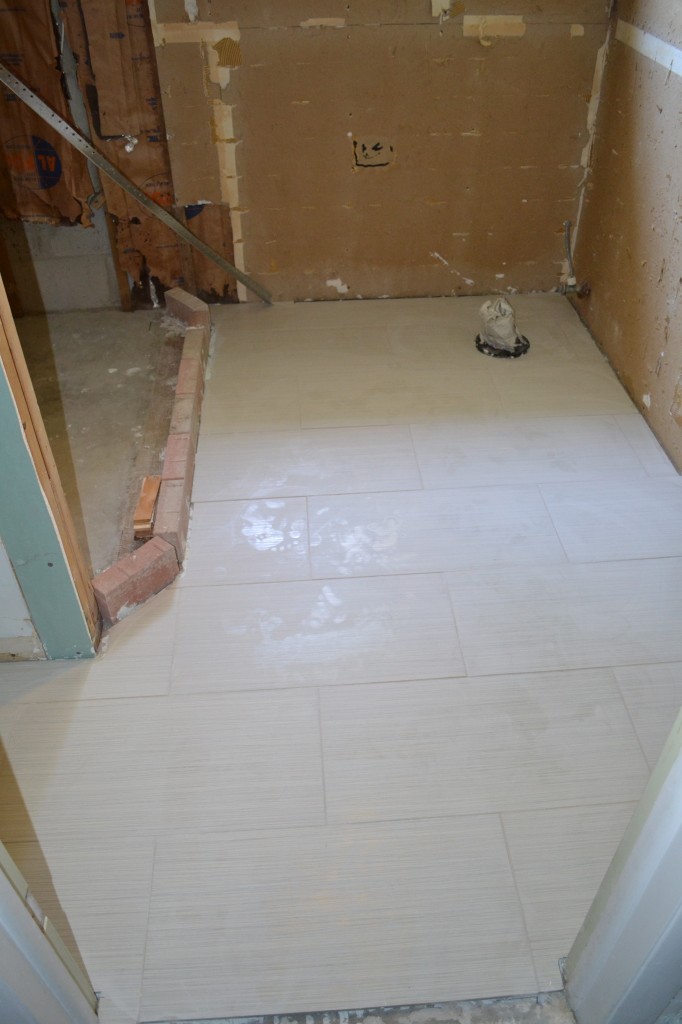
Everything went fairly smoothly, until we reached the toilet flange, which we did not anticipate falling squarely in the middle of a full tile. So much for planning. Since the base of the toilet will cover much of the real estate of this tile, we cut it down the center of the toilet flange, then found a round object the right size to trace. The Boy showed off his mad tile cutting skills:

DSC_0014 DSC_0015 DSC_0018 DSC_0020

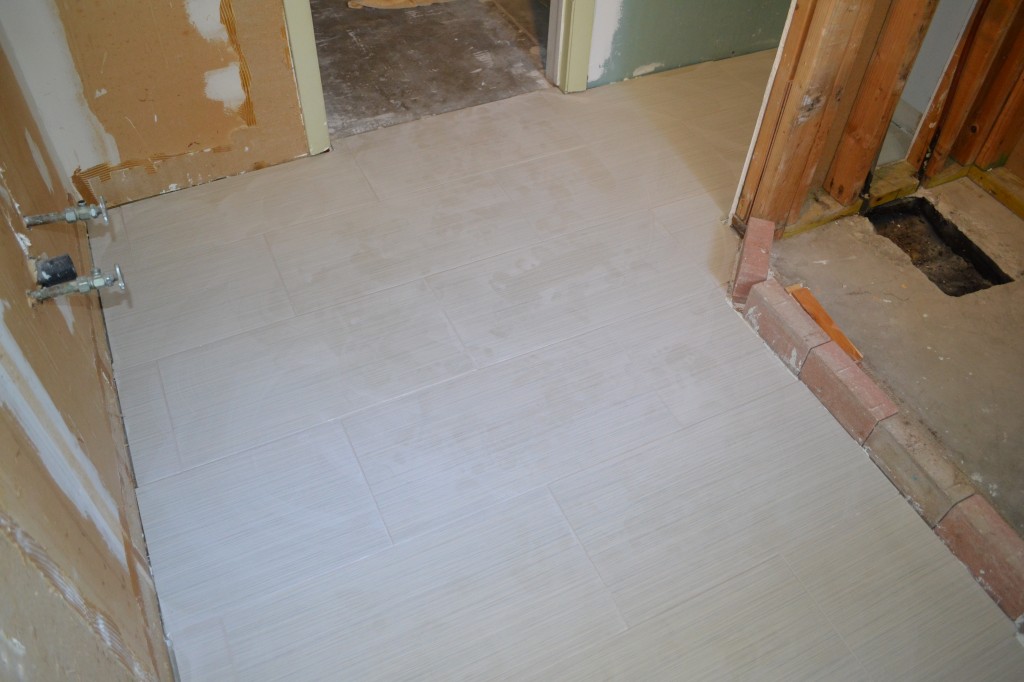
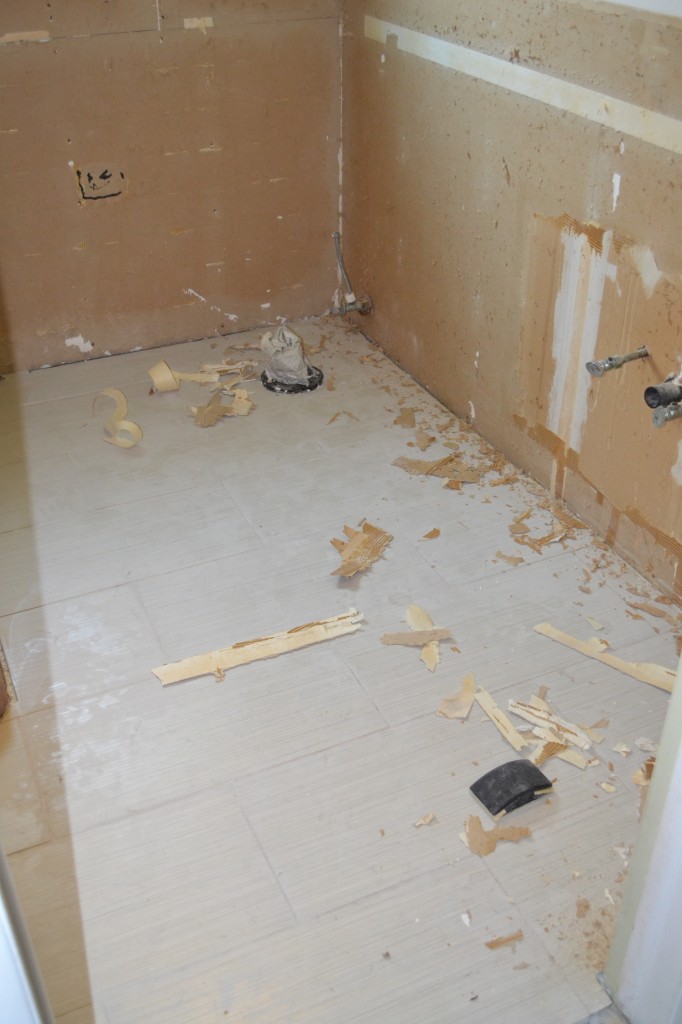
This is much harder than it might look, because you cannot cut a curve with a tile saw. Through the magic of the interwebs and photography, I will show you the final product, which actually took almost a week between cutting, laying, and grouting.

Master Bathroom Master Bathroom

Our next project was dealing with the walls that we ripped the lovely green tile off of. I scraped and scraped and sweated and scraped until I removed all of the adhesive and loose drywall tape.

Master Bathroom

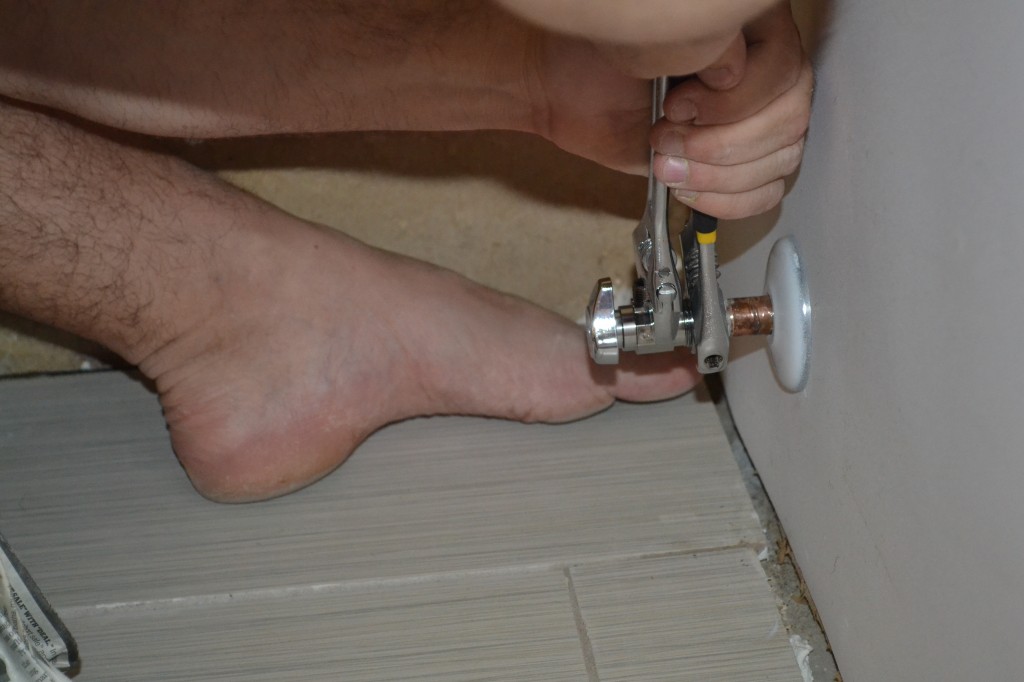
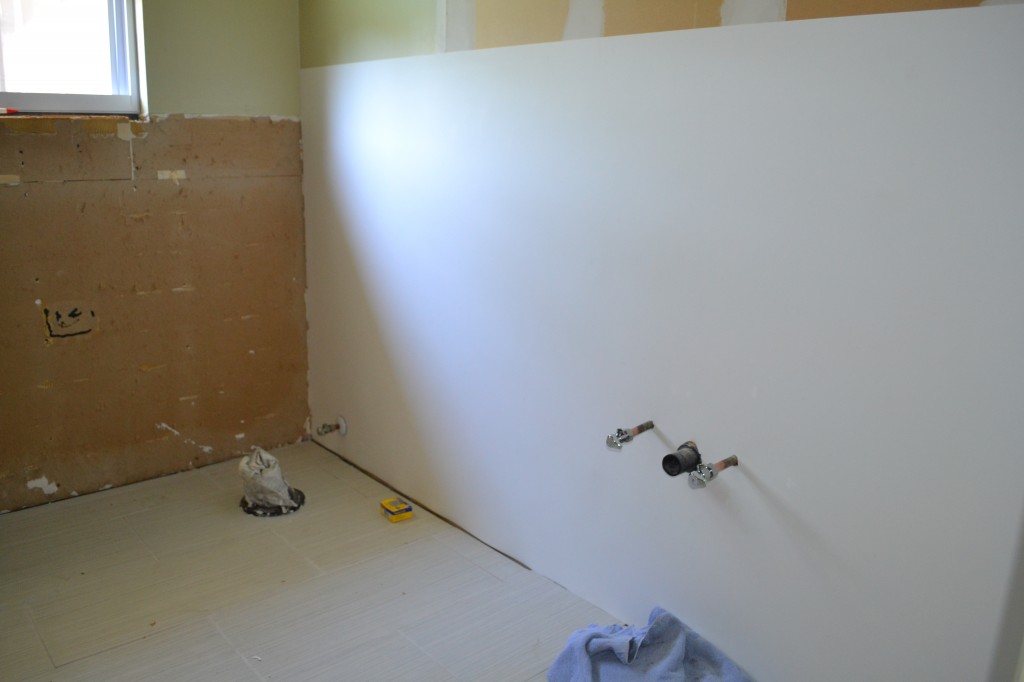
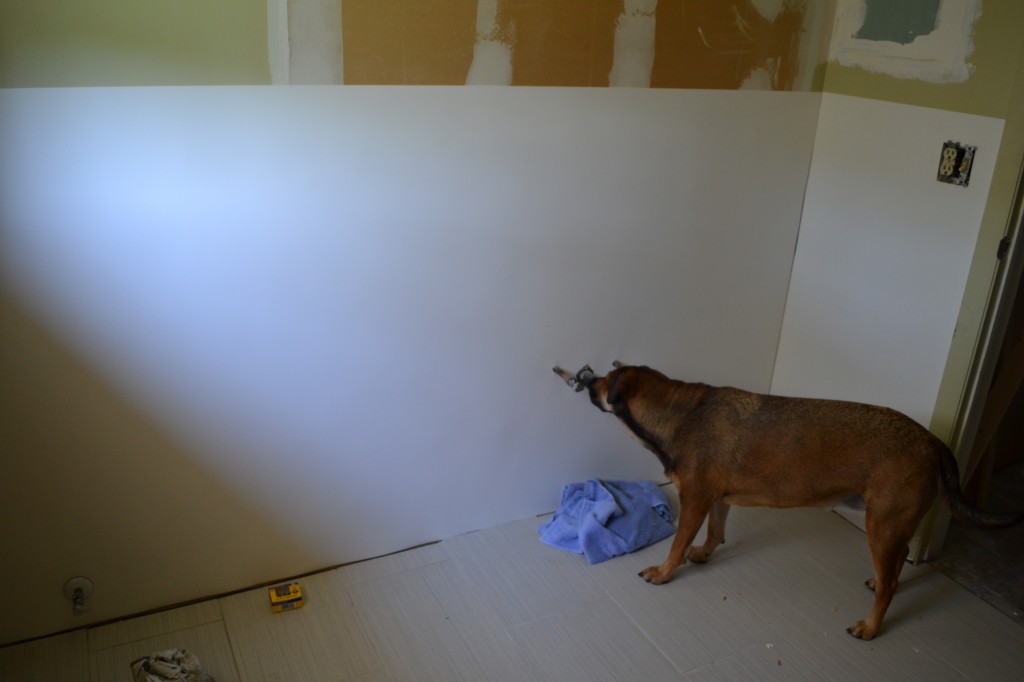
My brilliant solution was to adhere moisture resistant white panels to the wall. In order to do this, we went ahead and replaced the old valves, so we could cut smaller holes in the panel, slide it over the pipes, and then put new valves on. We were in a rush because the inspector was due to arrive any minute!

DSC_0026DSC_0027

We got it done just in time for the inspection:

DSC_0028

You passed ... barely. That will cost you two treats and a belly rub.

You passed … barely. That will cost you two treats and a belly rub.

What Size Fit to You?

Well that is a loaded question. My initial reaction? Medium. Always a safe answer.

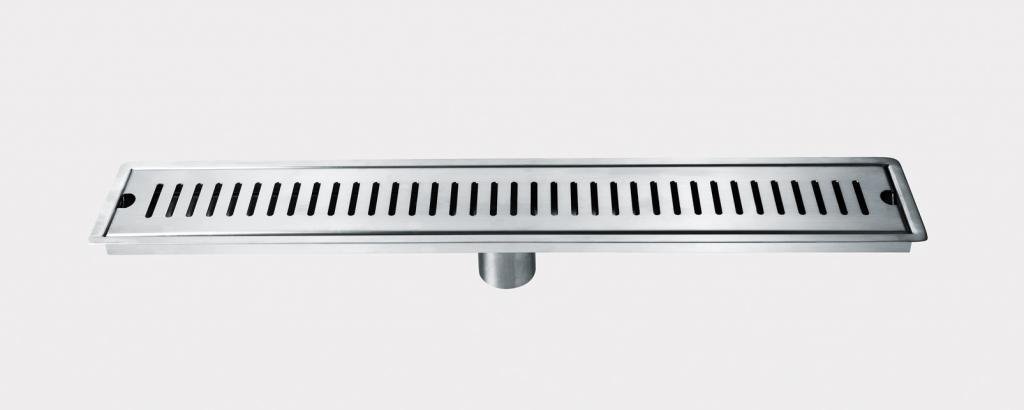
In my quest to find good deals, I sometimes make questionable decisions. In my defense, though, I usually realize the error of my ways in advance, but I am willing to take the risk, or The Boy convinces me “not to worry.” When I saw this linear drain, for about 1/3 of the cost of similar drains, I was thrilled.

Linear Drain

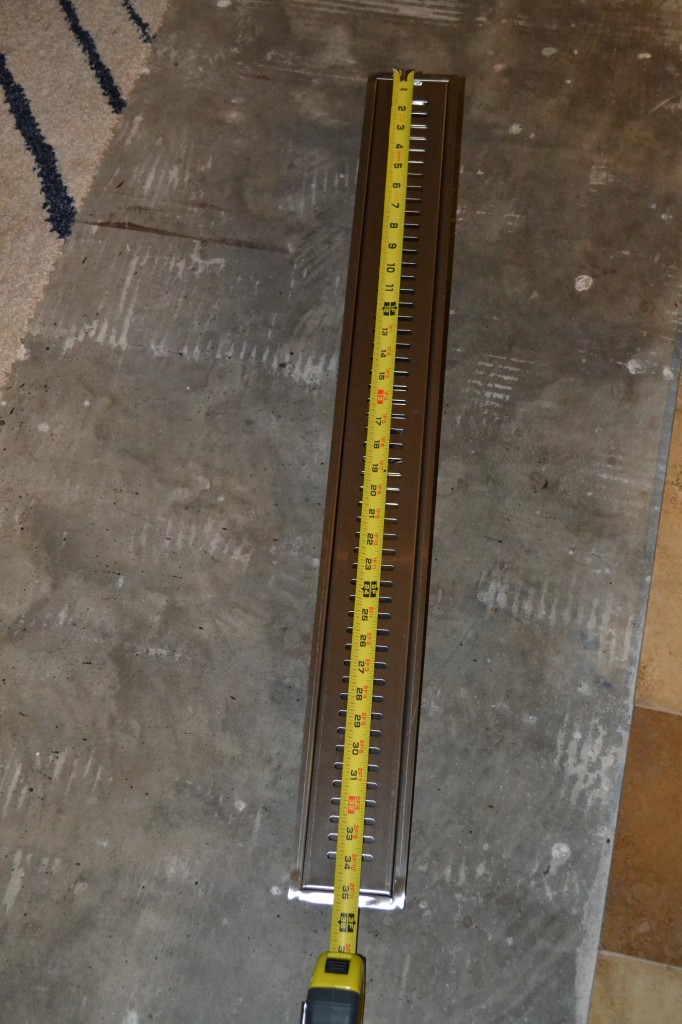
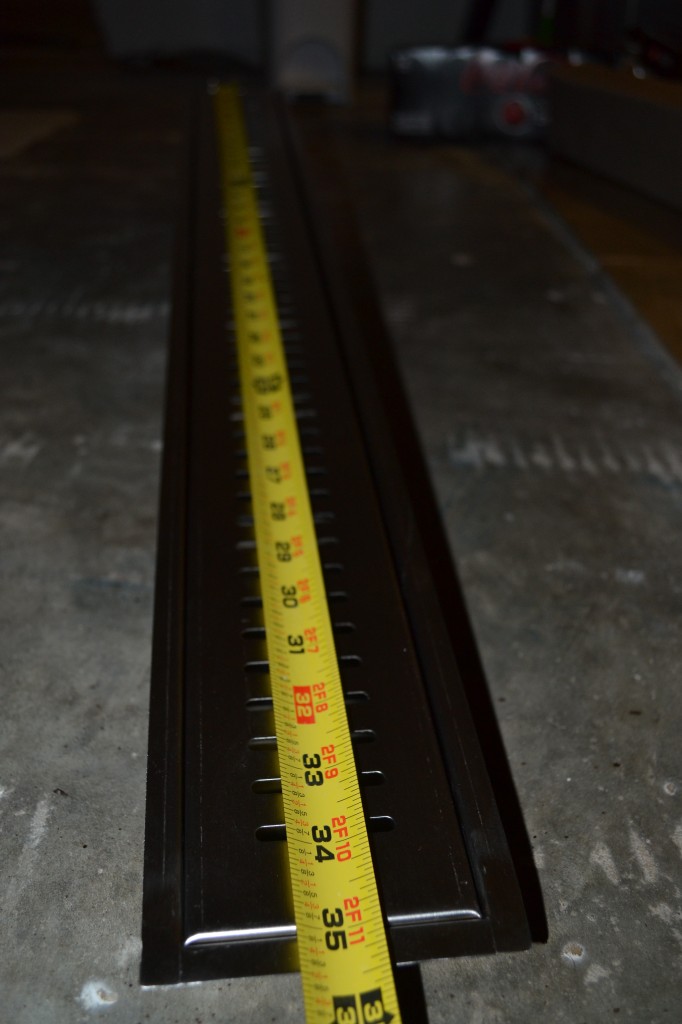
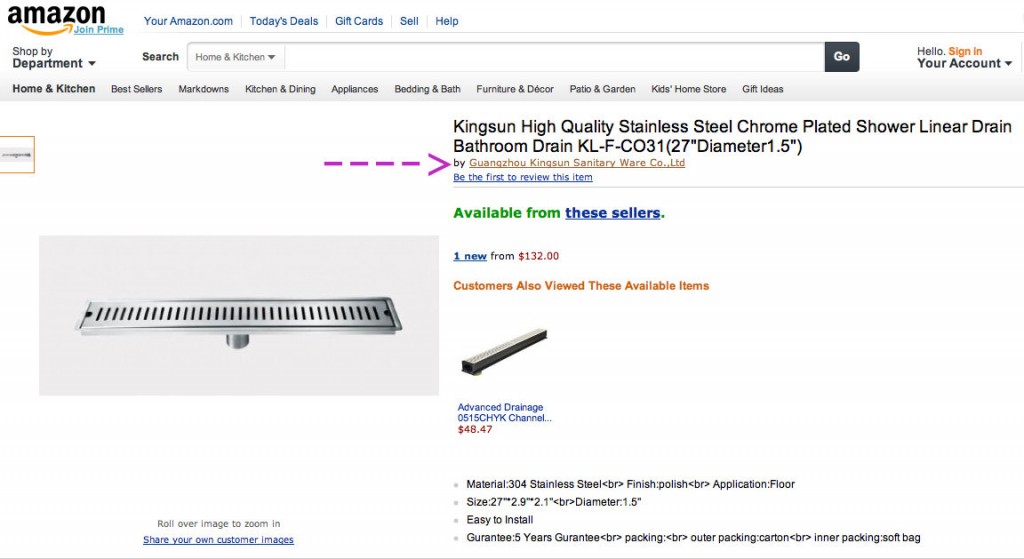
Perfect length (27 inches!), perfect drain size (1.5 inches!) … what could go wrong, right? It arrived very quickly, and looked great. I was so excited to lay it in place and visualize the completed shower, but … well, it didn’t fit. It was WAY too long. Confused, I pulled out my tape measure.

DSC_0021

There is no denying that this drain is not 27 inches long.

DSC_0024

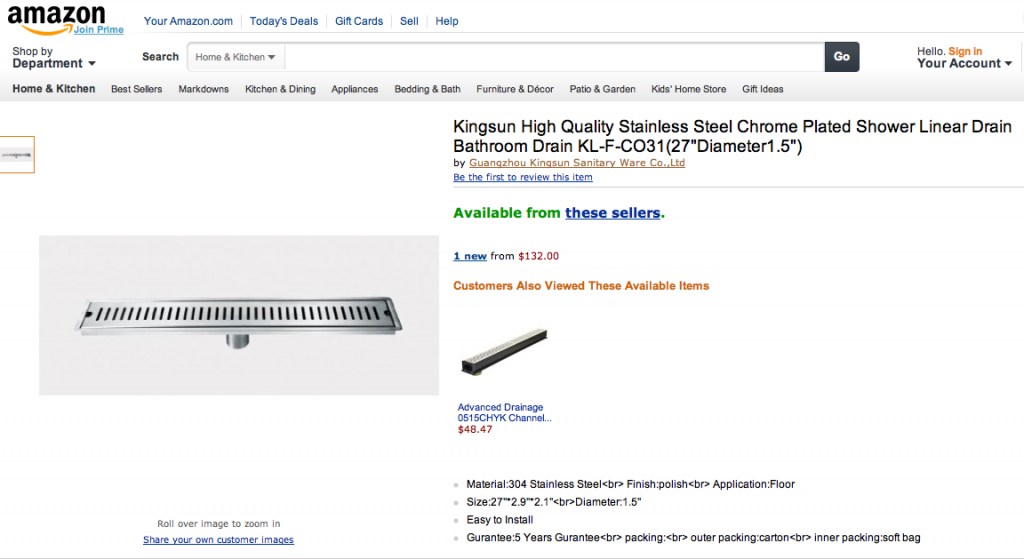
Or so I thought. I went to Amazon and emailed the seller. Take a look at the listing (click for a larger picture). See any red flags?

I'll give you one guess.

I’ll give you one guess.

Still looking? Try this:

Ding ding ding!

Ding ding ding!

Made in China. My initial email was very polite. Clearly this was a simple misunderstanding.

Screen shot 2013-04-01 at 6.19.42 PM

Across many oceans my email was received, processed, carefully considered, and responded to. I laughed, I cried, I forwarded this response to my friends who are probably deleting my emails without reading them at this point:

Screen shot 2013-04-01 at 6.20.05 PM

My new friend Elan’s answer is written between the lines – Chinese inches are much longer than American inches. Those damn metric inches …

Faced with such insurmountable evidence of the fact that Elan had clearly sent me the correct item, I responded with the following witty retort:

Screen shot 2013-04-01 at 6.20.28 PM

The pictures I enclosed are the ones posted above, showing the measuring tape on top of the drain. Tough to argue with that logic, right? Right, Elan?? (If that’s your real name … and I have my suspicions). Then this gem showed up in my inbox:

Screen shot 2013-04-01 at 6.21.03 PM

Just as I suspected – he is using those Chinese metric inches. We are continuing to banter back and forth, and hopefully will get this figured out. I am cautiously optimistic, since “Elan” is responsive and I can decipher the intended meaning of his emails. Please heed this post as a cautionary tale, though, of the pitfalls of being frugal and pursuing good deals at all costs. Until then, I will attempt to answer the age old question: What size fit to you?