Mobile POS – Bathroom Light Edition

A friend in need is a friend … who better have beer and pizza.

Having “mastered” electrical wiring, it became obvious that The Girl and I needed to share our gifts with the world (a/k/a use someone ELSE’S house as a construction zone for once).

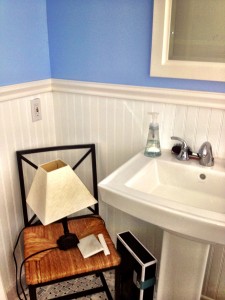
Our friends Joey and Christine recently renovated their bathroom. It looks very nice, and they are quite happy with the results. The only problem is that during the demo phase, the wires to the ceiling lights were cut and taped off in the attic. This also caused an unanticipated problem of disconnecting the light to one of the walk-in closets in the master bedroom, which is obviously on the same circuit. The family was using a tiny table lamp on a chair to have light in the bathroom, and Christine was wearing the same few outfits for weeks since she couldn’t see in her closet. The Girl knows how much I enjoy spending time in attics, so she quickly volunteered my services as an electrician.

Hutchings Bath 1 Hutchings Bath 2

DISCLAIMER: I know VERY little about electrical. What I do know, I learned from a summer science class (taught by my mother) and from Miguel. Recently, I called my mother with an electrical question – she promptly told me that she had no idea what I was talking about, and not to mess with electrical wiring in the house where The Girl, The Dog, and I were living. Bah. Miguel said go for it.

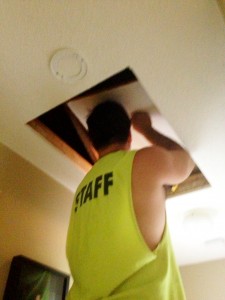
So, I showed up one evening to our friends’ house and promptly got to work in the attic.

Hutchings Bath 7

Four hours later, and VERY frustrated, I left with my head hung low and covered in sweat and fiberglass. I hate fiberglass.

Several days later, The Girl joined me in another trip to the house. I thought I’d had an ephiphany, but judging by the results, it was probably just indigestion. I climbed back into the attic, hauled up all the tools, and spent another three hours sweating and cursing.

Hutchings Bath 6

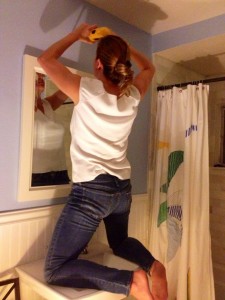
Meanwhile, The Girl broke out the cordless drill and started putting holes in the walls so we could run electrical wires from the attic down the walls and into the wall sconces that our friends picked out. This would have worked out just fine if there hadn’t been a 2×4 running through the wall at one point which I couldn’t drill through.

Holes in the wall? Yeah – that’ll happen when you “hire” your friends to do weekend electrical wiring. The Girl abandoned the previous “one light on each side of the mirror” arrangement and moved to the “one light on top of the mirror” arrangement.

Hutchings Bath 4

Except, yours truly couldn’t figure out the wiring. Cause I’m not that smart, and probably shouldn’t be wiring ANYONE’S house, let alone the house of a couple we both LIKE, who have two kids under 3. Stupid electricity. Day 2 ended with a minor success: I managed to get the master bedroom’s closet light to work, and the fan in the master bathroom working. Score: minor victory.

Day 3. Yes, another day. In the attic. Doing electrical work, for which I am COMPLETELY unqualified.

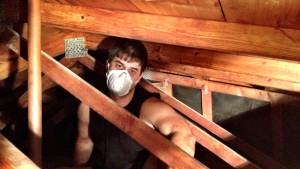
OK, it is the same picture. But this is what I looked like again!

OK, it is the same picture. But this is what I looked like again!

Except this time I called Miguel on the way over. THIS time I explained the wiring to Miguel. THIS time Miguel said “Oh, just wire it like this.”

God bless Miguel.

Turns out the light was wired “switch-leg” at the switch. Once explained to me, it made a LOT of sense. I only had to spend about 15 minutes in the attic this time.

Hutchings Bath 3

Holes for two sconces? What holes?

View the splendor! Behold the majesty! Honestly, this was one of the most rewarding DIWhy Not moments I’ve had. Mostly because I was working for someone else, and at the end of the day, I wanted to make them happy with what I’d done. They were super encouraging, provided consolation in the form of beers on the days I was unsuccessful, and congratulations for the last day’s triumph – also in the form of beers. The Girl supported me the whole time, and even joined in on the fun. One lesson learned is to bring your own tools, because not everyone has an entire two car garage full of random tools scattered everywhere. The Girl asked for pliers, and was given these:

Hutchings Bath 5

The Master-ish Plan

The Boy and I have decided to turn the Master-ish Bathroom into a (gulp) MASTER bathroom. No ish!!

What we currently have is the one renovated full bathroom, off the living area, and the other larger bathroom (a/k/a the green bathroom a/k/a the Master-ish Bathroom) off the hallway. However, the Master-ish Bathroom does share a wall with the largest bedroom, therefore we have entertained delusions of turning the hall and hall closet into a walk-in closet leading into the bathroom from the bedroom.  Here are some pictures so that this might make a little sense:

The hallway in question. The first opening on the right leads to the bathroom. The other door on the right leads to the largest bedroom.

The hall leading to the bathroom, with a closet (missing doors, of course) and bathroom door.

The closet in the Master-ish Bedroom.

The back of this closet is the wall on your left as you are walking into the Master-ish Bathroom (and the hall closet would be on your right).  I hope this is making sense, because I am confused, and I live here. Also, I quickly realized I would not be able to take this last photo without showing most of the bedroom, so I straightened up quickly, which involved kicking shoes behind the bed and putting the laundry on the bed away. I also opened the sliding doors a bit for perspective (and to take me out of the picture!).

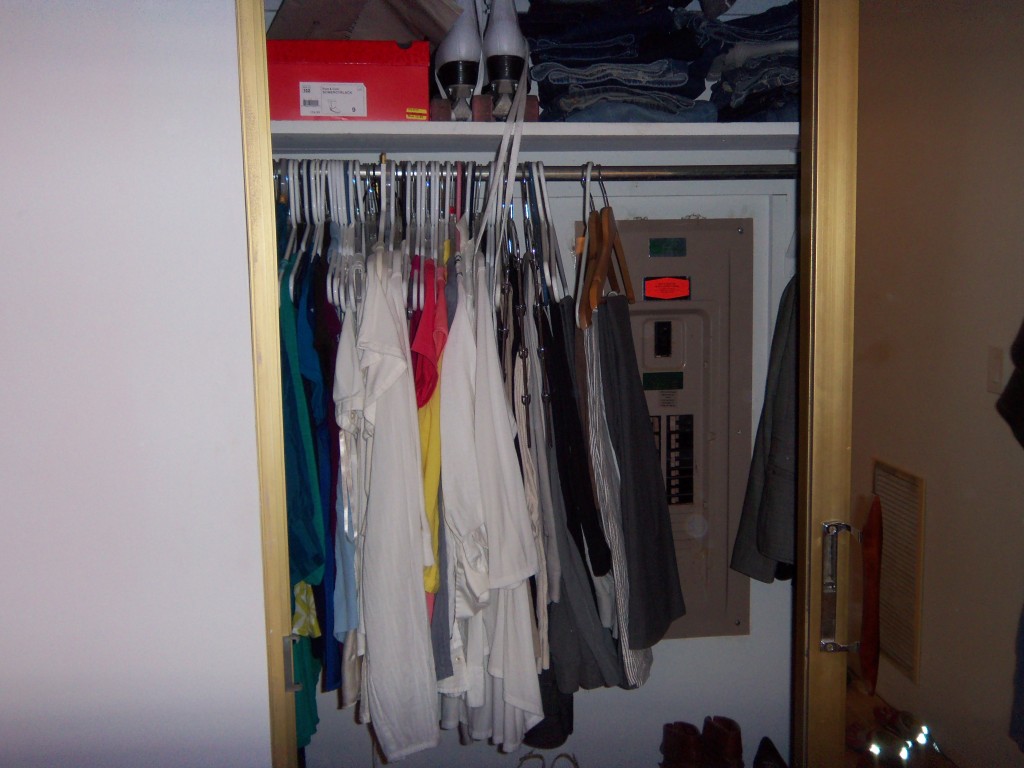
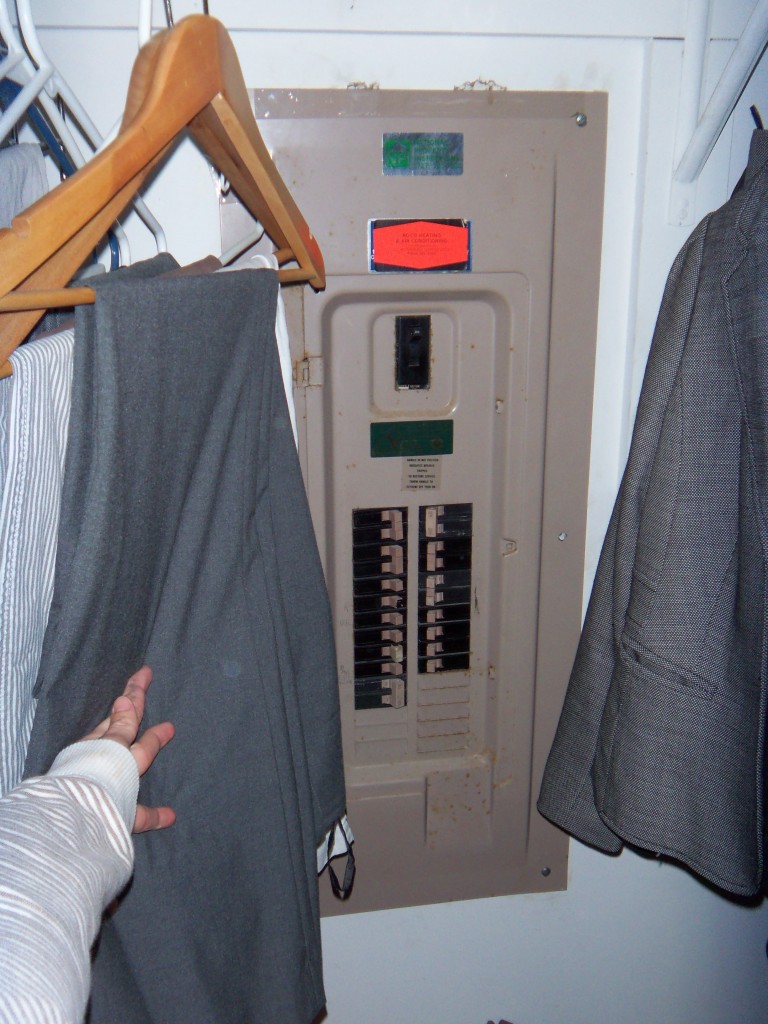
Here is the big problem:

That, my friends, is a breaker box.

This is what we have to do every single time we play with electricity in the house. Which is actually very often, unfortunately.

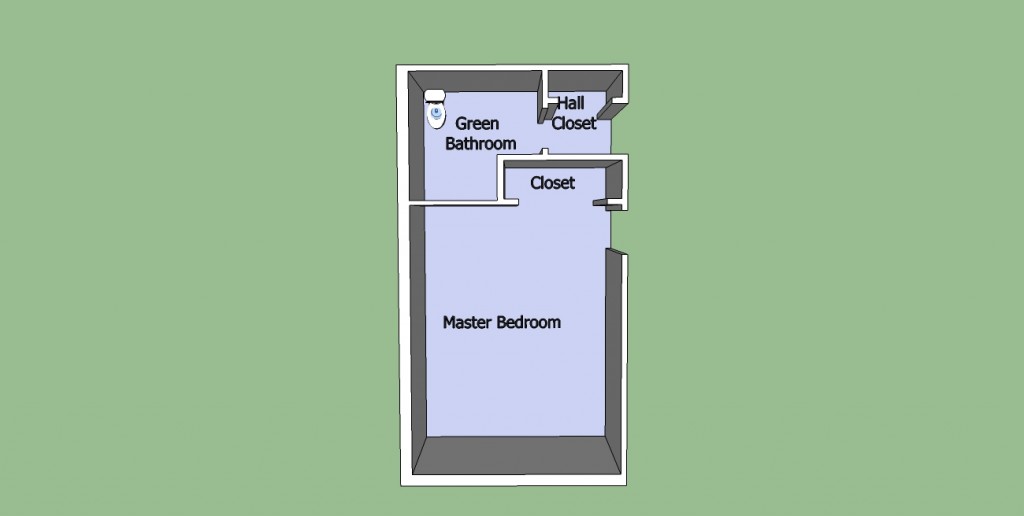
I had The Boy do a quick drawing on Google Sketch-up, to show the before and after of the future layout. This is what we currently have:

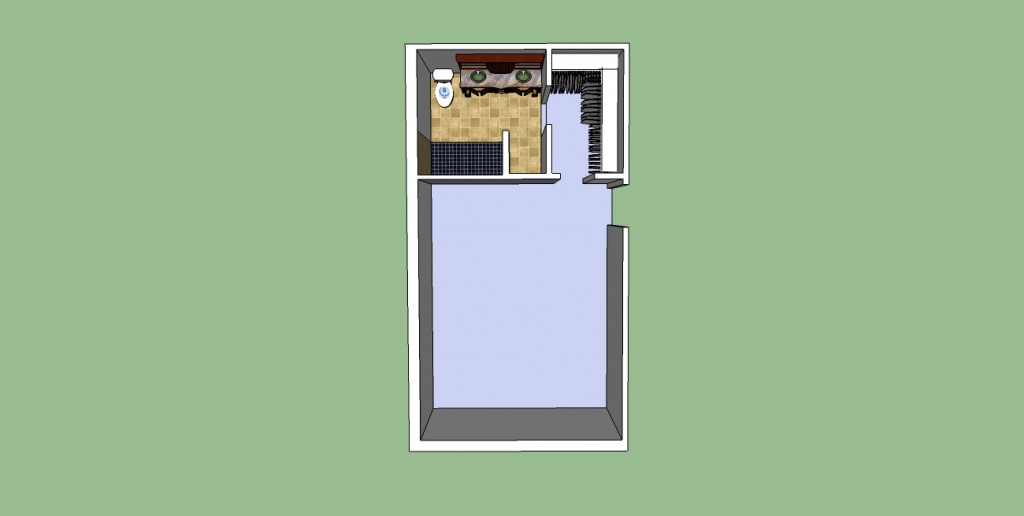
And this is the goal:

The idea is that the breaker box will stay in the closet, turned to be inside the wall on the left when you walk into the master closet, but otherwise unchanged. We confirmed that the power main is coming in from the top of the box, therefore in theory we should be able to pivot it and locate it in the new wall that is built. I am sure this is one of those things that sounds WAY easier in theory than in reality. We will let you know!

Up Yer Wind-ers

When I was in middle school, I would sometimes ride the bus home with my friend Nicky Oliverio. I am not sure where she is today, or what she is up to, but she was pretty awesome, so I hope one day she Googles herself and finds this. Anyways, the bus driver on her route was a countrified (a/k/a redneck, bless her heart), large older lady, and Nicky’s stop was the last one on the route. When we approached the stop, the bus driver would holler out to us, “Up yer winders!” and we had to go around closing all of the windows on the bus (which, if you will recall, would only open by sliding down, so to close them we had to slide them up, and if we didn’t do it the bus driver would have to do it herself before returning the school bus to wherever it is they sleep). We would grudgingly do so, muttering about how lazy she was. One day, she hollered, “Up yer winders!” but the driver’s window was also down, so Nicky shouted back, “Up yours!” I am not sure if she meant it as an insult, or if it was completely unintentional, but it was so funny to middle school me that I almost wet myself. So this post is about windows. Totally relevant, right?

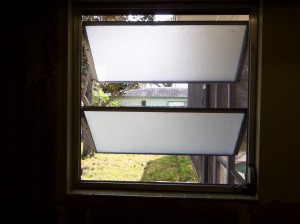
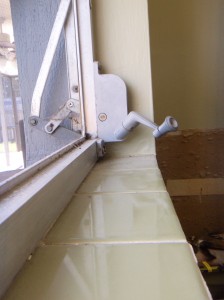
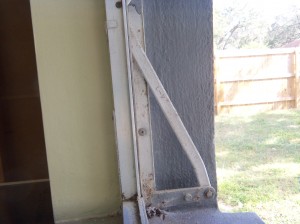
Step one in Operation Master-ish Bathroom Renovation called for replacing the terrible, old, creaky, drafty, crank window. Just when you thought jalousie windows couldn’t get worse, someone went and made a terrible fake version of them. I do not like that person. I bought the new window last weekend, but The Boy put the kibosh on installing it then, so it waited until this weekend. Along with about 35 other ongoing projects that we made some serious progress on. Oh, and we might be turning this hall bath into a true master bathroom with a walk-in closet coming from the bedroom. Maybe. Because we have lost our minds. I need to convince The Boy before he has time to think about it. If the wall separating the two rooms mysteriously falls down while he is playing flag football, we will have no choice, right? Right. But more on that later.

Removing the old window (by the way, I keep typing “winder” and then changing it, which is making me chuckle every time) was easier this time. That makes it sound like we have tons of window (yep, did it again) replacing experience, which is not accurate. We did it once, in the kitchen, and it was kind of a nightmare. First, when removing a window, be sure to remove all screws that are holding the window into the frame. We removed one or two screws holding the kitchen window in place, could NOT figure out why the window wasn’t just FALLING out at that point, and took the reciprocating saw to it until it came out in pieces. Then we discovered some “hidden” screws holding it in place (not so hidden – we “looked” for them the way you “look” for a small child playing hide and seek, but they never made a noise so we never “found” them). This time we removed all of the screws, and hammered the frame until The Boy could pull it out from the outside. And then, there was a hole in our house. Again.

Screws – hiding in plain sight.

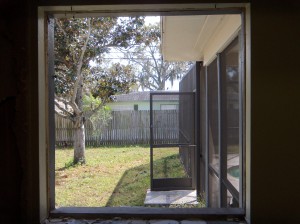
Does anyone feel a draft?

From here we shoved the new window into place (literally, there was a lot of whacking and smacking to get it into the right place). The window was the right size for the rough opening, and the flange is a little larger but is somewhat flexible, so sometimes you have to manhandle a window a little bit, show it who is boss, to get it to sit right.

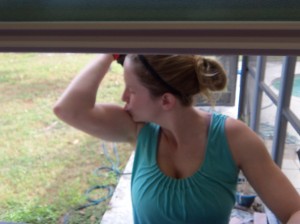
No big deal.

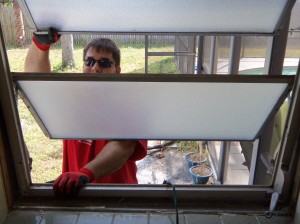
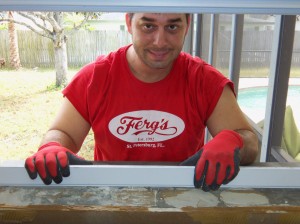
The Boy looks polite here, but he punched that window a lot.

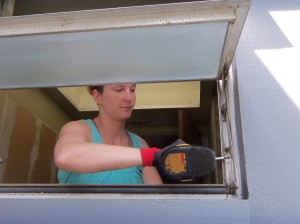
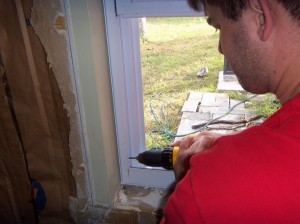
Once we had it in the right location, level, etc., it was a matter of pre-drilling a few holes, one trip to Home Depot, and several screws to hold it in place.

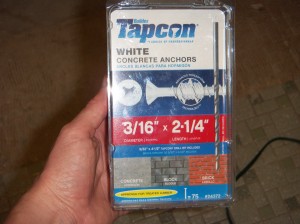
If you don’t get the self-tapping concrete anchors, the screws will not go in far enough for the window sliders to go past them. Another lesson learned in the Great Window Debacle of 2011. The Boy caulked around the window on the outside, and we called it a night. Obviously we still need to put trim around the window, a window sill, etc., but there is no longer a gaping hole in the house.

We totally upped our winder. So up yours.