PROGRESS! (Disclaimer: The Boy wrote this post, but The Girl totally titled it.)
I really enjoy taking things apart. Breaking things. Taking a whole and turning it back into parts. I was very gung-ho about the demo of the bathroom and closet that we’re turning into a walk-in and master bathroom. Now that we’re almost at the end of the demo process, however, I am less enthusiastic.
The reason I like demo so much is that you really can’t screw it up, at least if you do controlled demo (which the girl is NOT fond of). Sorry DIY network and HGTV, we have to do clean-up ourselves, so controlled demo wins out over throwing a hammer through a window just to watch stuff break.
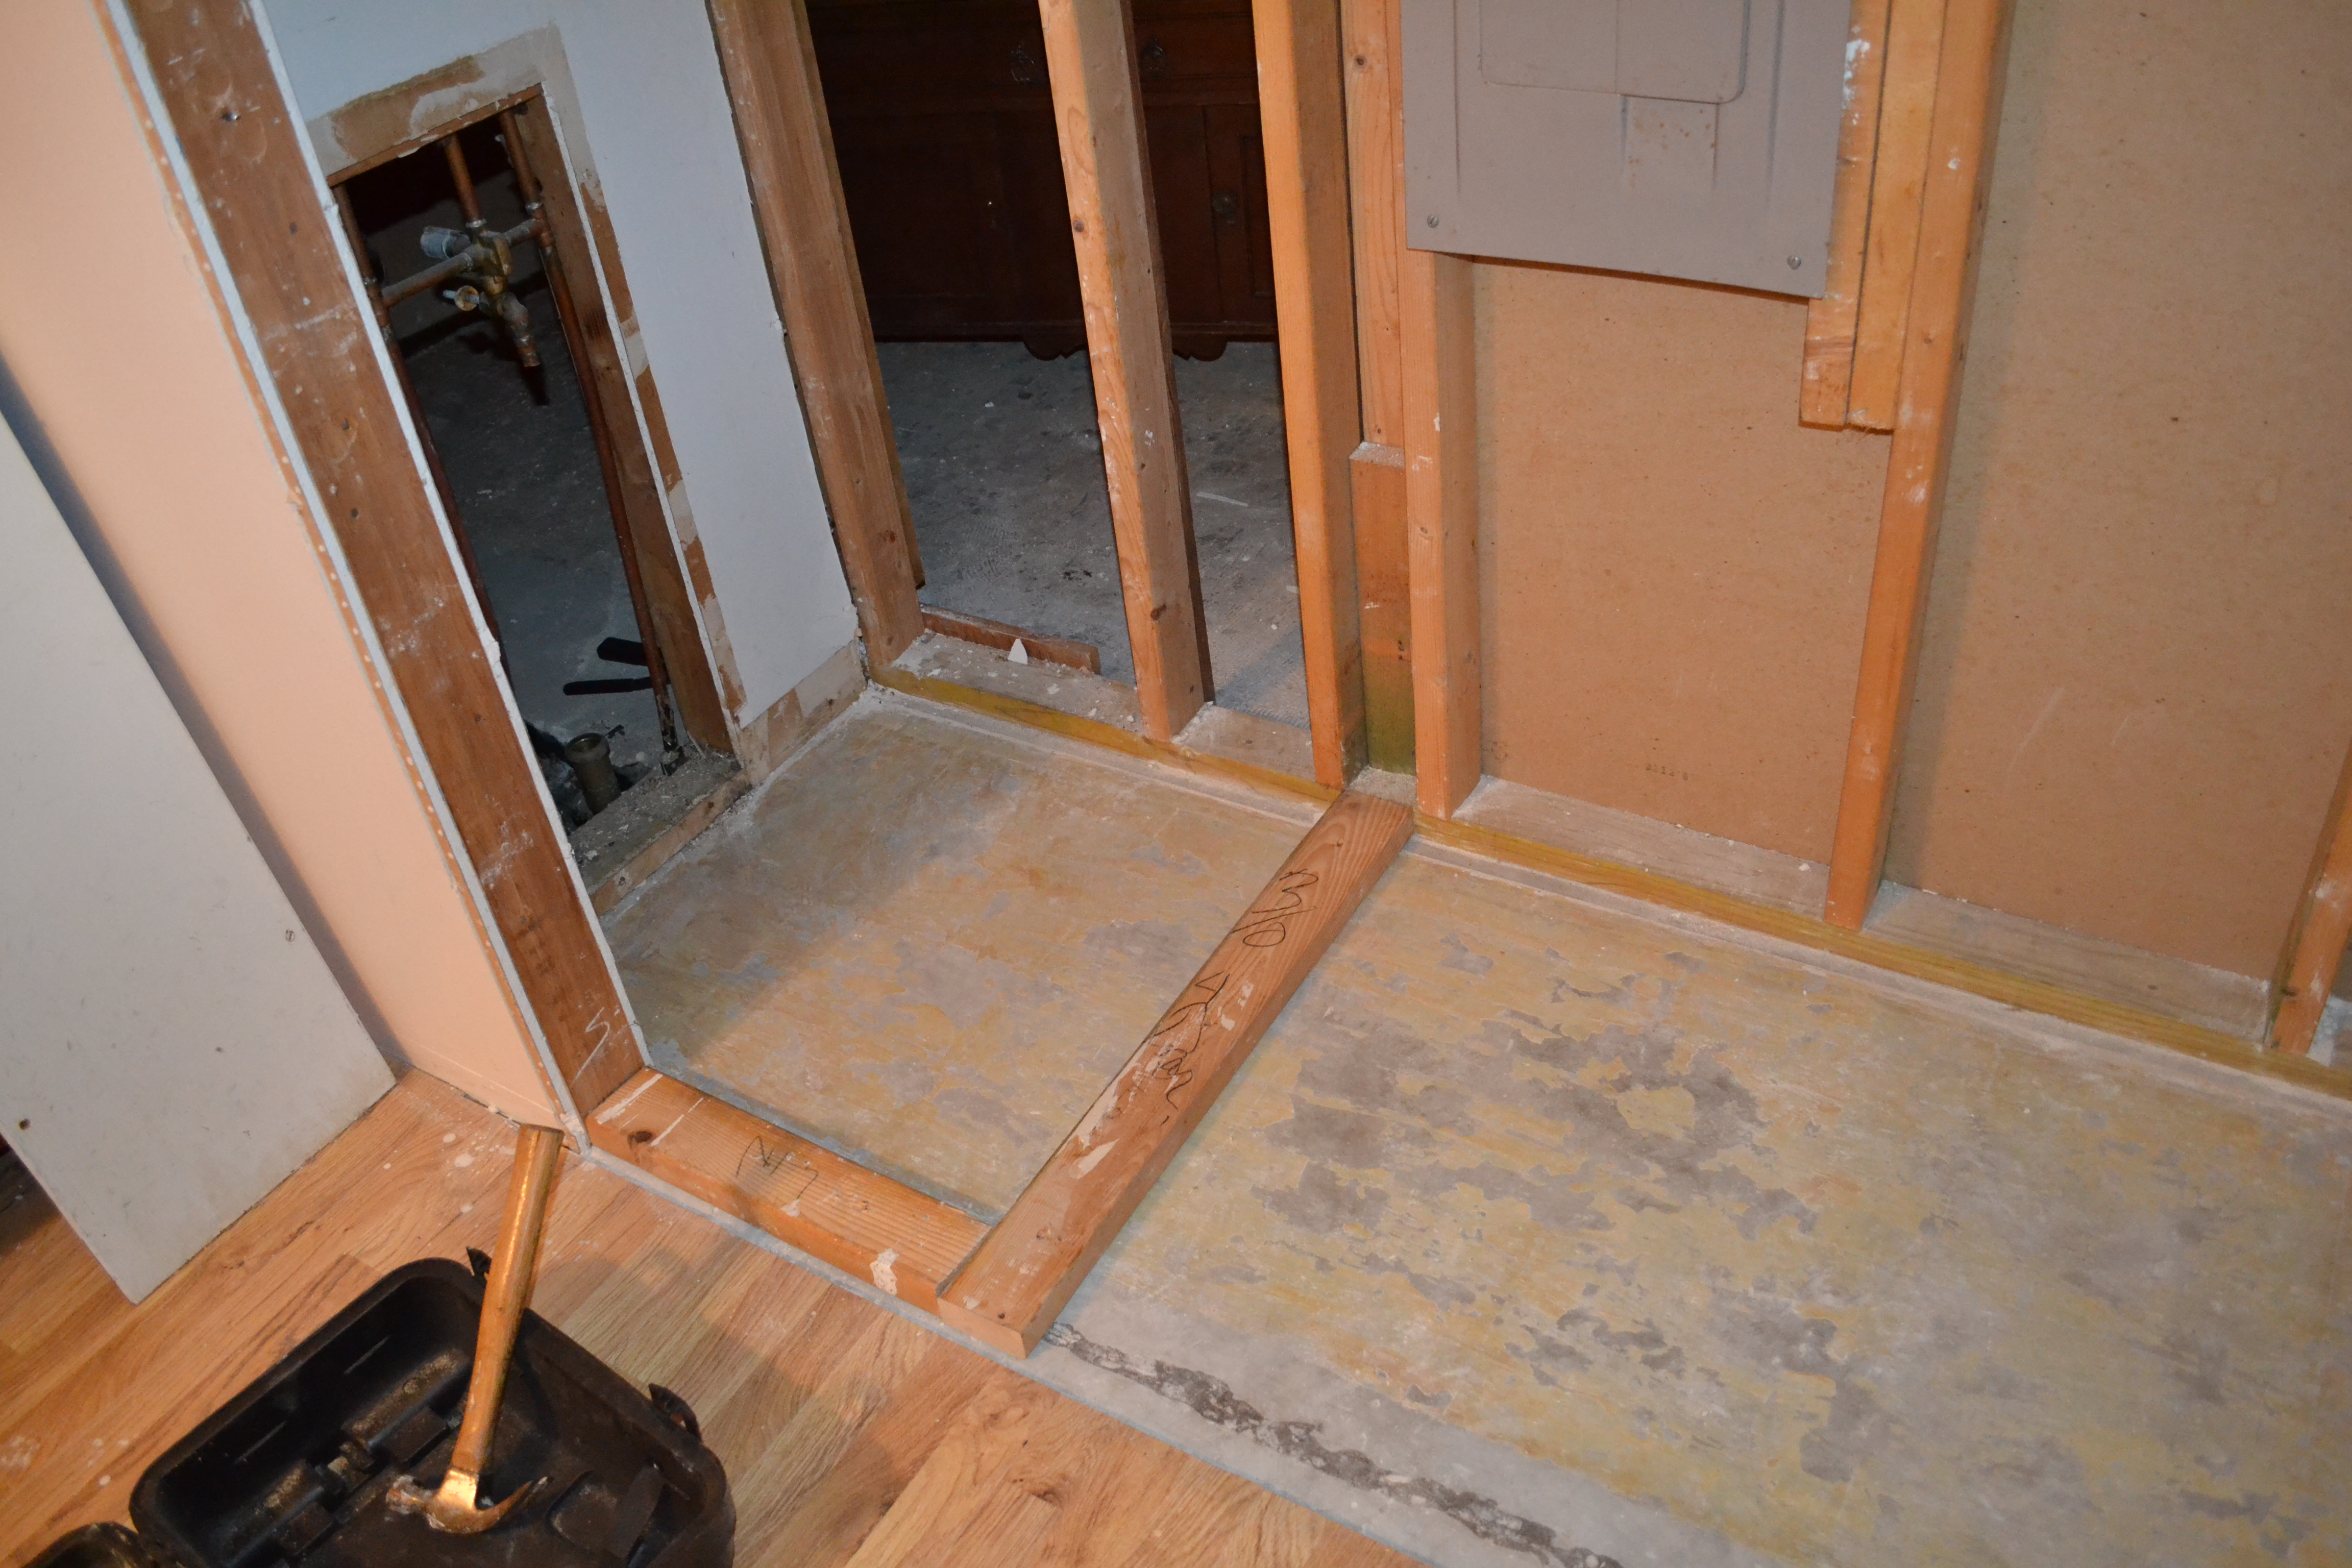
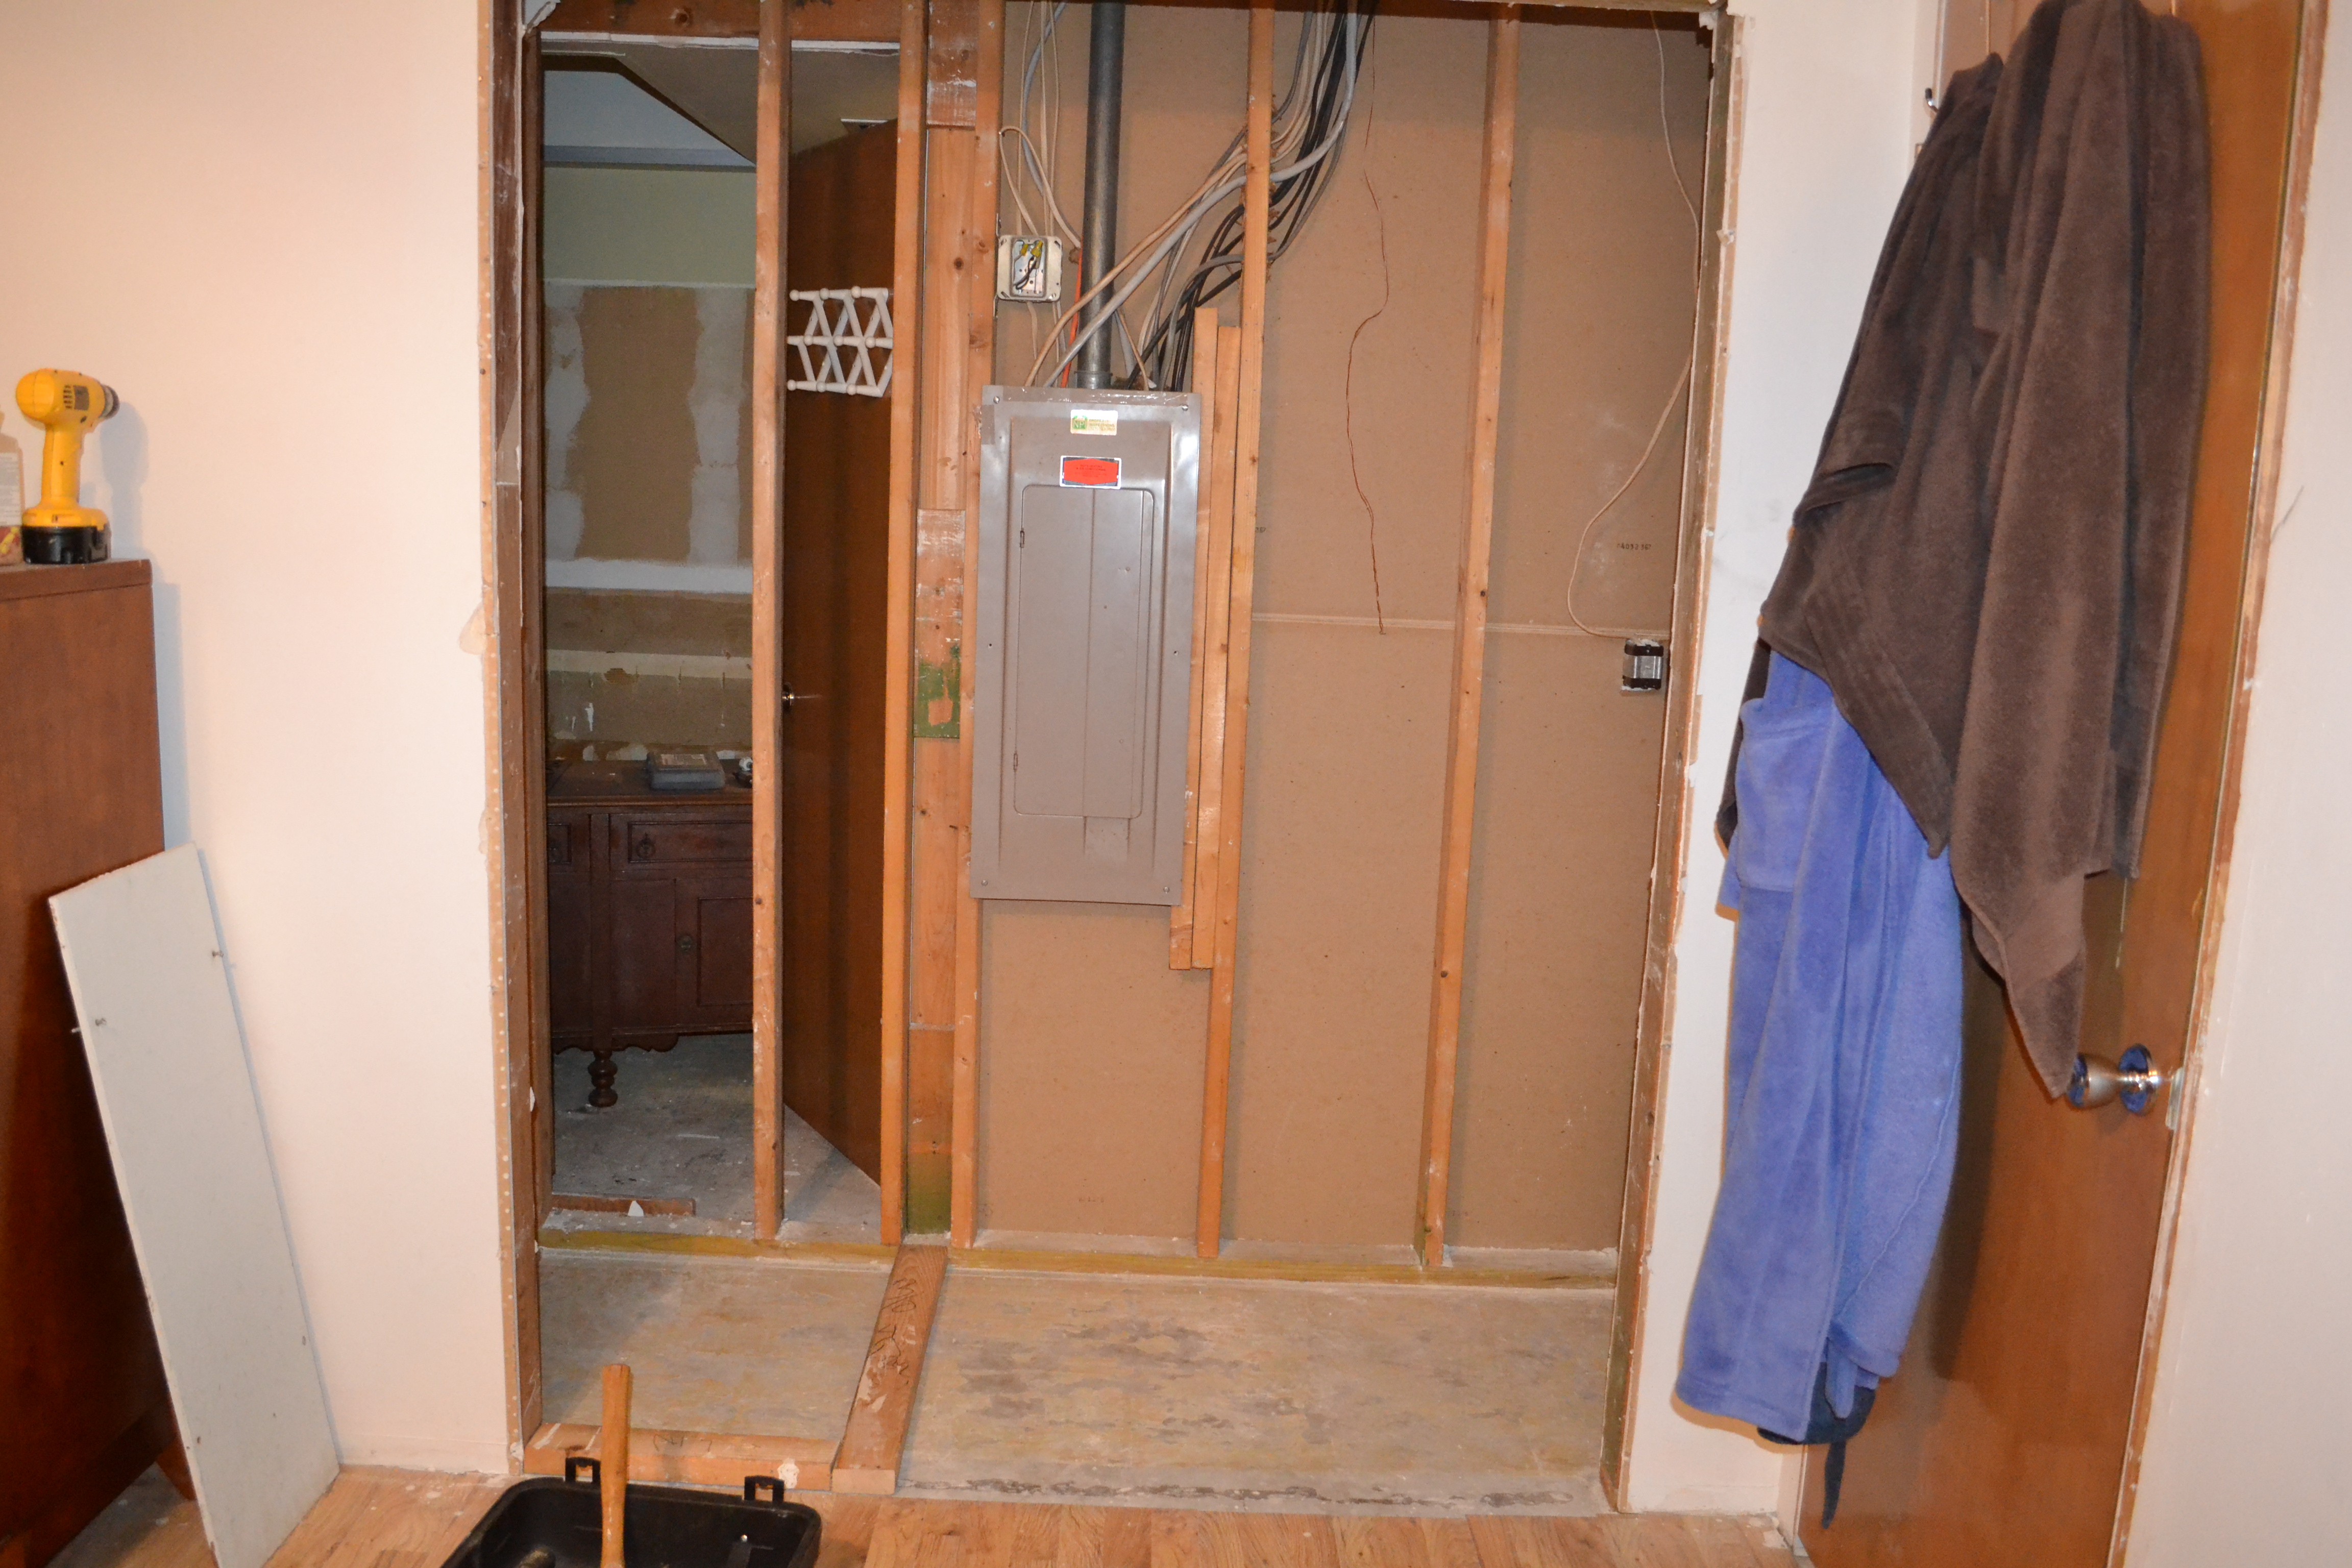
Unfortunately, it is VERY easy to screw up the building process. Hang the drywall wrong or don’t mud it properly and the walls will never be smooth. Forget to secure every piece of plumbing and you’ll end up with a mold problem. You get the idea. For the bathroom project, we are actually knocking down old walls and putting up new walls, so we have to get everything right all the way to the framing.
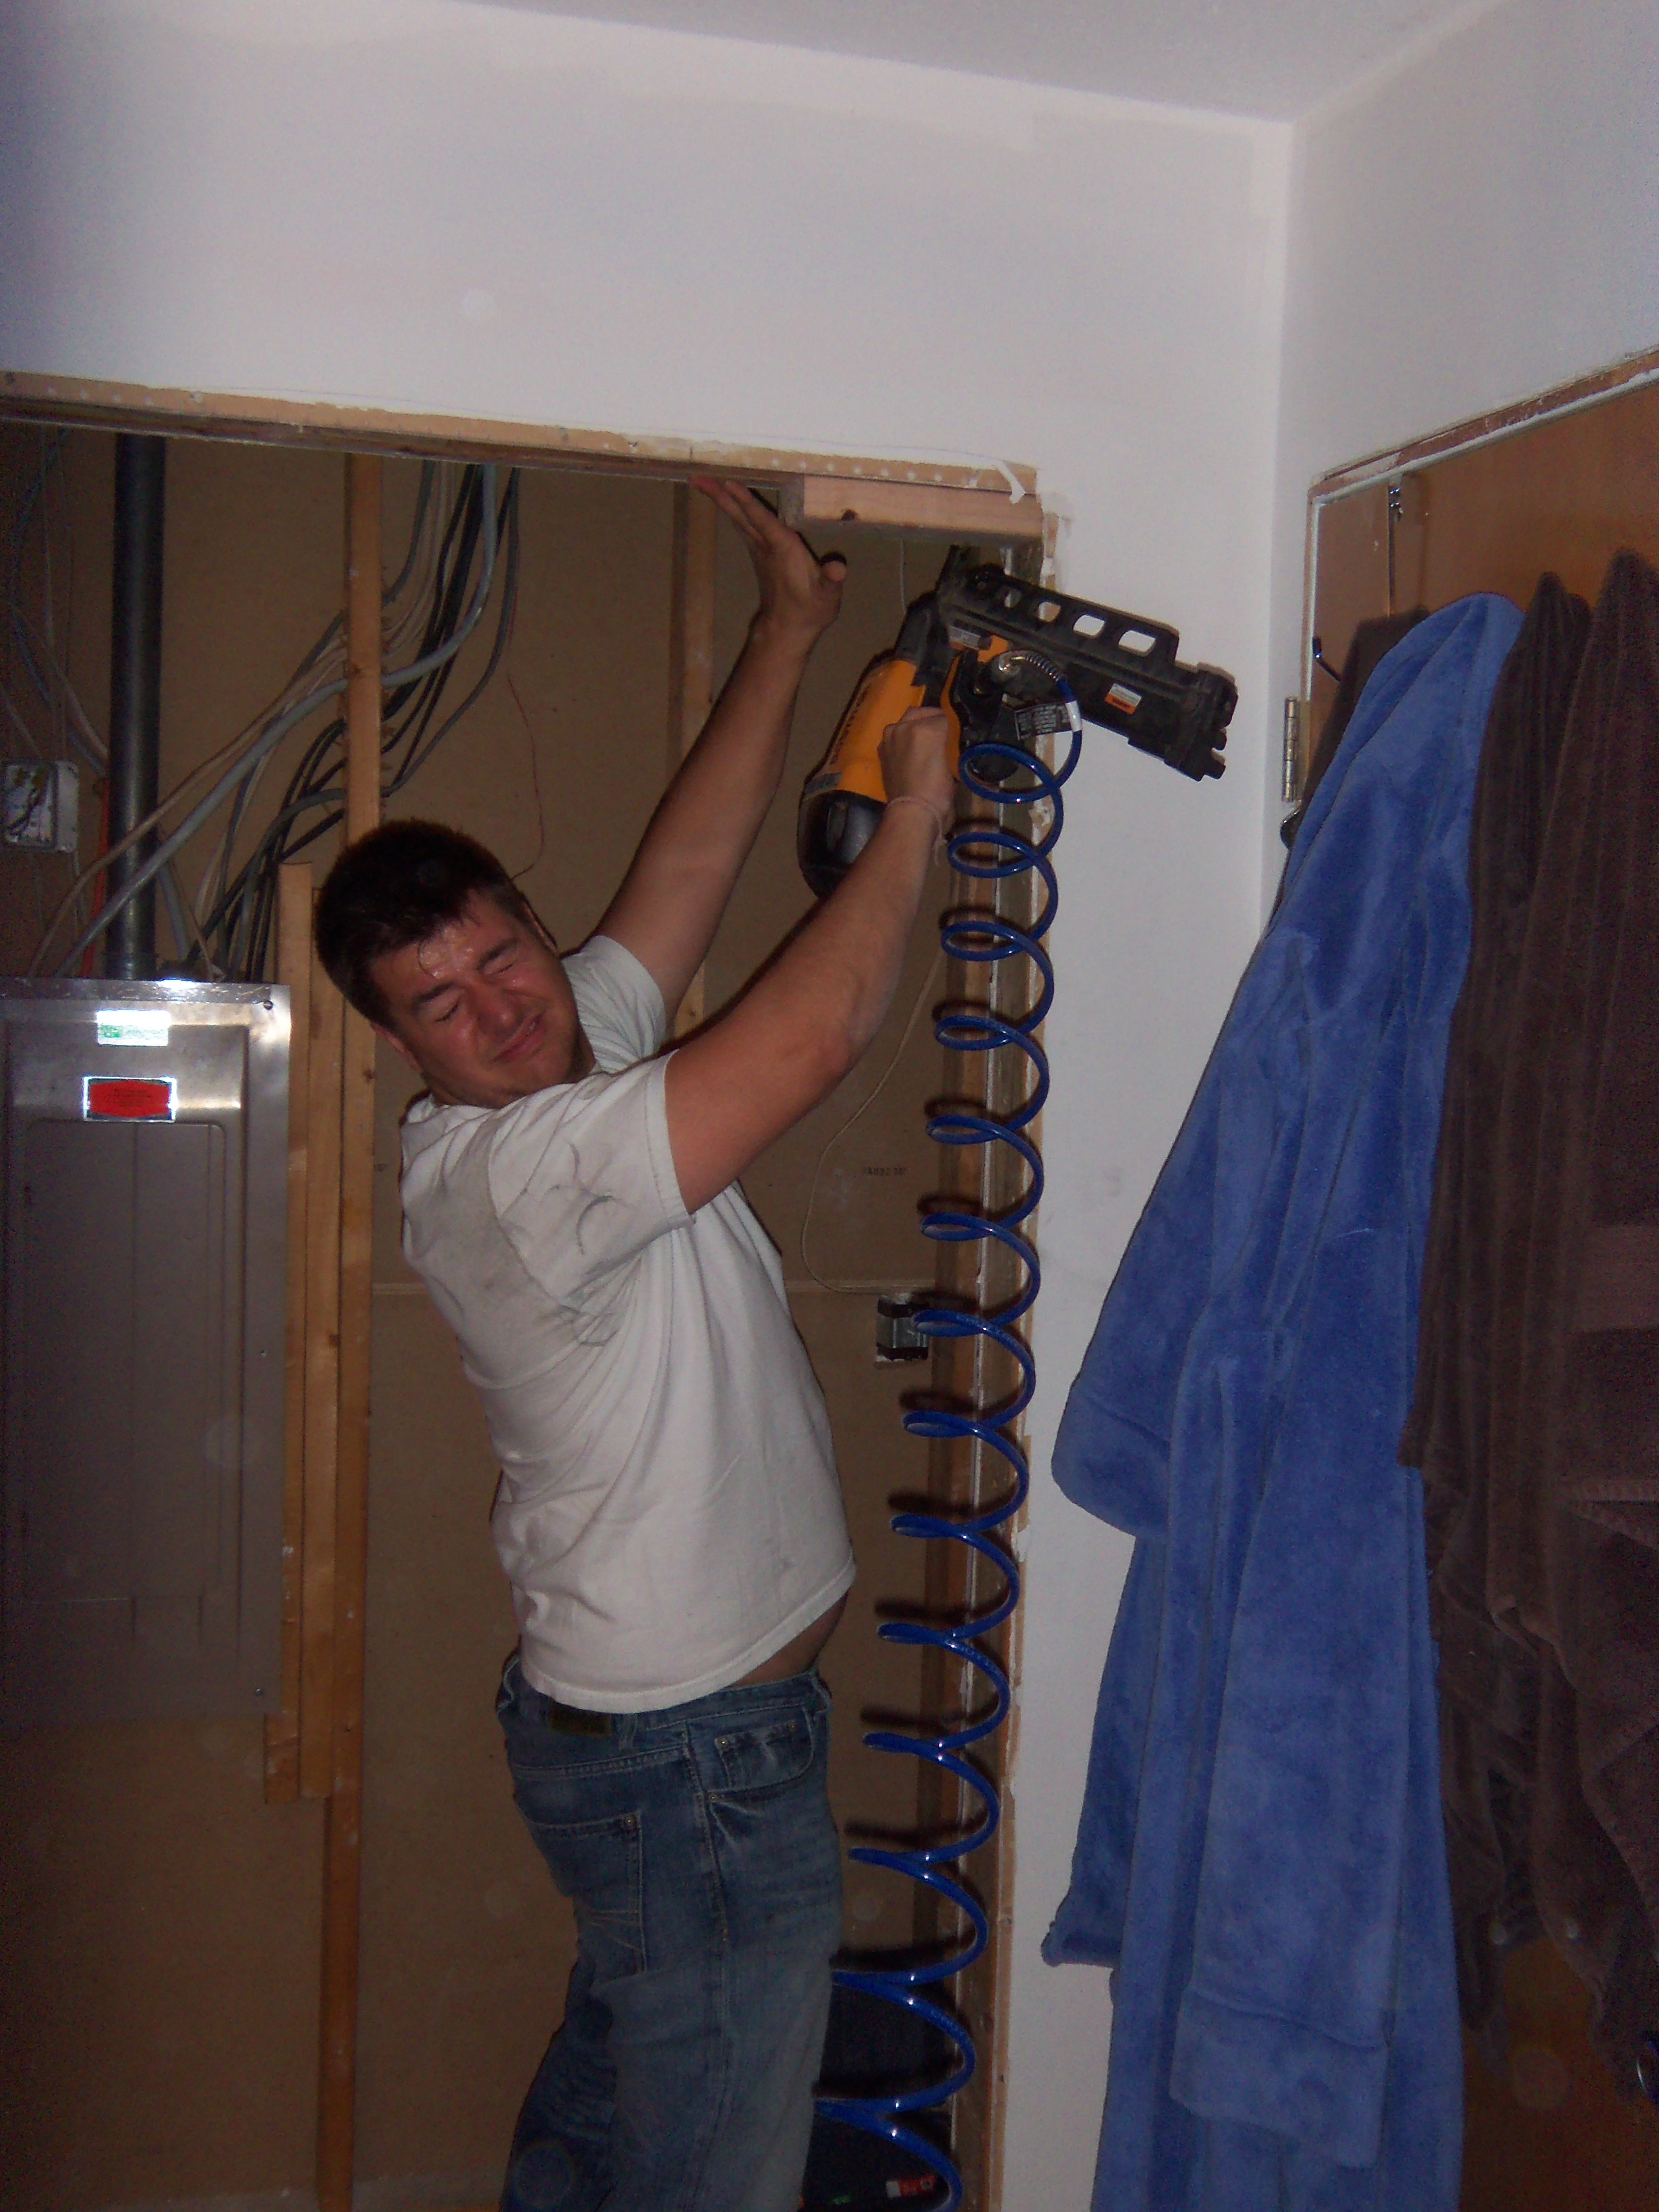
I tried to tackle this myself.
This is wrong, for so many reasons.
I didn’t secure anything in place, because I did everything wrong. So, I did what I always do when The Girl and I have gotten ourselves in over our collective heads: I called Miguel. Miguel has the right tools for the job, and in this case that included a brain that contained all the requisite knowledge of how to frame a wall. In exchange, I promised Miguel that I would bbq some ribs. This is our standard deal: he provides information, tools, and knowledge, I provide bbq. Hey, know your strengths.
Except, I forgot to take the ribs out of the freezer to thaw them. Basically just a fail weekend for me. So, I ran out and grabbed a couple of t-bones and threw ’em in a marinade while Miguel and I worked.
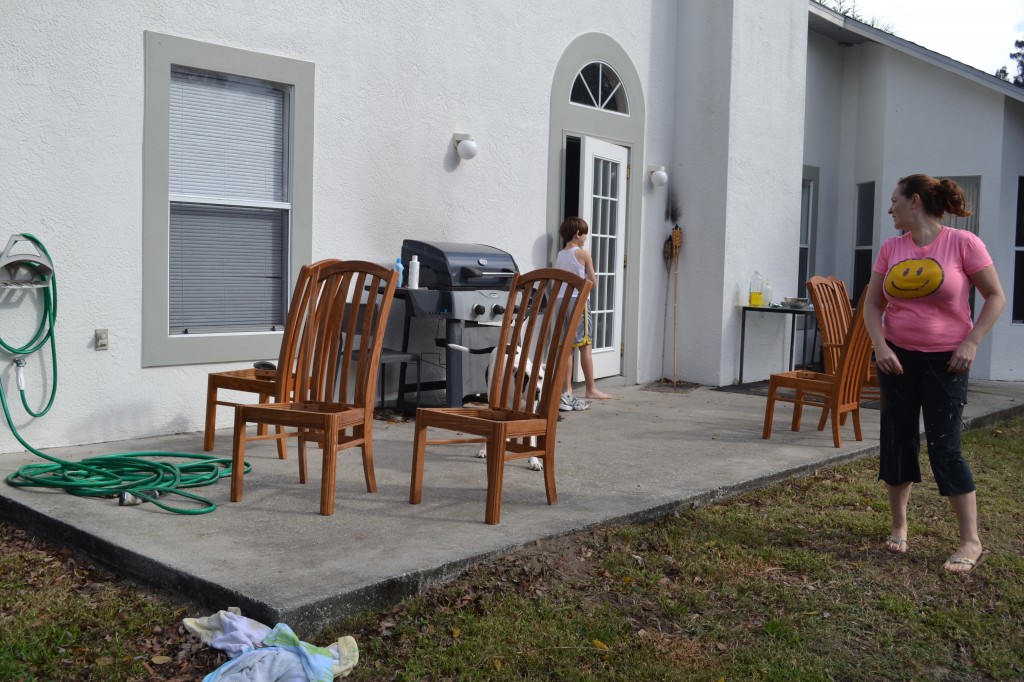
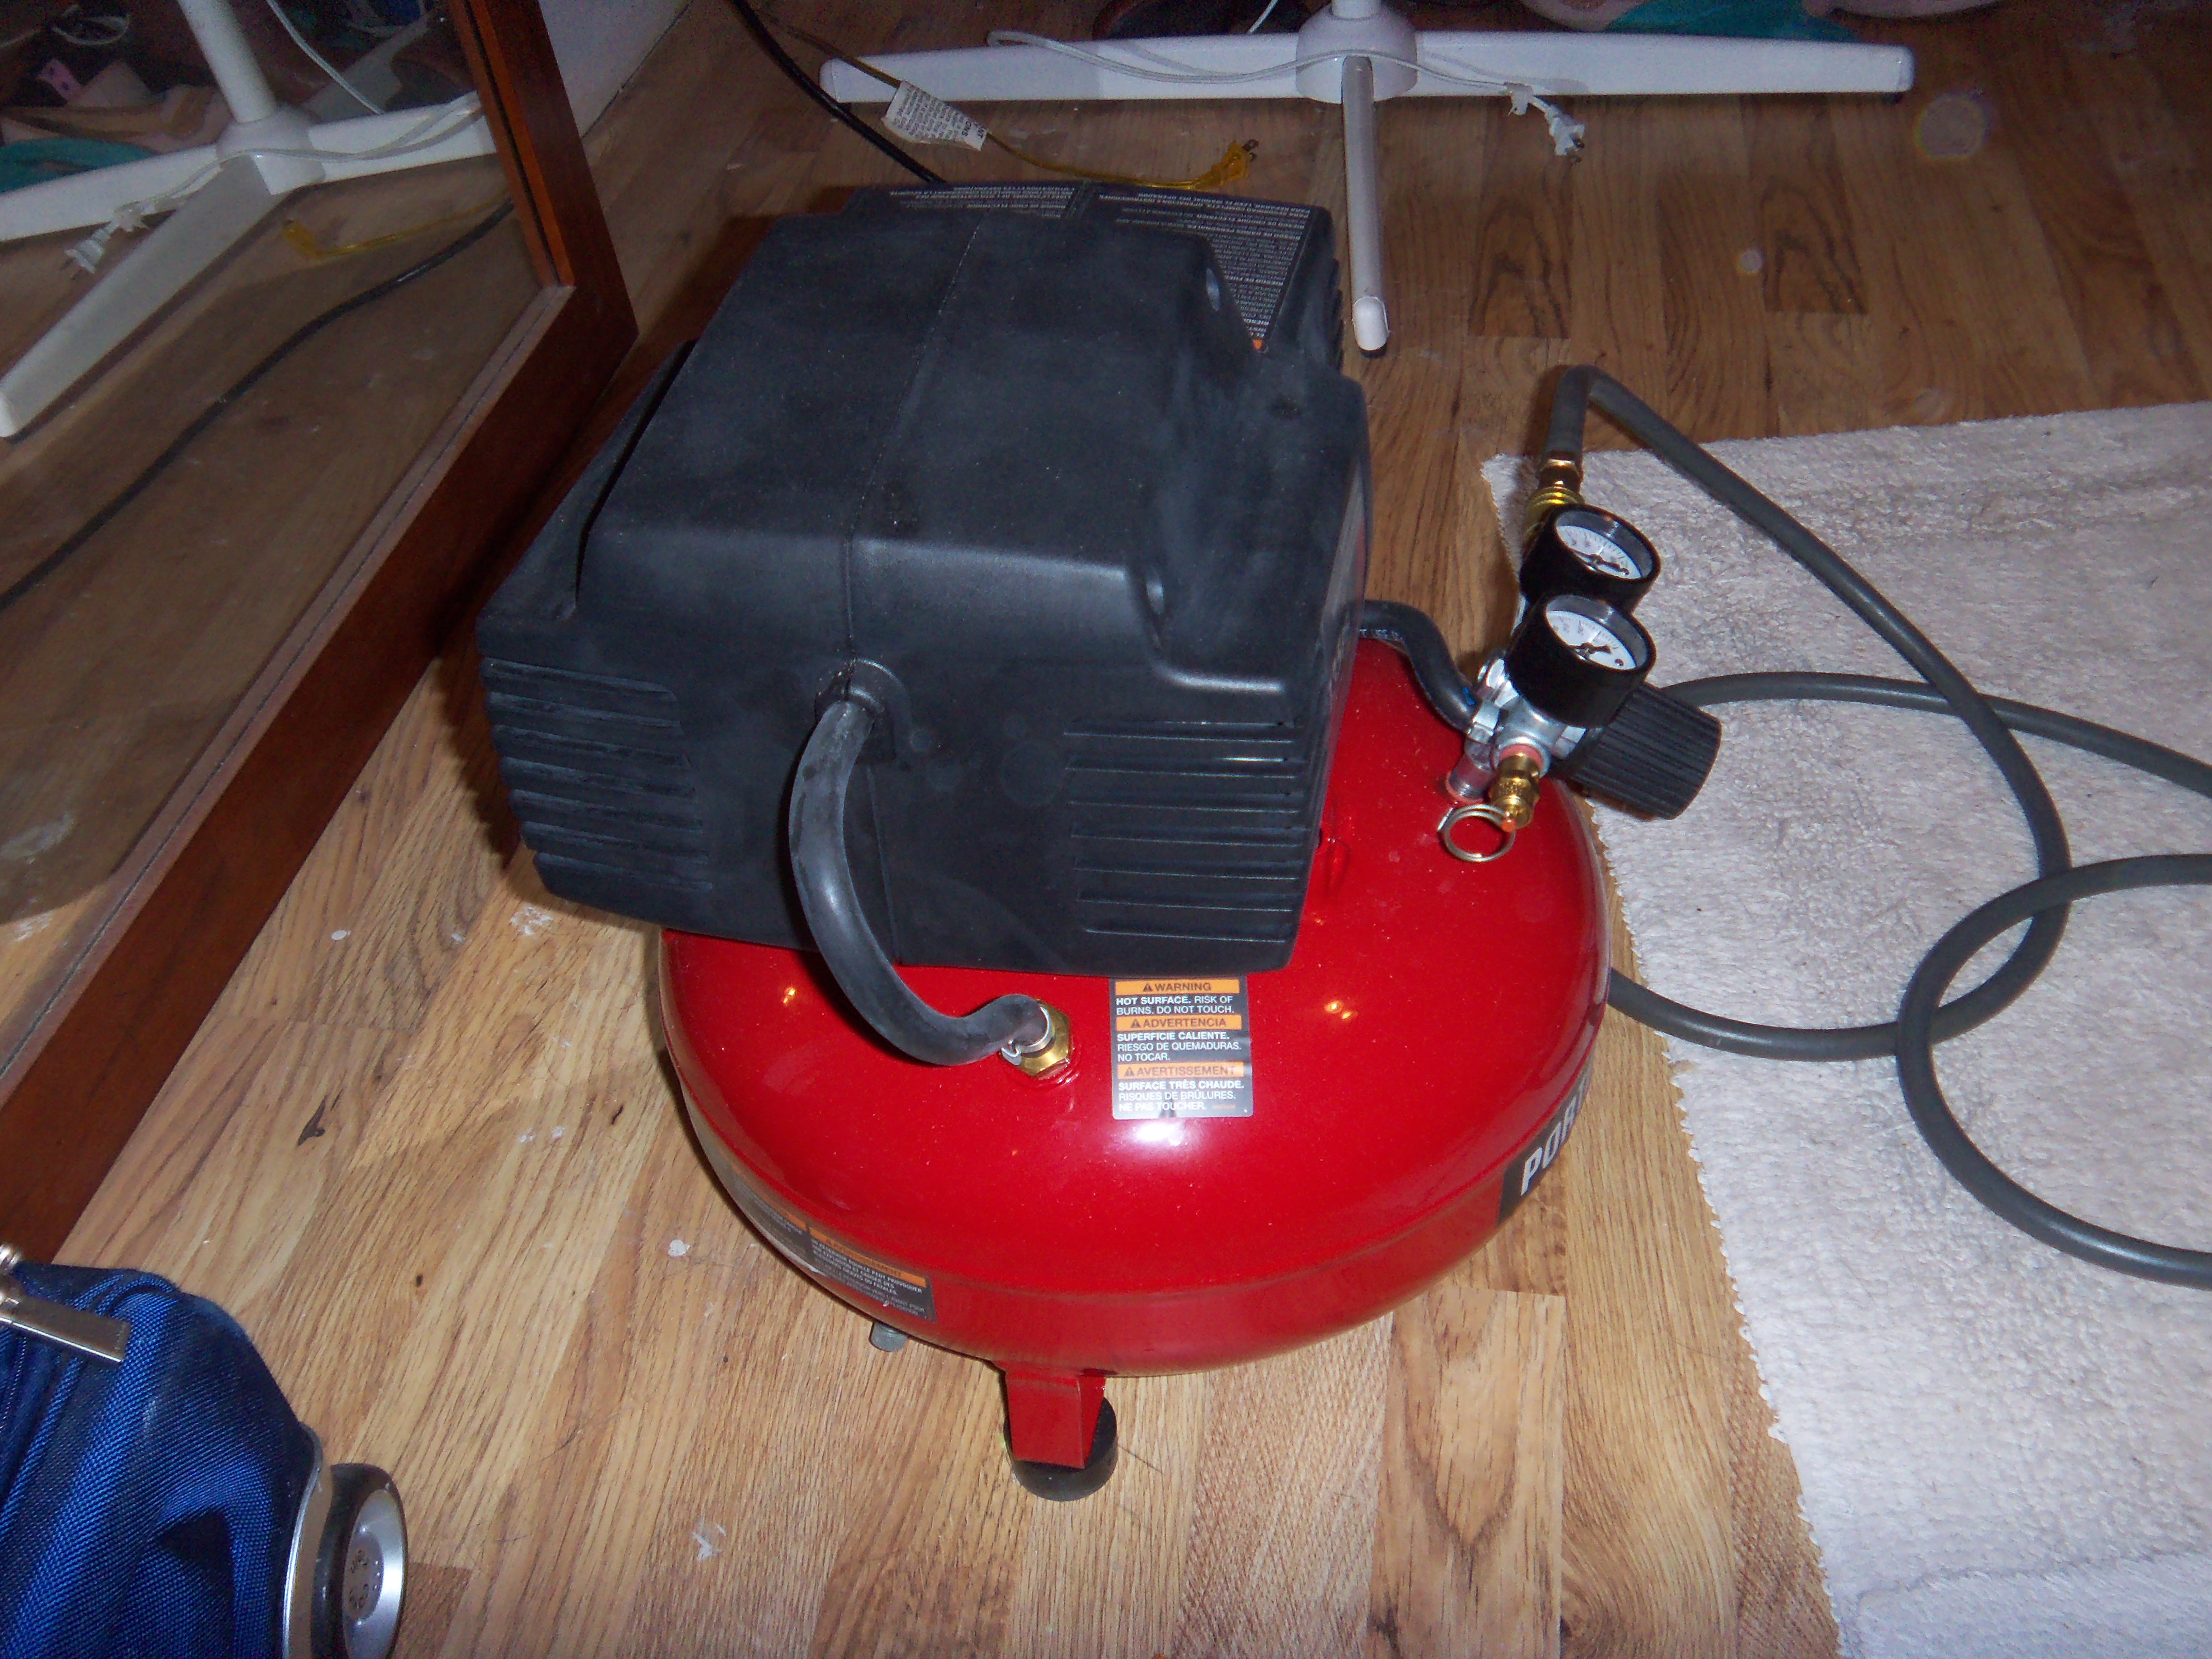
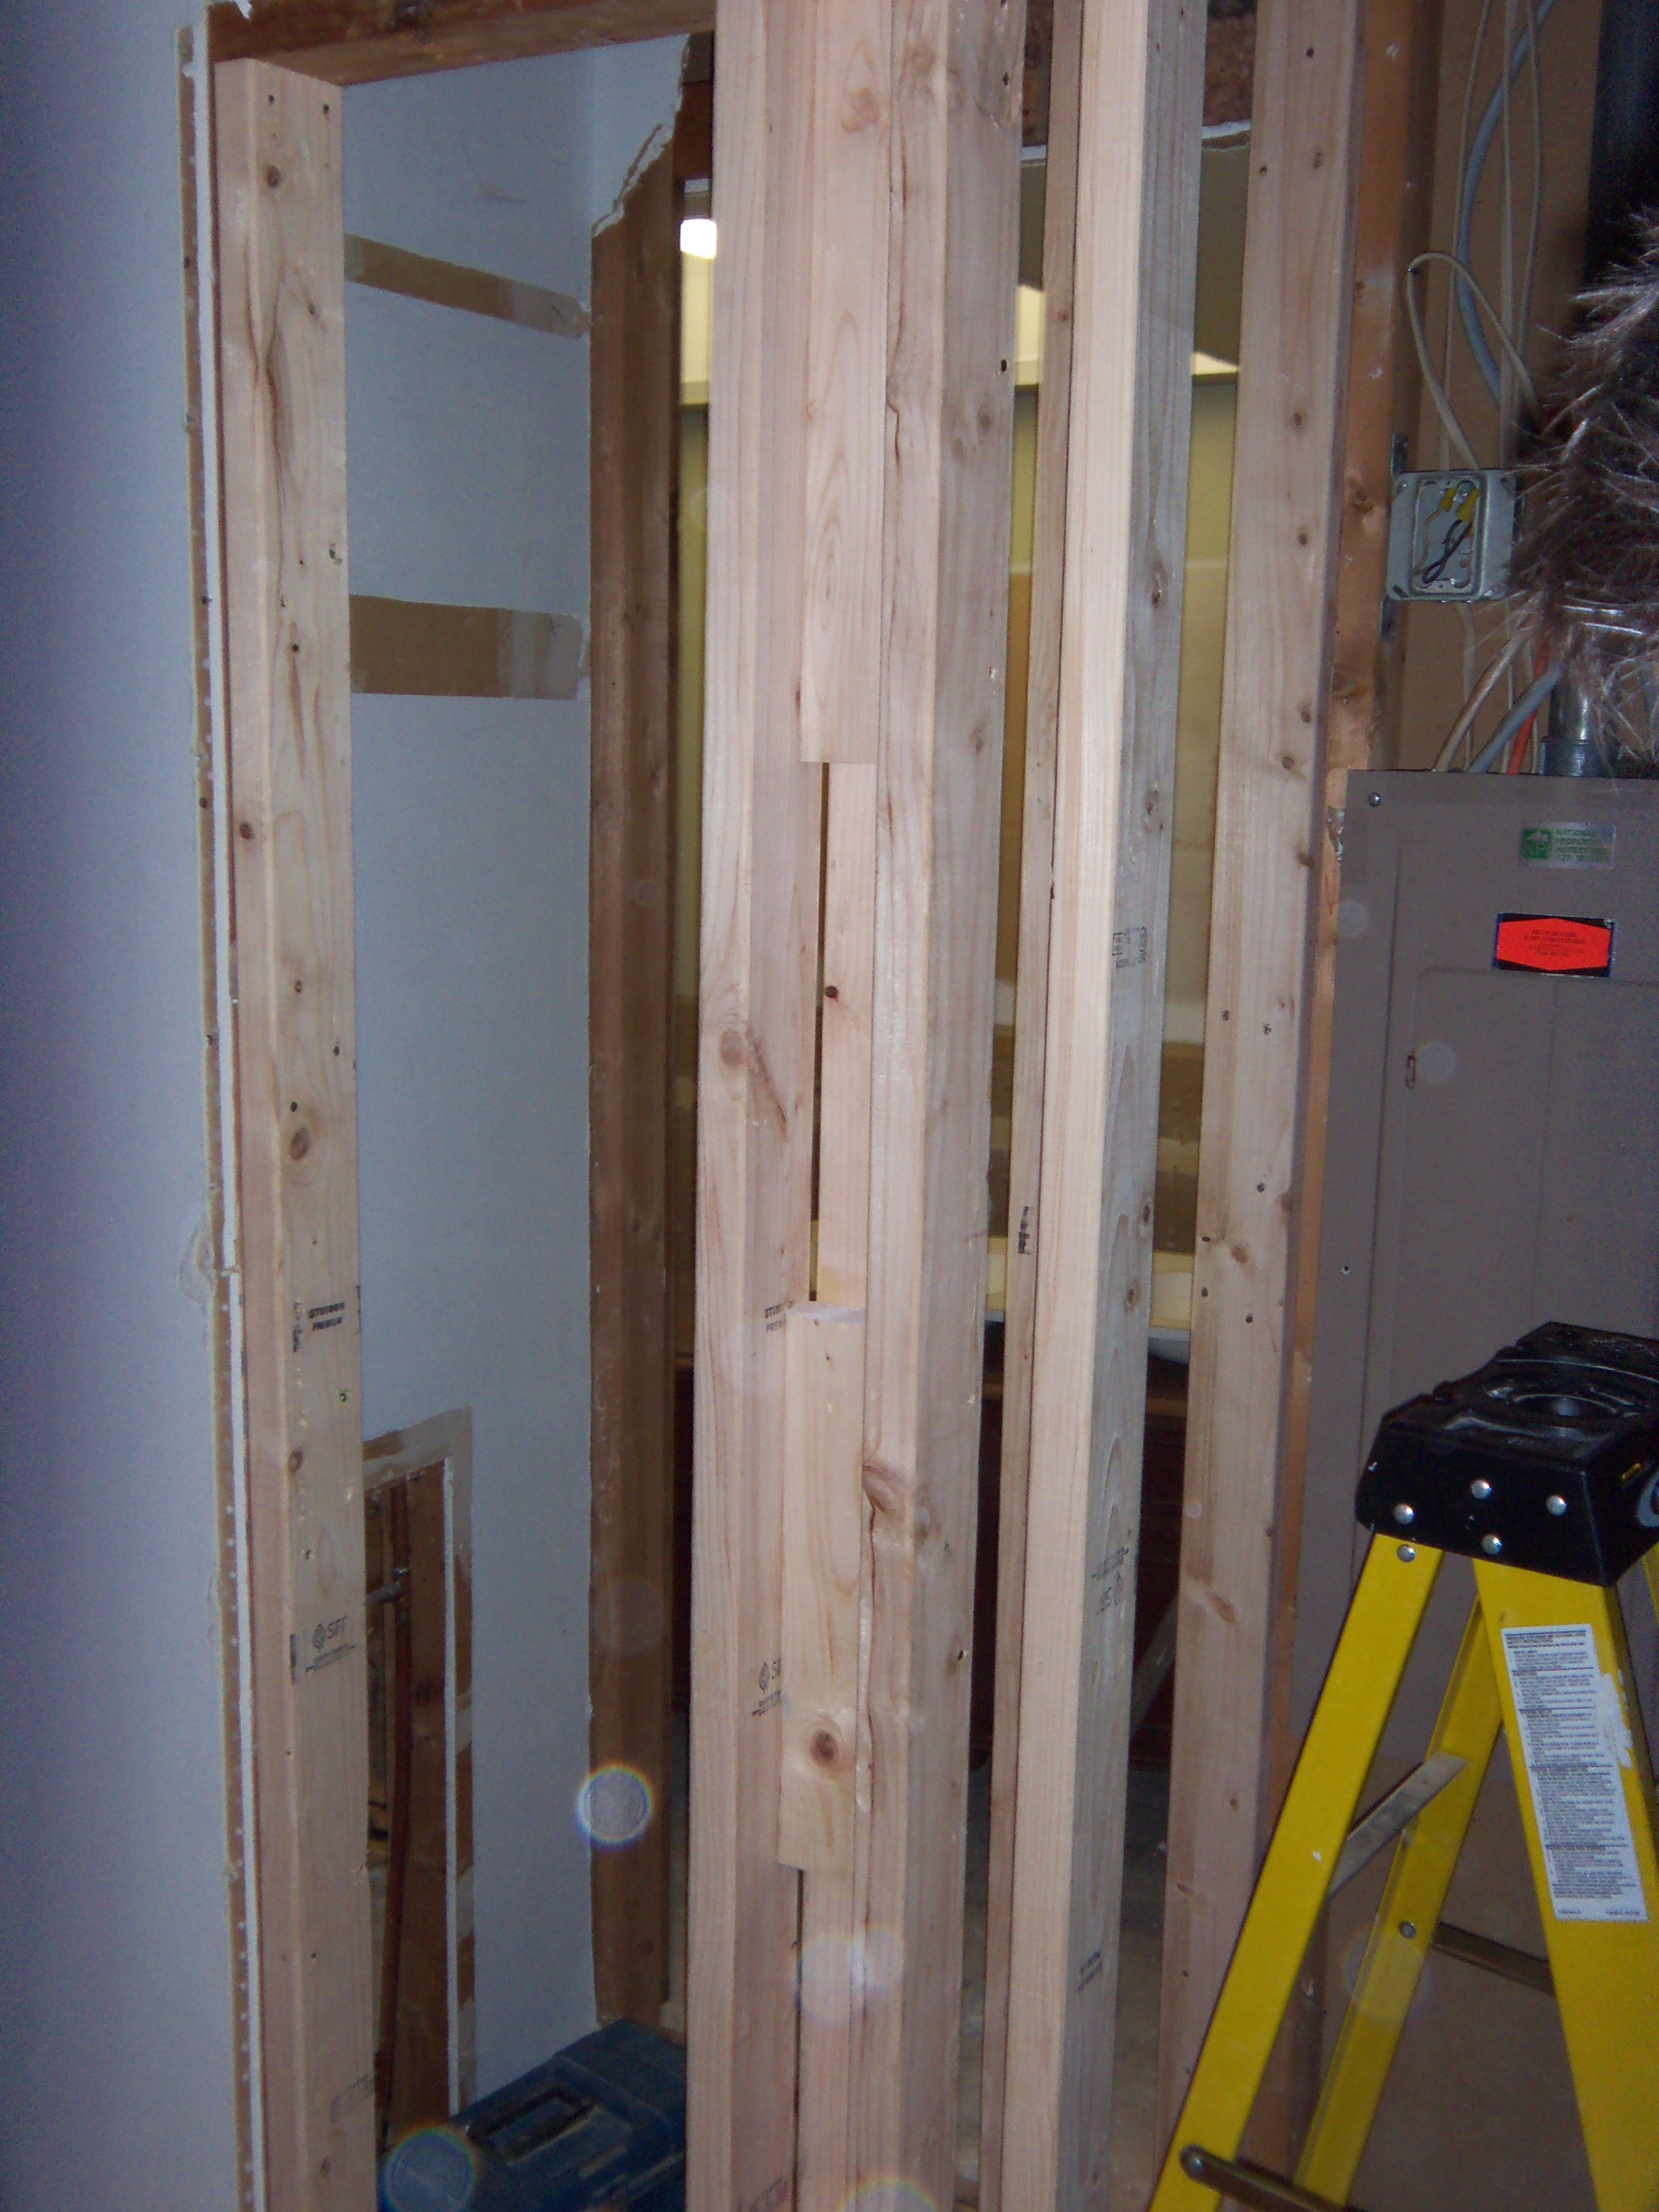
Here’s what we accomplished: frame out the new walls in the bedroom to close off the old closet and create an opening for the new door to the walk-in; frame out the wall in the hallway to close the old entrance to the bathroom; take out all the old framing that we didn’t need anymore. Looks simple, but it took a while considering we killed the old air compressor and had to go pick up a new one. Yay unexpected costs! (sarcasm…deep deep sarcasm)
New compressor – yay.
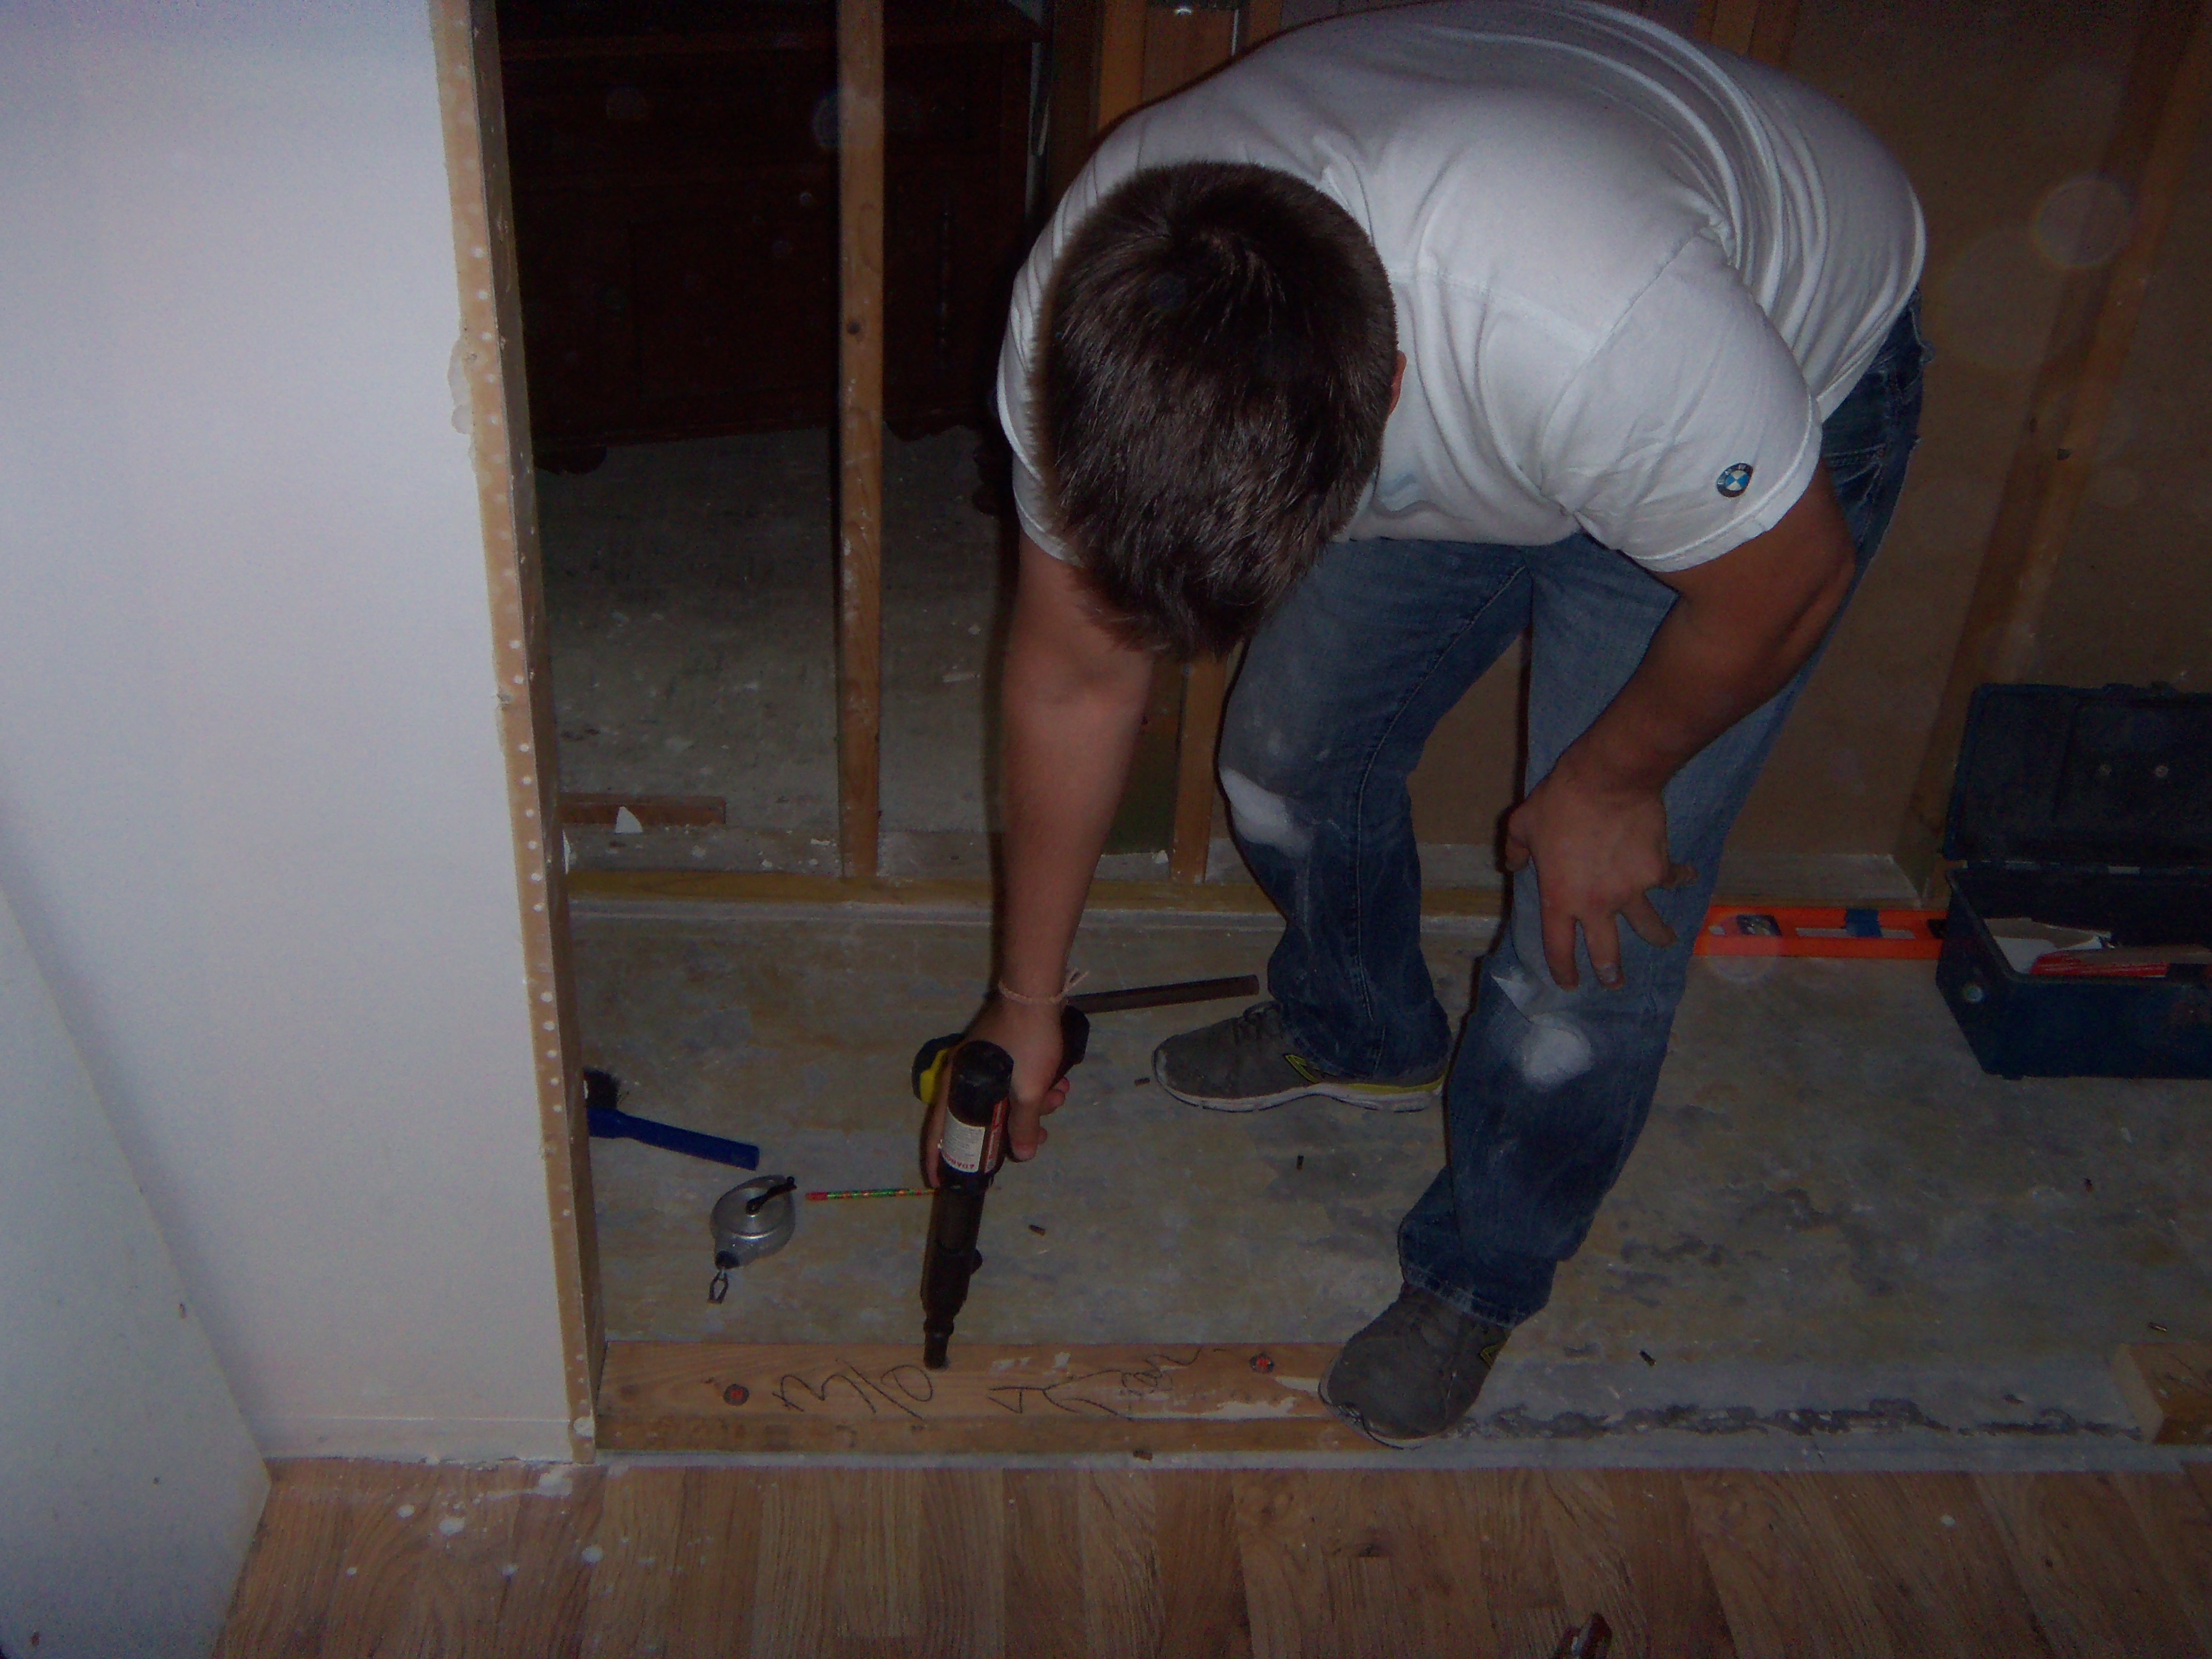
Miguel, doing things correctly.
He’s so good he can do it with his eyes closed.
Now, all we have left to do is just swing that electrical box on over to the new wall which should be TOTALLY easy! (I will be looking to recruit Miguel for this job too, so I hope he’s not reading this particular post.)
So Miguel held up his end of the bargain. New walls were framed and old walls were removed. My turn to at least make good with the steaks since I forgot to thaw out the ribs. Oh wait – out of propane for the grill. Yes, I use propane and not charcoal. Yes, I know charcoal makes the food taste better, and yes, I know I won’t truly be a real man until I learn to cook with charcoal. Although, every commercial I see on tv tells me that after I hit 35 years old, my testosterone levels plummet, and I stop being a man, so it might be too late for charcoal to help much.
SO. No ribs. No propane. I ended up cooking the steaks on the stove. I was embarassed. It felt like a material breach of the contract between Miguel and myself, and to be honest, I’m not sure I can convince him to come help again. Unless I add beer to the offer. That usually works on me.
The Girl cut a piece of drywall to cover the new framing in the hallway so that you couldn’t just stare directly into the bedroom from the hall. So productive she is!
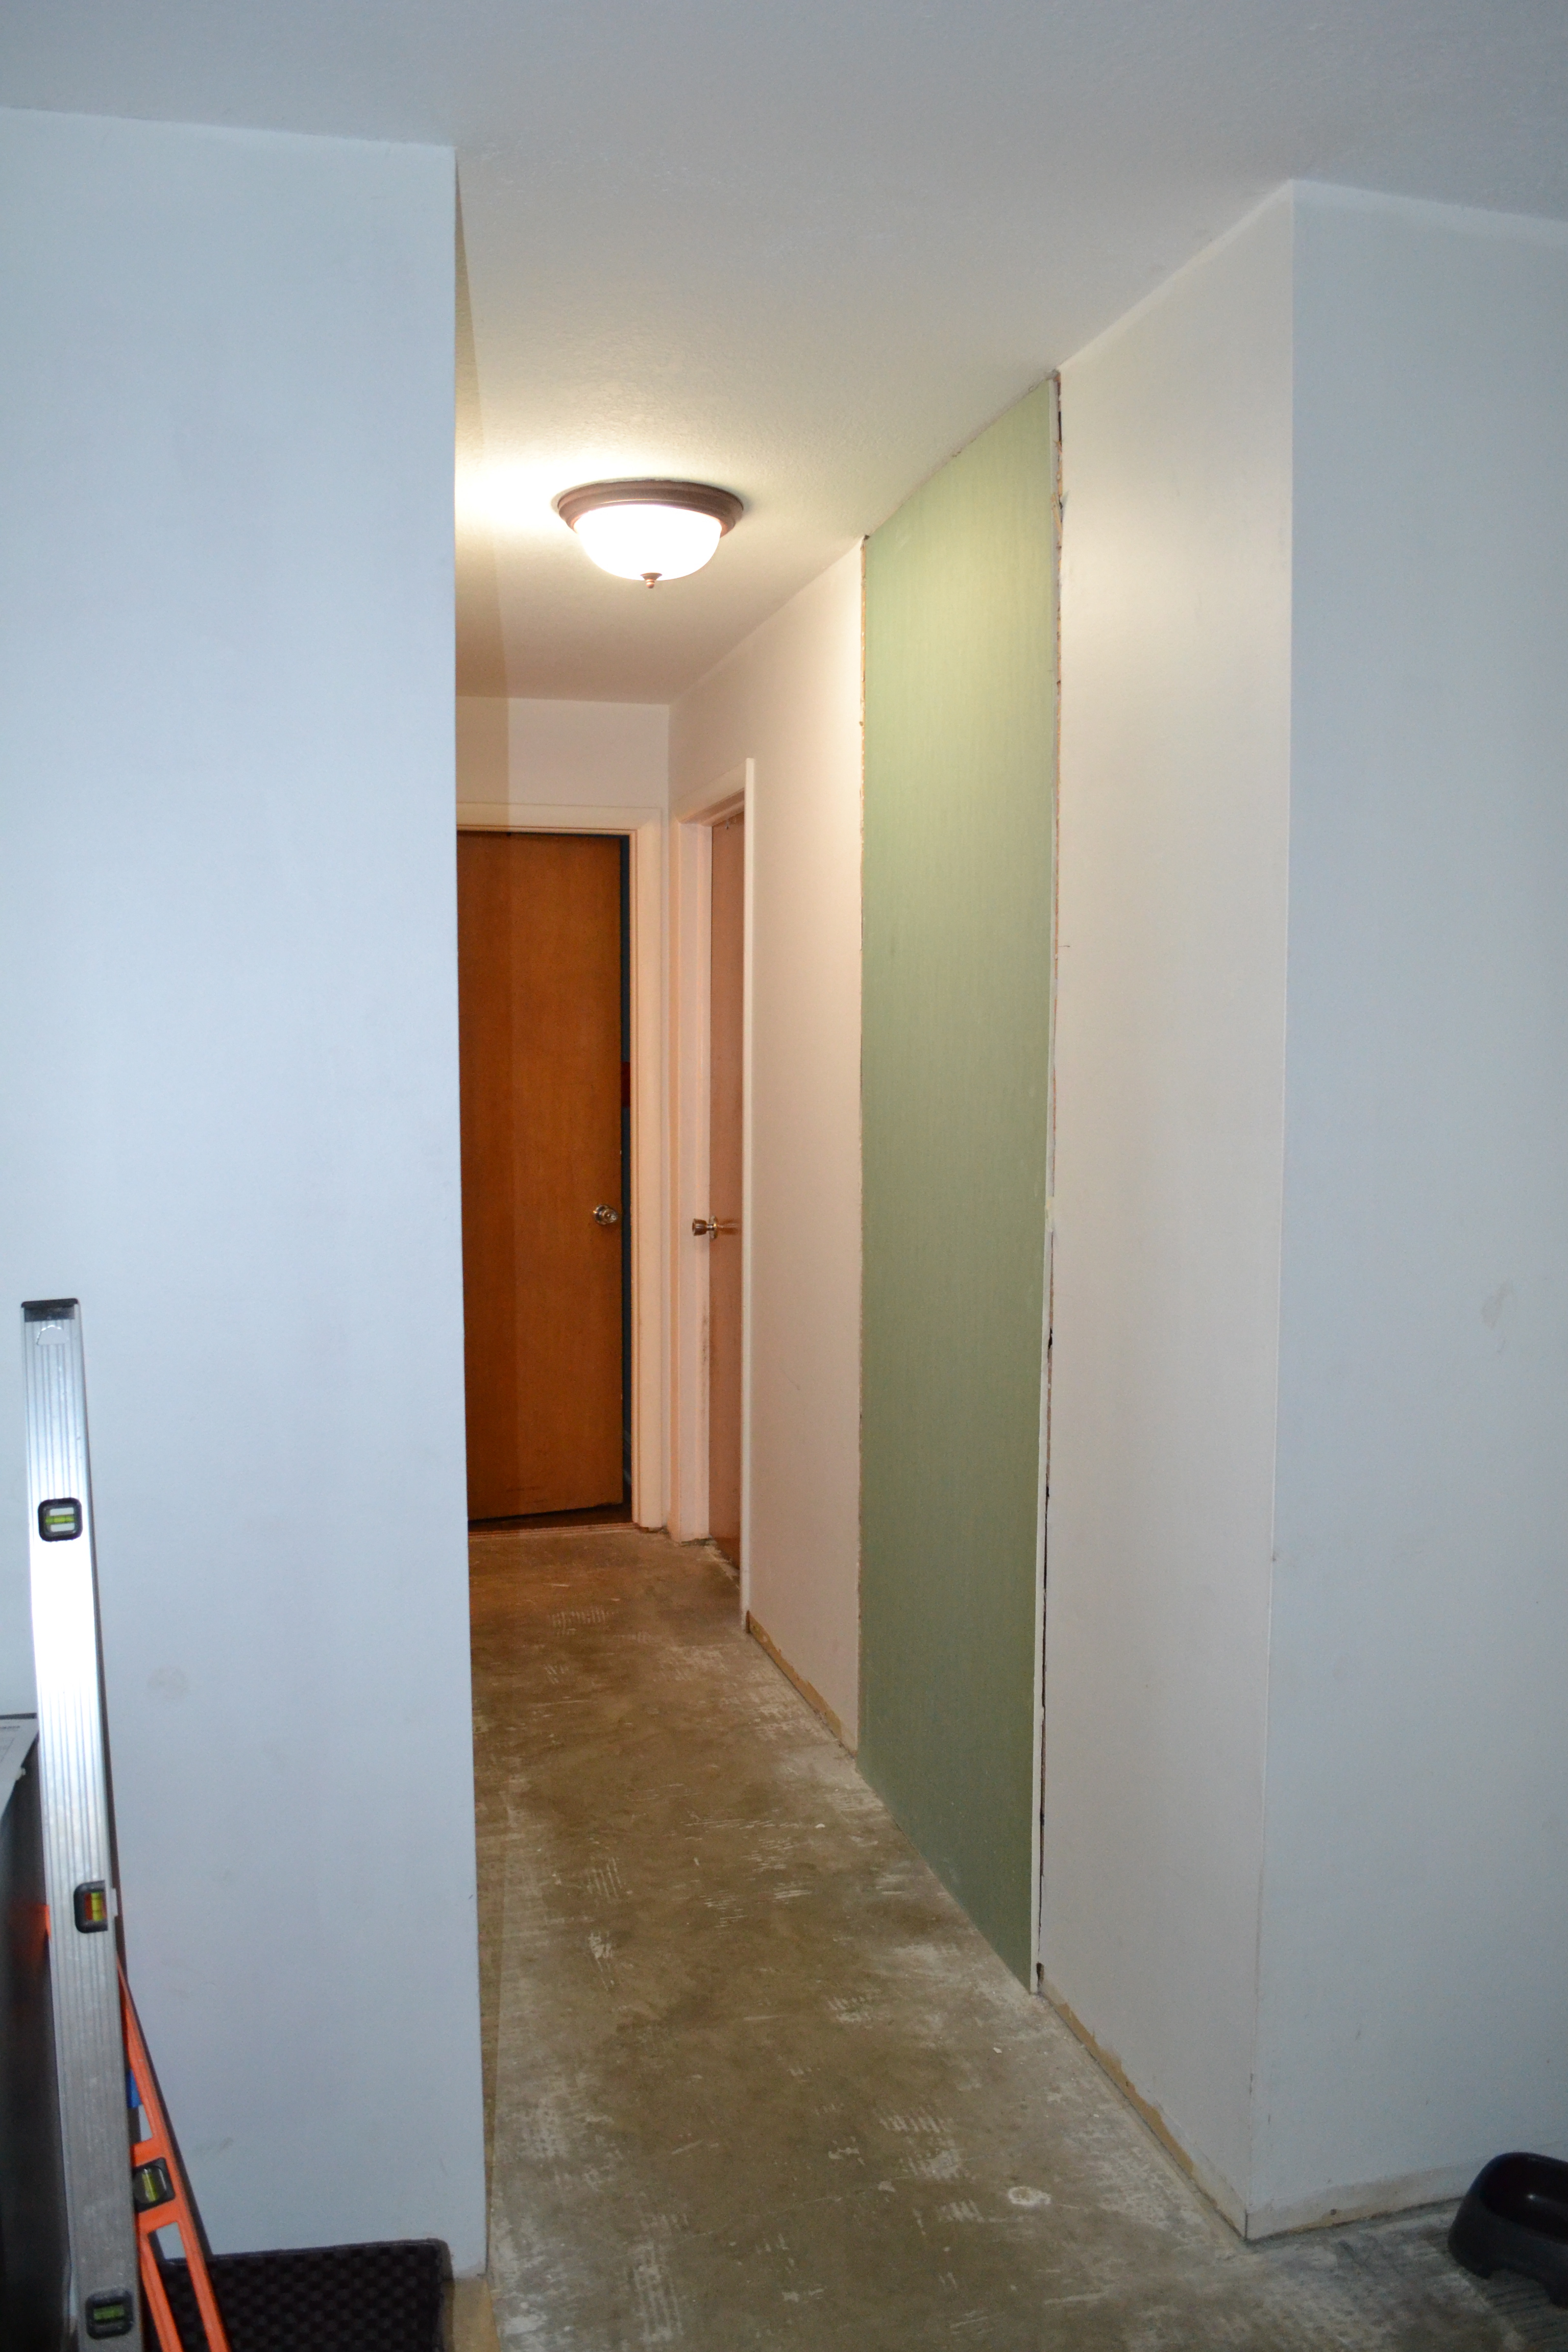
THAT is a hallway.
The drywall worked out great until my brother crashed here late one night, and he hadn’t been to the house since the bathroom reno started. He stopped to catch some zzzzs after performing at a music show locally (check out his music!). He got up in the middle of the night to use the bathroom and walked right into the newly hung drywall. He was thoroughly confused, but found his way to the other bathroom and everything worked out alright.
Now, about that electrical box…ugh. Another day. February 16th, to be exact.
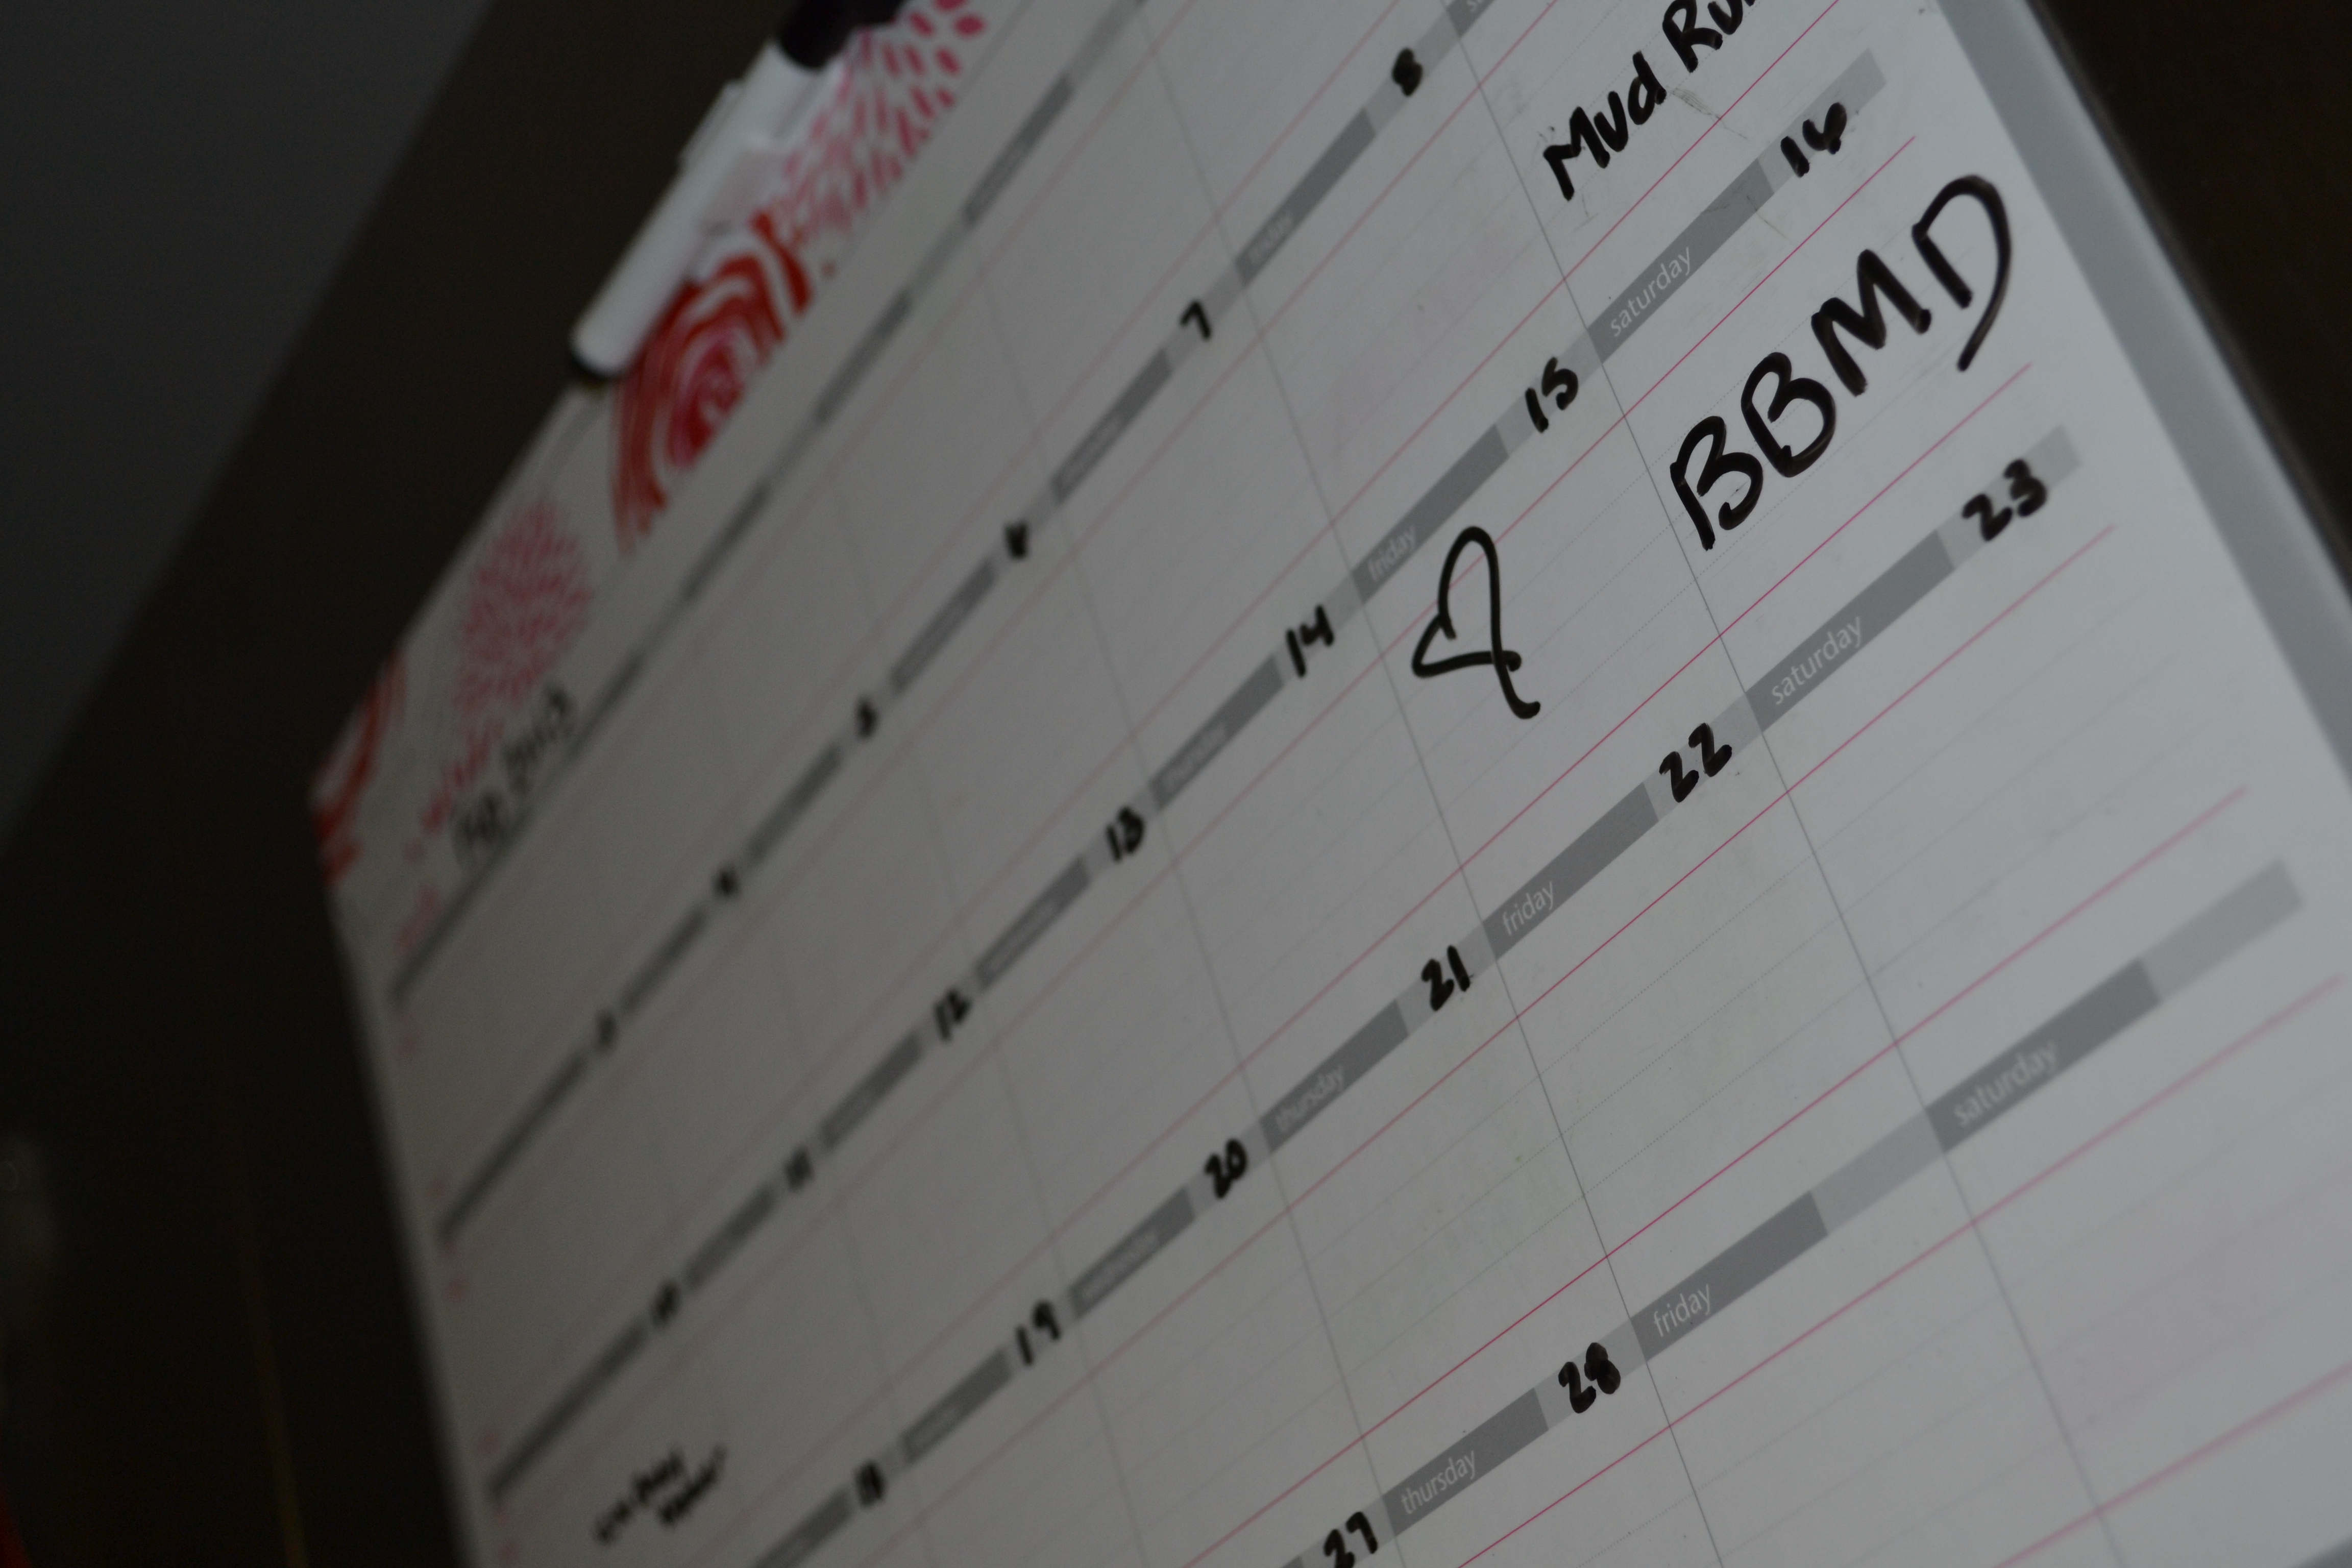
BBMD = Breaker Box Moving Day!