The Boy and I have guests coming next weekend, so we are waiting to demo the green bathroom (seen here). I can hardly contain myself. I cleaned the disgusting green tub recently and repeated to myself, over and over, “I will never have to scrub this green tub again. I will never have to scrub this green tub again. I will never have to scrub this green tub again.” It is getting to the point where the bathroom is starting to demo itself, in a desperate cry for help.
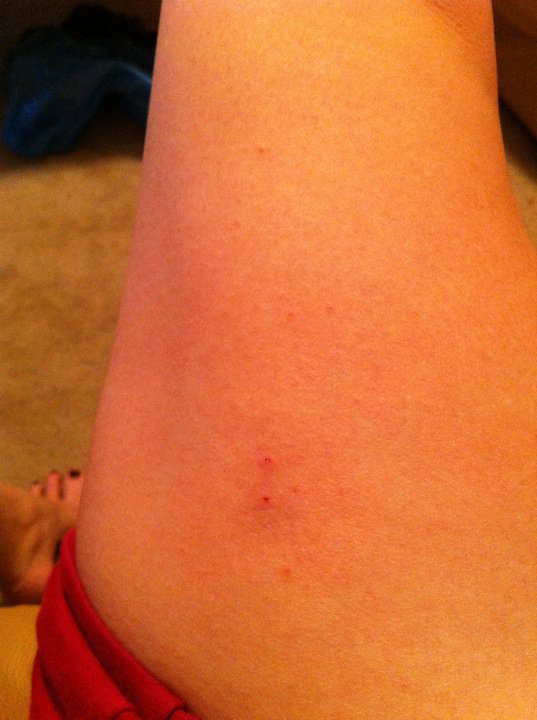
In the meantime, we are tackling a few smaller projects and finishing touches around the house. I reupholstered a few chairs over a year ago, and I can fully admit that I had no idea what I was doing and did a terrible job. I learn by doing, and sometimes I fail by doing, but every attempt gets me closer to mastering a new task. I also sometimes shoot myself in the thigh with the staple gun.
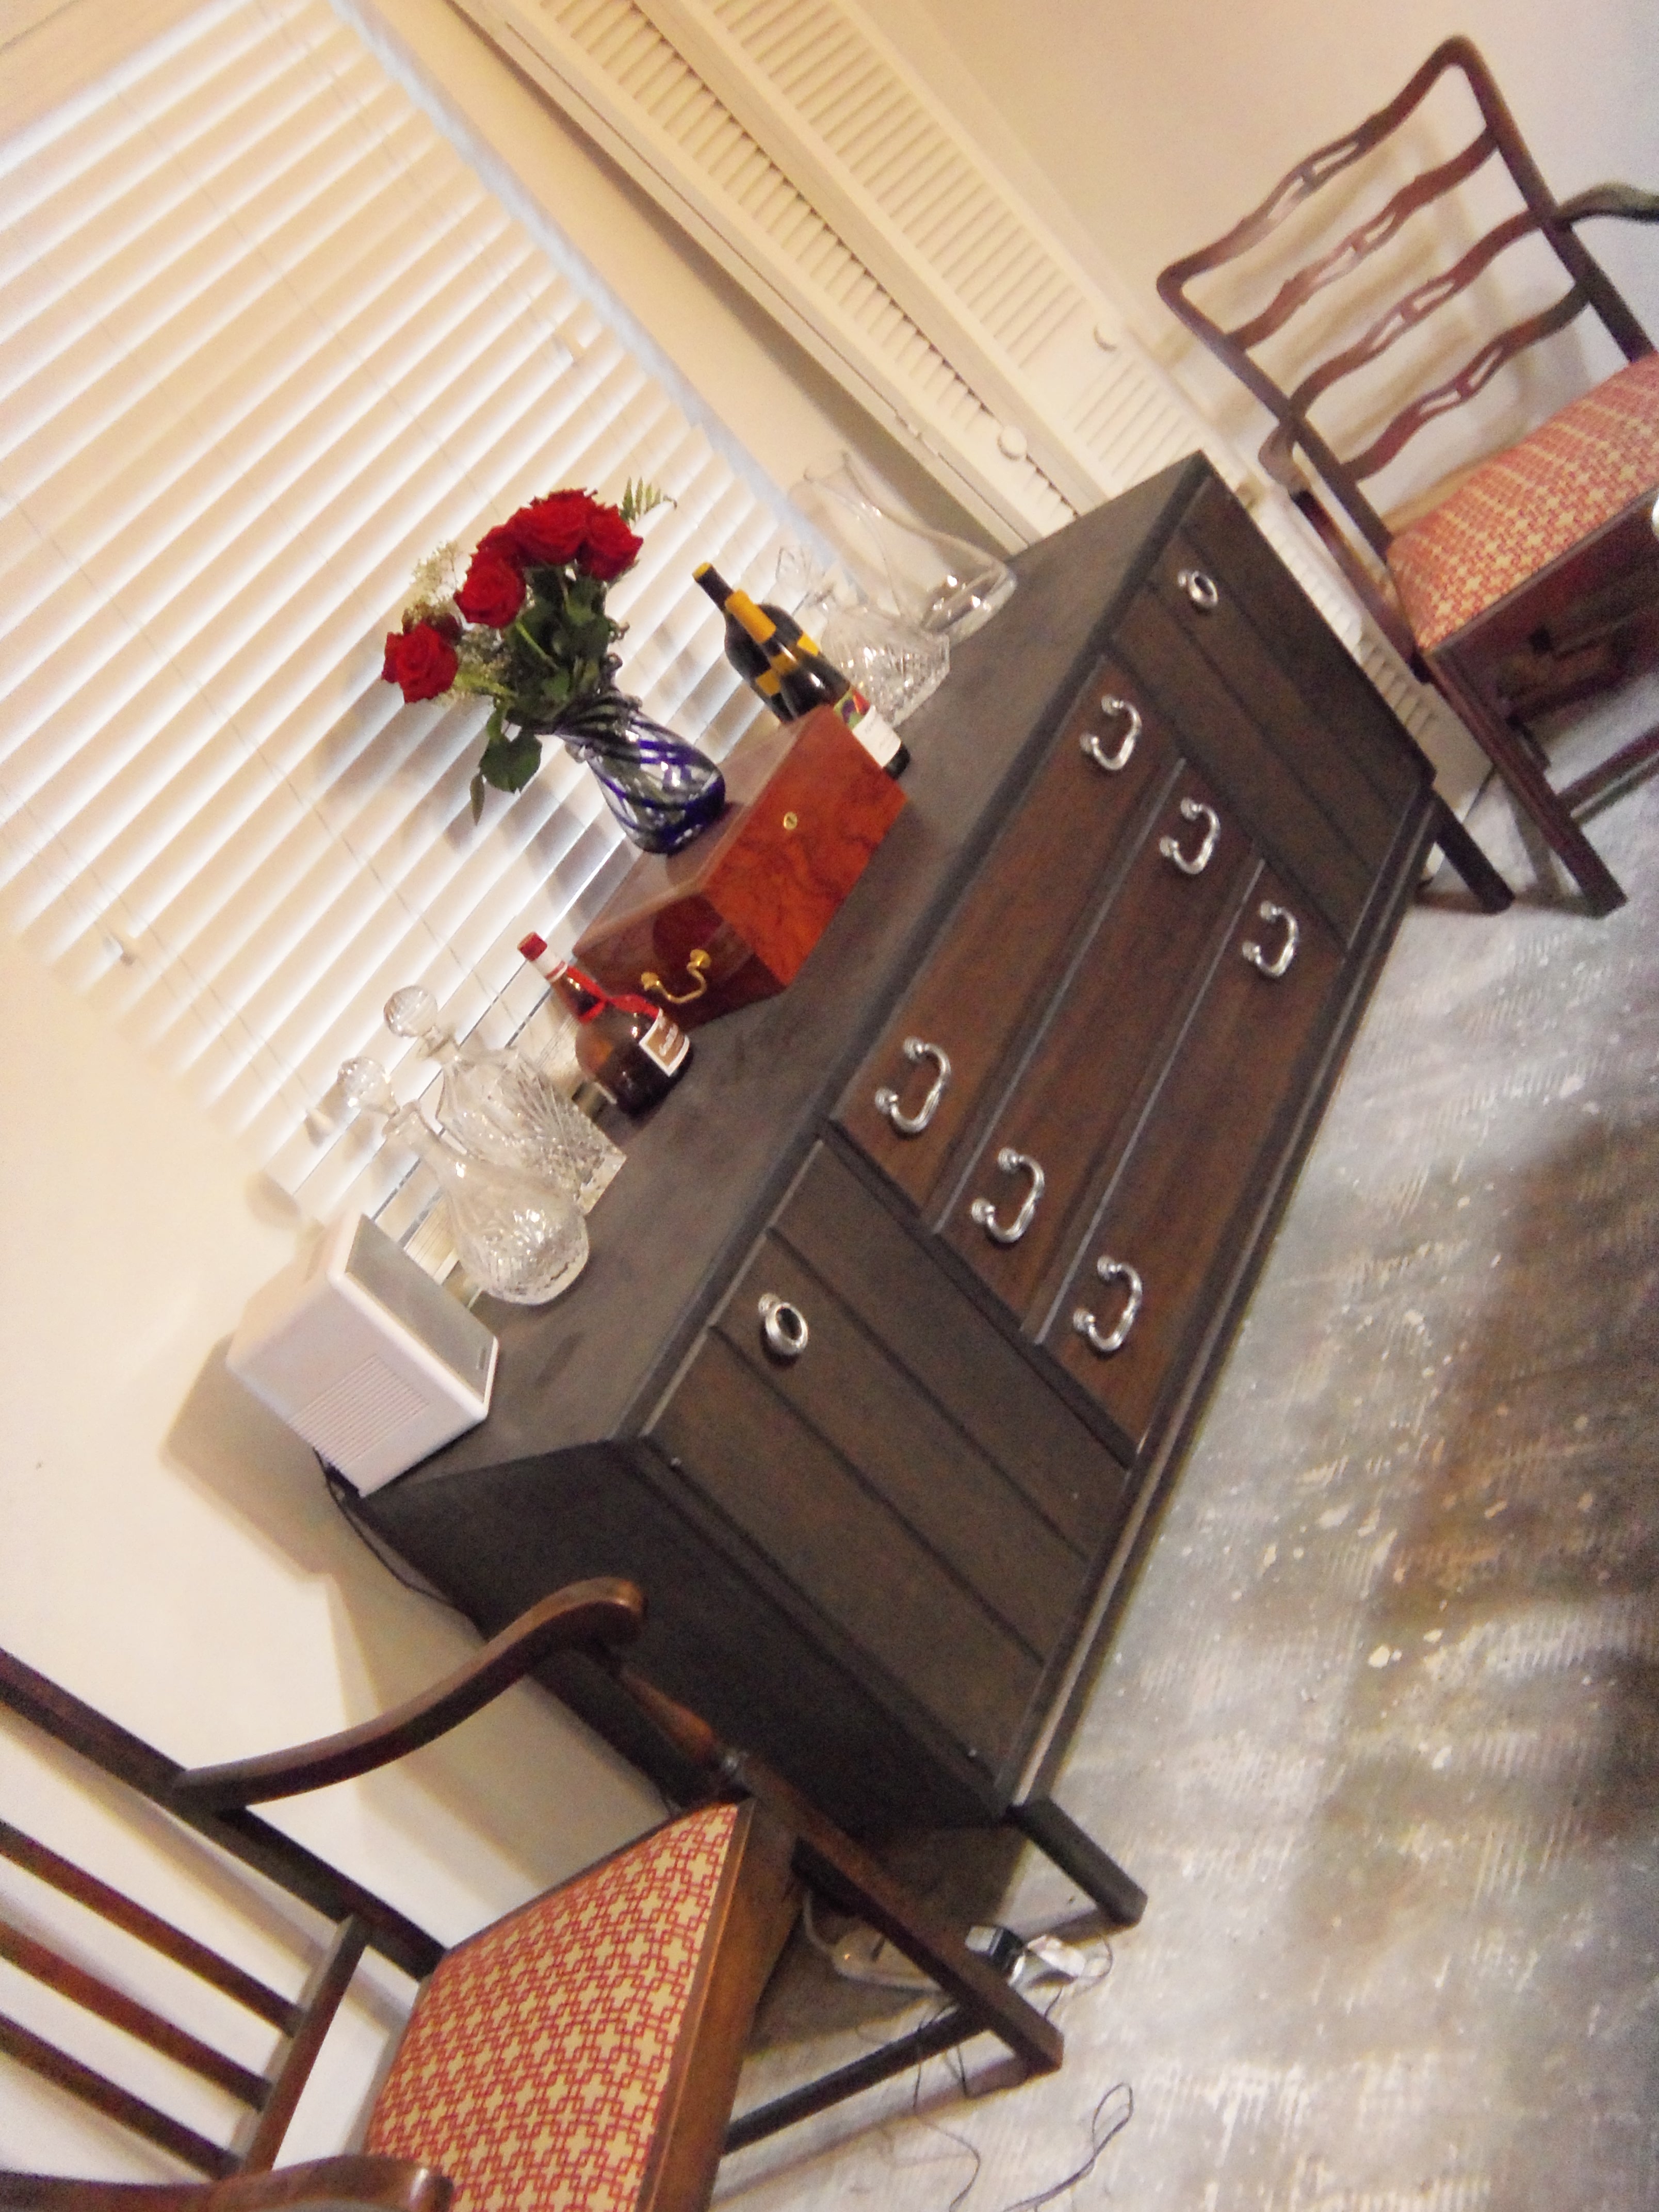
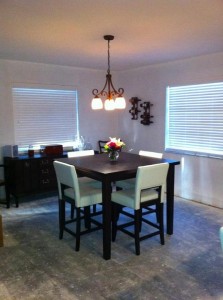
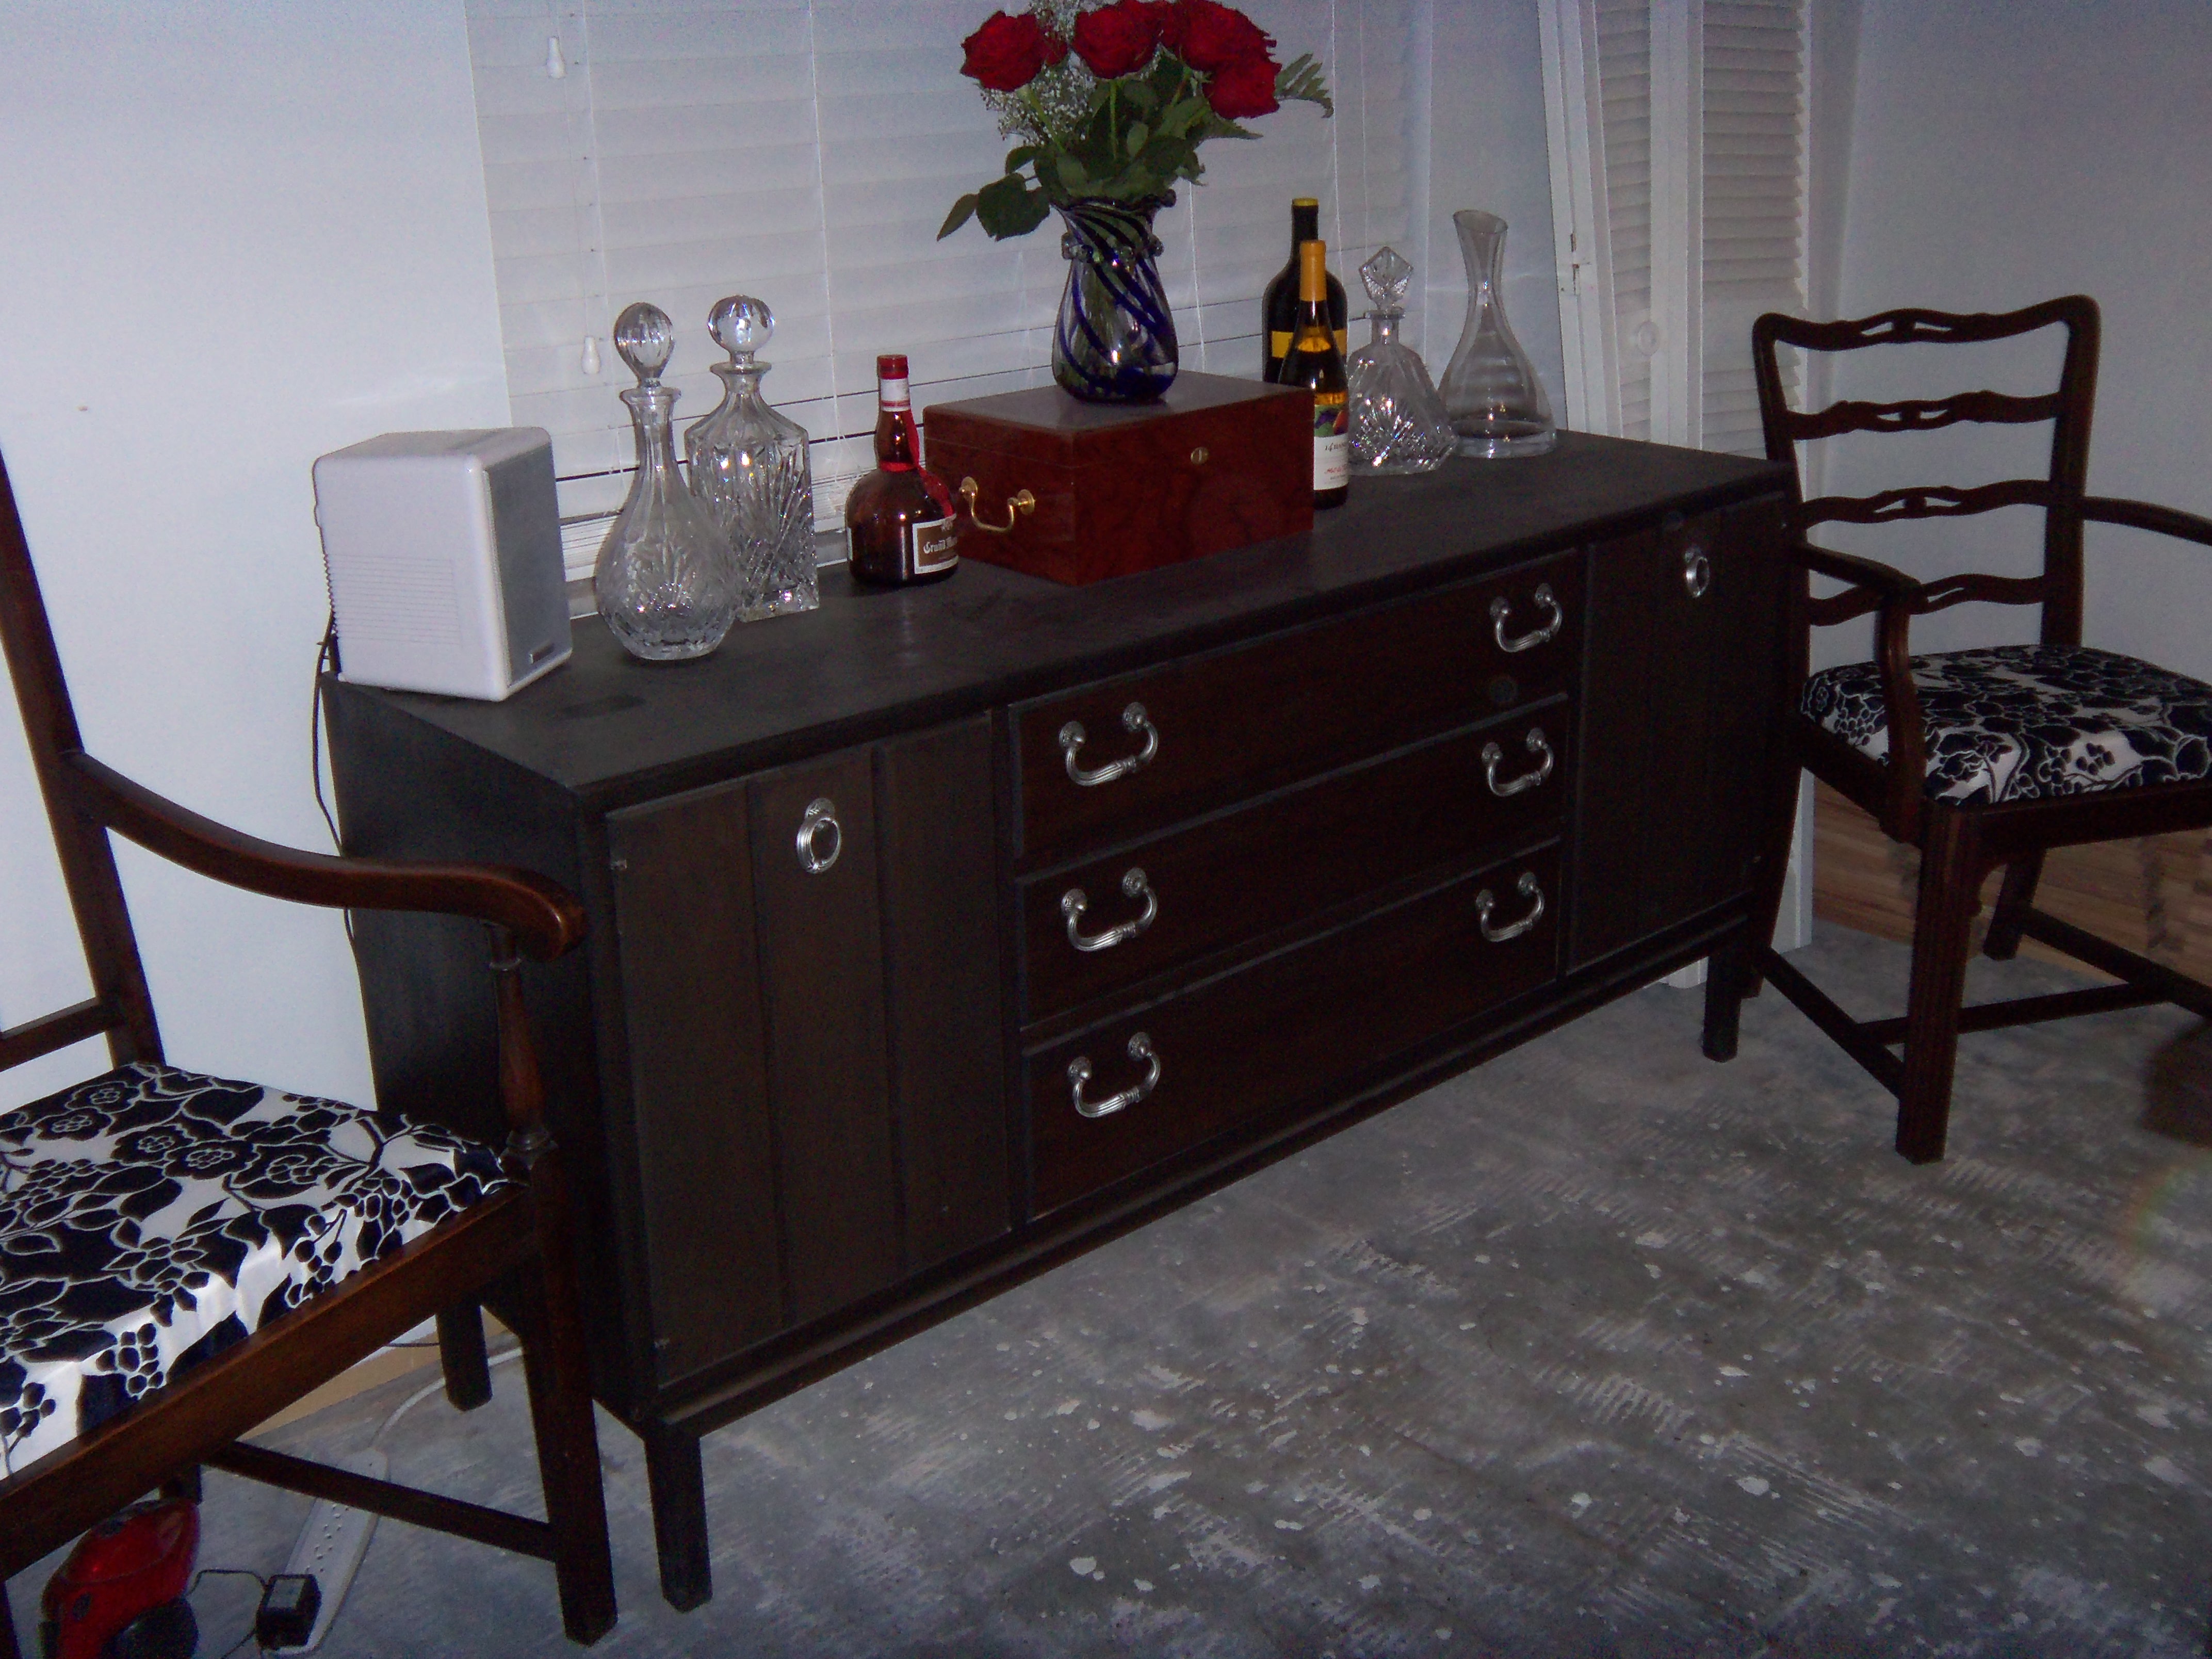
Here is our current dining room situation:
Please note: chairs, Phoebe, and “just because” roses from The Boy. Please ignore: dust, folding doors, power strip, cement, and “artistic” nature of the picture.
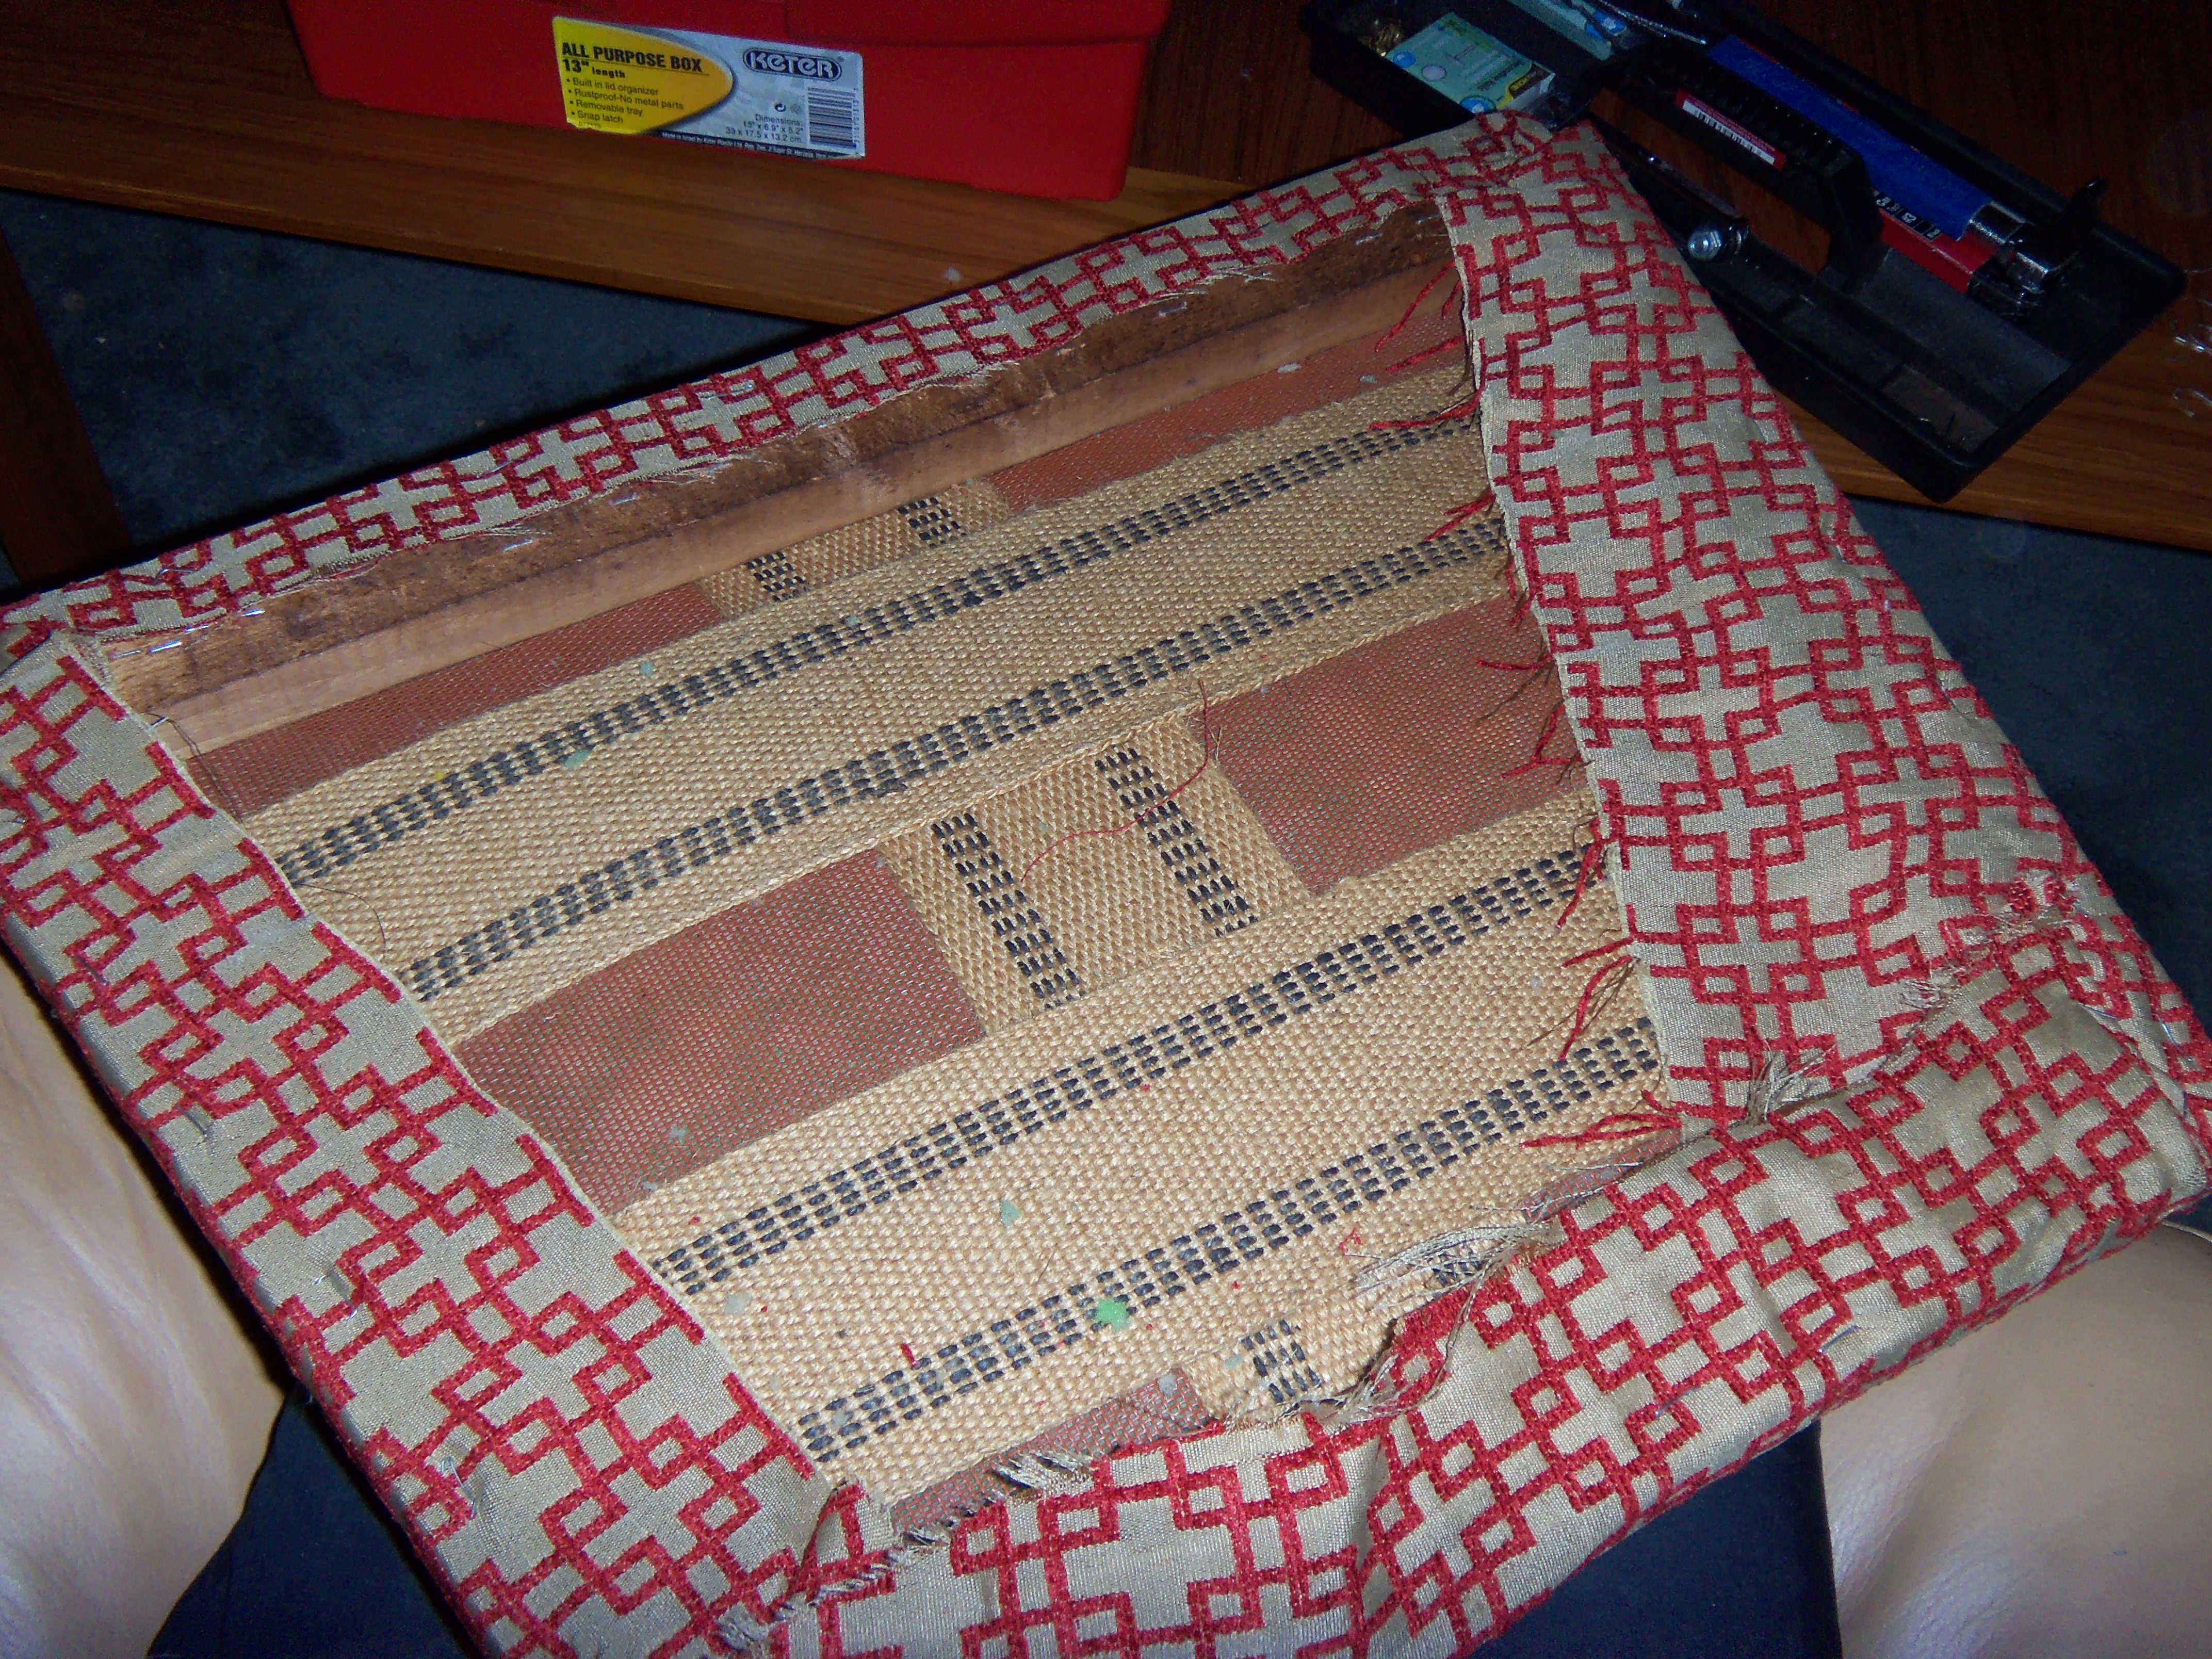
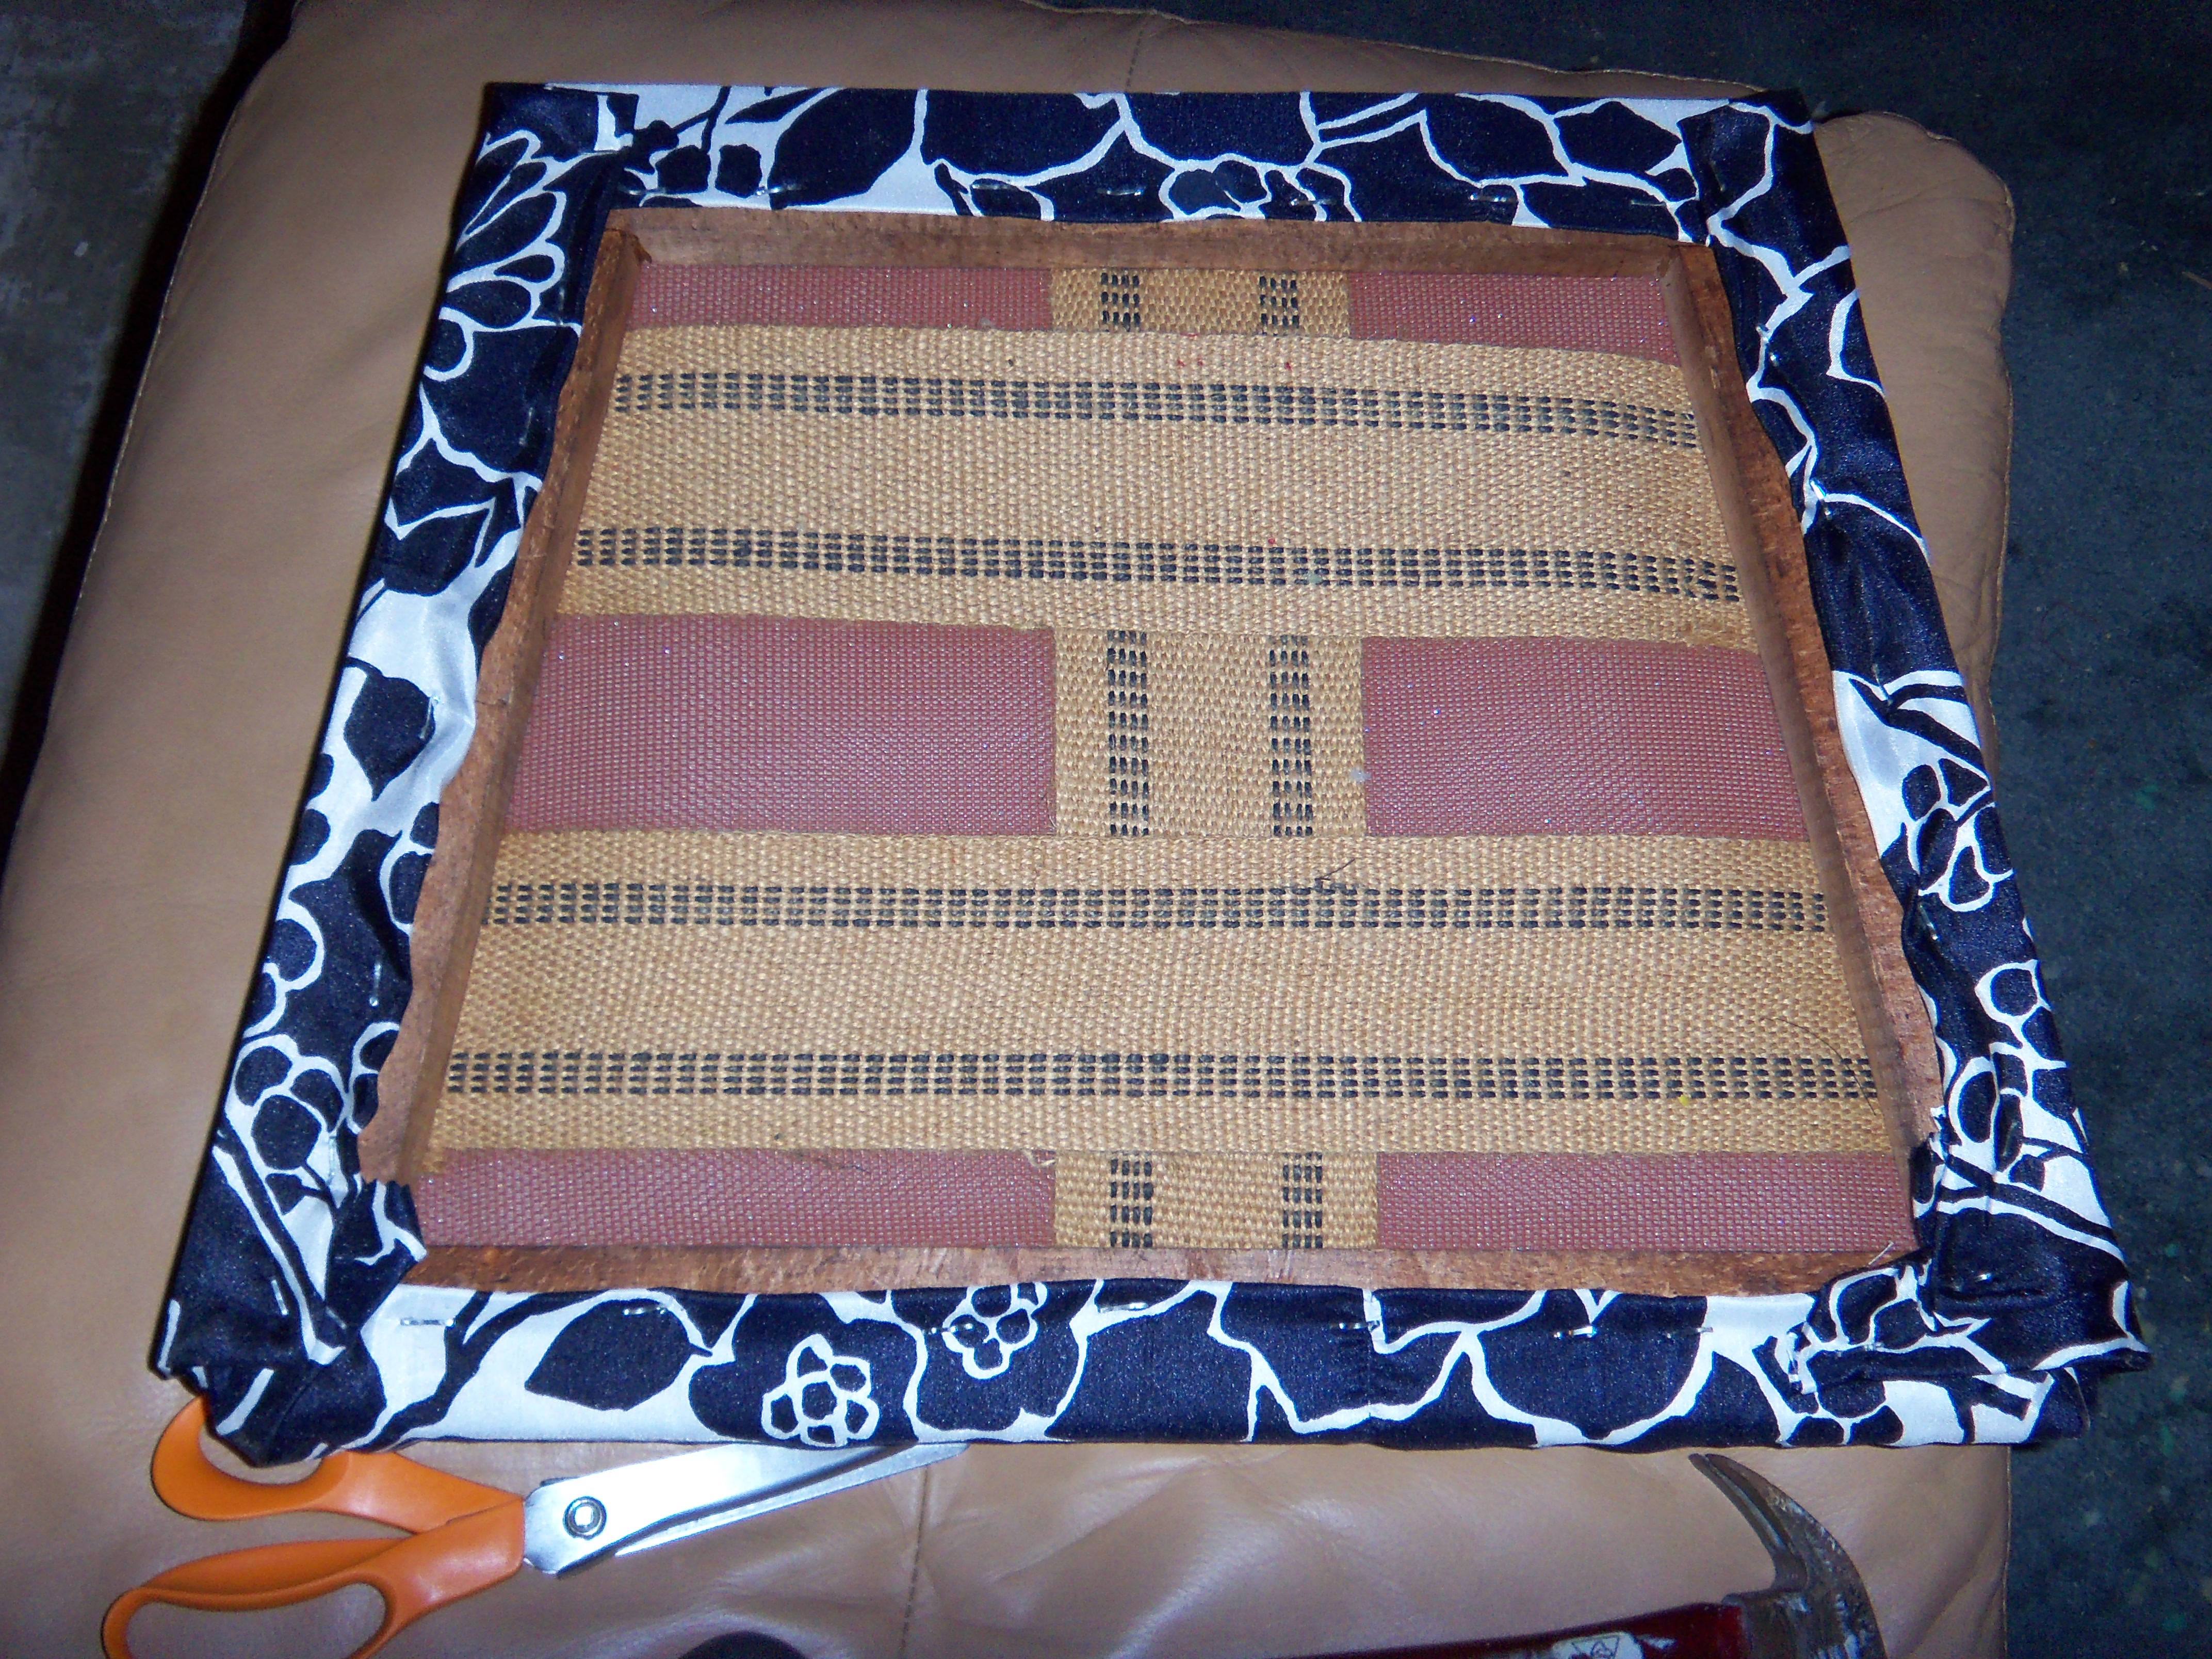
The seat on the chair on the left just comes out (no screws), so I popped it out and started removing all of the staples using pliers.
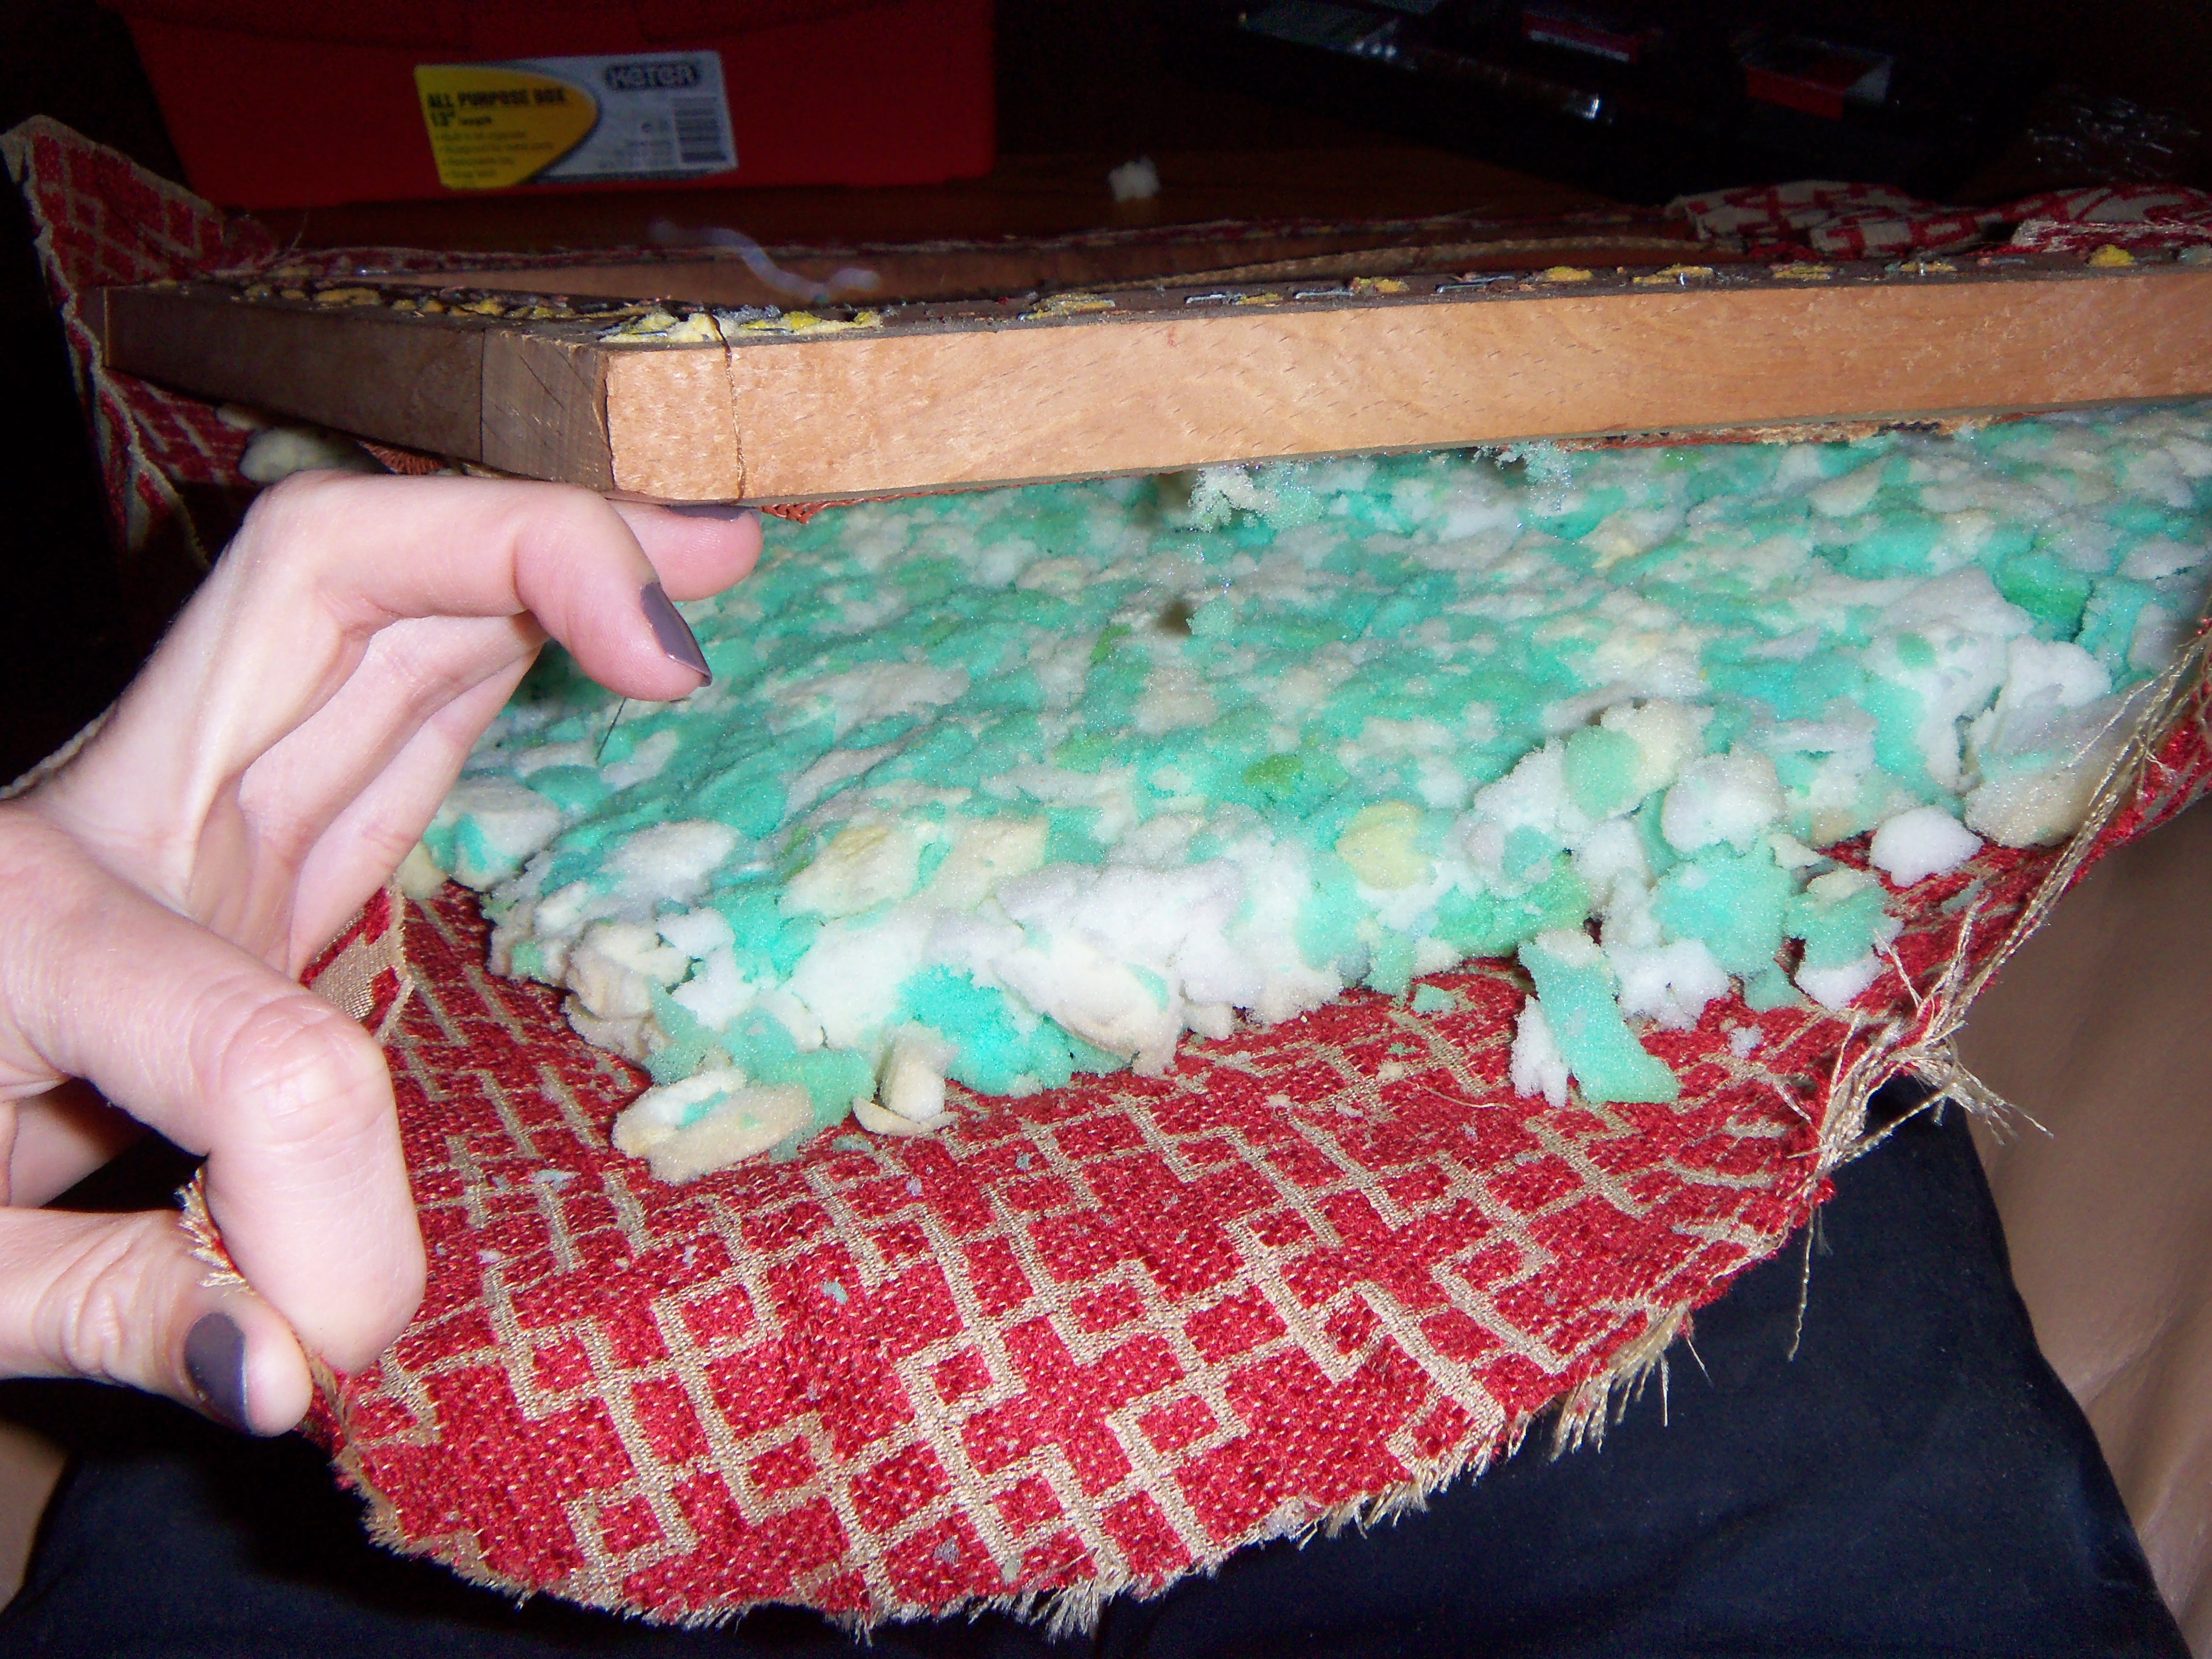
For reasons that now baffle current me, past me decided to use loose stuffing when I upholstered these chairs, which I was reminded of then I started pulling out the old staples and it all came tumbling out and made a HUGE mess.
What on earth was past me thinking? The results were a very lumpy and uncomfortable set of chairs that appeared to have cellulite. I wanted to not only remedy this, but give them pretty new seats that will match the dining room (if it is EVER completed), since they spend most of their time hanging out with Phoebe Buffet, who is quite a stunning beauty. Phoebe prefers not to be flanked by cellulite-ridden imbeciles, and who can blame her?
I saved some of the stuffing in a giant Ziplock bag for future projects, and trashed the rest. Current me is now much wiser and bought two foam pads, which is the preferred method of cushioning chairs. Thanks to Joann’s coupon app, I got 50% off my entire purchase, and only spent around $7.00 for both. The new fabric was purchased from Joann’s a long time ago when I was furiously buying 1/2 price remnants, so I am not sure how much I paid for it. Although me of a year ago was obviously pretty dumb, I am sure I was still cheap frugal.
I laid the seat, including foam, on top of the large sheet of material and cut out a square, giving myself plenty of extra around the edges. Once it was cut, I started by putting a few staples in one side, then pulling the opposite side taut and putting a few there. Then I flip it over and see if any of the staples are pulling too hard. It wil be pretty obvious because it makes an indention in the foam that is very noticeable. If a staple is too tight, I simply take it out and give the fabric a little slack before re-stapling. This is the part that can be slightly infuriating, because you want the material to be tight, but you do not want indentions. Once I am satisfied, I do the same thing with the other opposing sides. The corners are tricky, and tough to explain/photograph. It is very much like wrapping a present, and you just want to get it as taut and smooth as possible. I find it helpful to do the corners last, once all four sides are secure, so that I can cut out some of the material in the corner. Finally, I fill in the gaps with staples to finish her off, and then cut off the excess material.
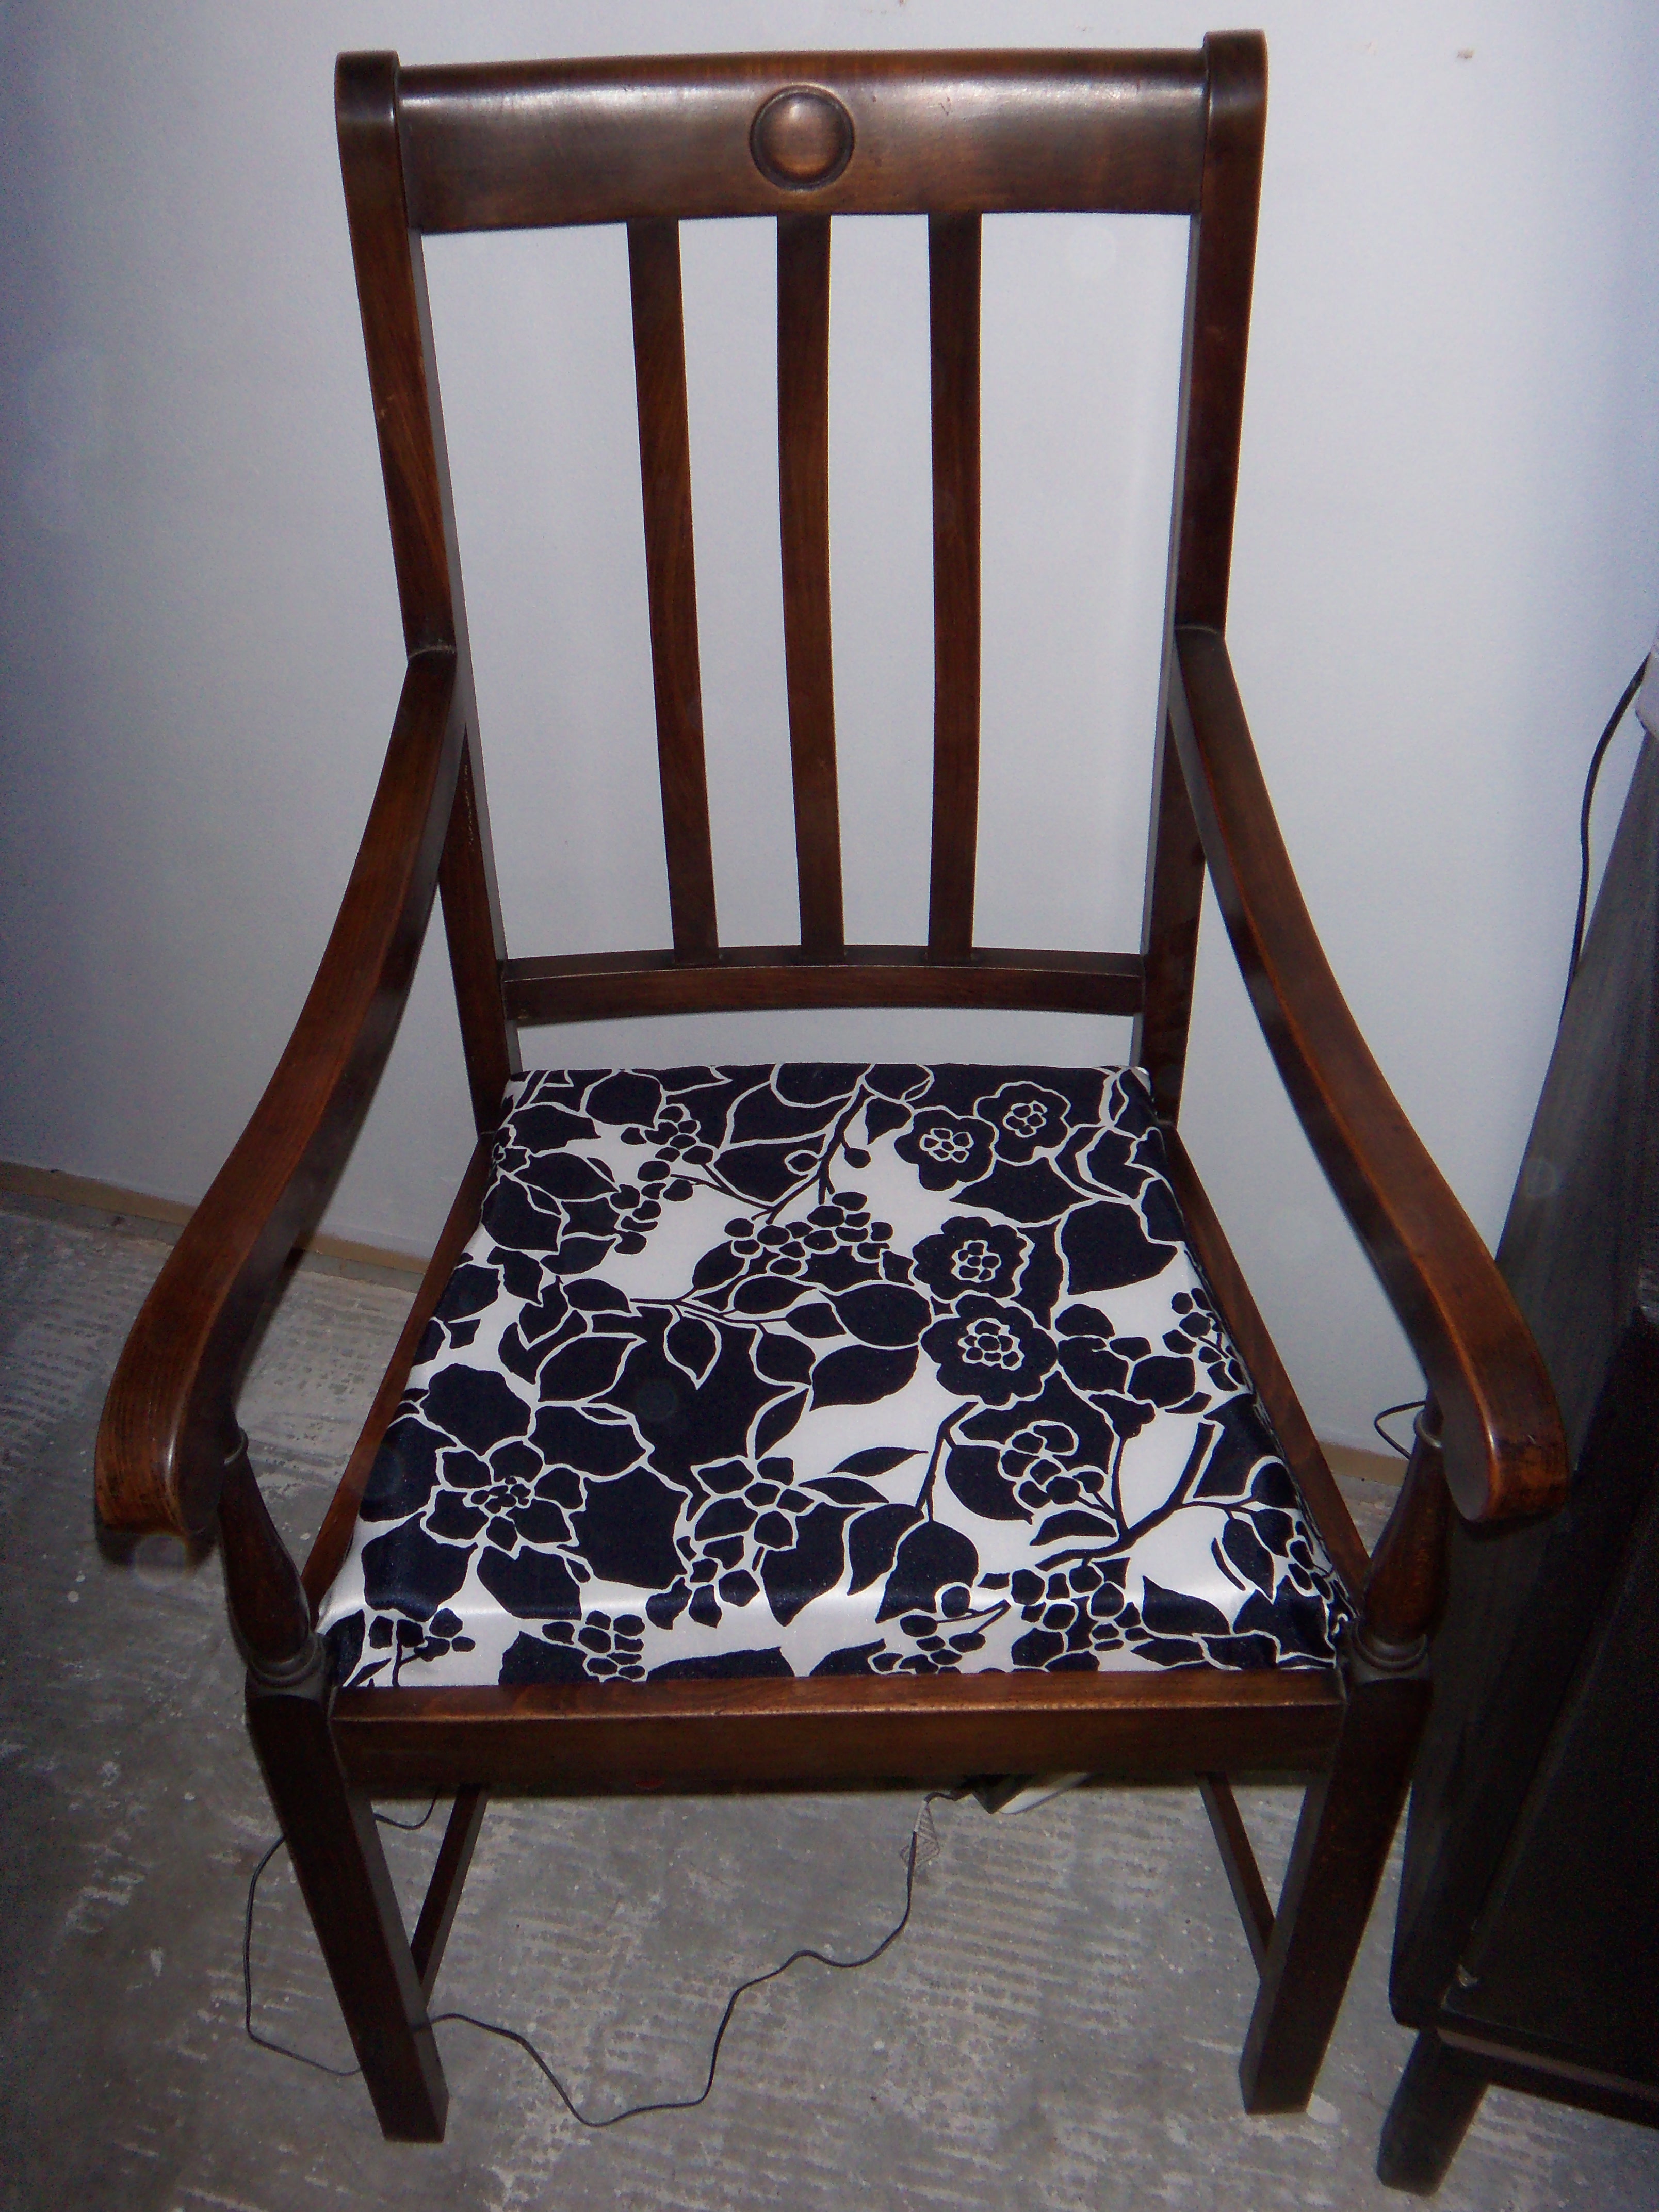
I just popped that baby back in, and was very pleased with the new look:
I repeated this process with the other chair, which also had the loose stuffing. The only difference is that the seat was held on with four screws, but it was no big deal. Every chair is a little different, and just takes a little inspection to determine how (or if) the seat portion is held into place. I have two other chairs while require full disassembly to reupholster, but that is a completely different story, and they might stay ugly forever.
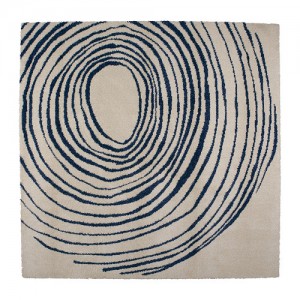
 These photos are not the best, but it was difficult to photograph because the dining table is in the way. I promise MUCH better pictures when the room is more finished. My plan is to buy this rug to go under the square table, which I am hoping is a little less off-white in person:
but I haven’t figured out window treatments or any finishing touches. I am pretty bad at decorating. I would rather lay hardwood floors or operate a jackhammer than pick out curtains or throw pillows, because I want color, but I never know which ones go well together, and I fear tackiness. And while The Boy embraces his feminine side, he is not much help in this department. That isn’t to say he doesn’t placate and humor me, but he just doesn’t care about decorating, and he loves the 90’s. Awhile back I emailed him some rug options I liked for the living room, and I threw in one hilarious Zach Morris-esque option just for laughs. HE PICKED IT. I knew then and there that all decorating decisions were mine and mine alone. It is just now occuring to me that I may have been duped by some reverse psychology. Darn The Boy. He is so smart.


